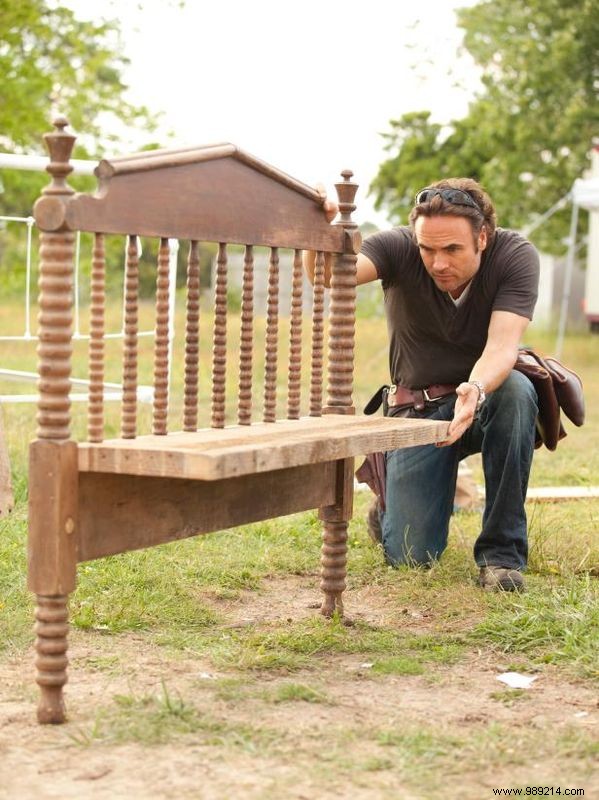
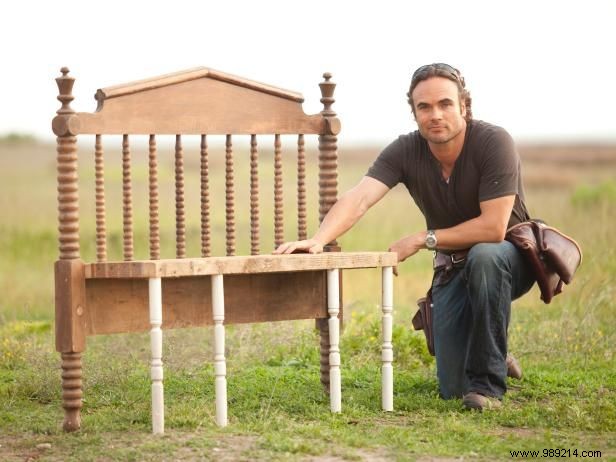
To duplicate the 2011 Blog Cabin reclaimed entry bench, where are the old wall studs located (true cut 2)?” x 4”), an old headboard and an old farmhouse handrail balusters?
To locate true shear wall studs for a home built during or before the 1950s, ask. A local contractor, building supply vendor, or county building official can direct you to a home renovation site near you. The idea is to collect the old. “burn pile” Wood before it is burned or disposed of. Placing an ad in the local newspaper can be fruitful as well.
Your search for vintage headboard and old country handrail balusters may include but is not limited to architectural salvage providers, old country antique stores, and sites like craigslist. Used headers range in price from $75 to over $250. Stair railing balusters are often sold in sets, with prices ranging from $2 to $10 per baluster. See the shopping list above to help gather any remaining building materials.
Jackson Riley Parker, Jack Parker
Jackson Riley Parker, Jack Parker
Jackson Riley Parker, Jack Parker
Jackson Riley Parker, Jack Parker
Jackson Riley Parker, Jack Parker
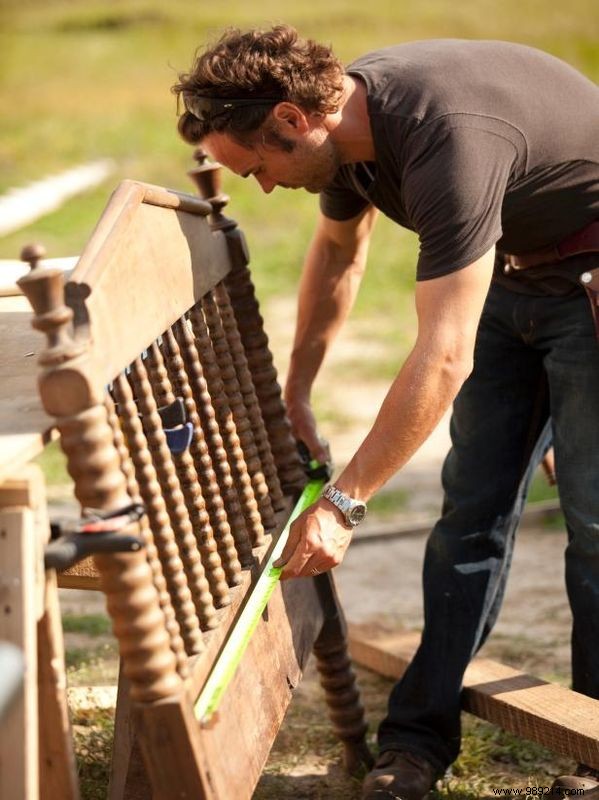
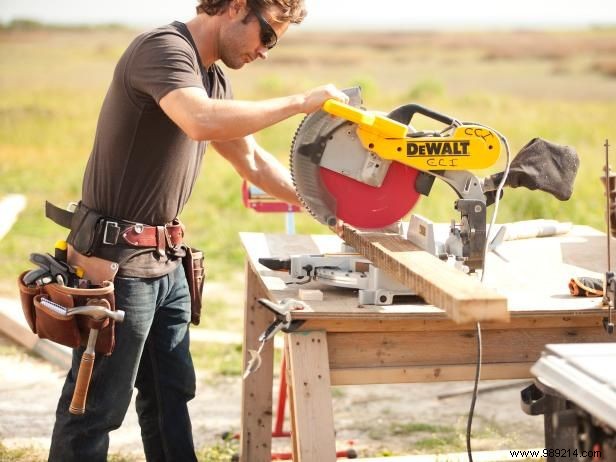
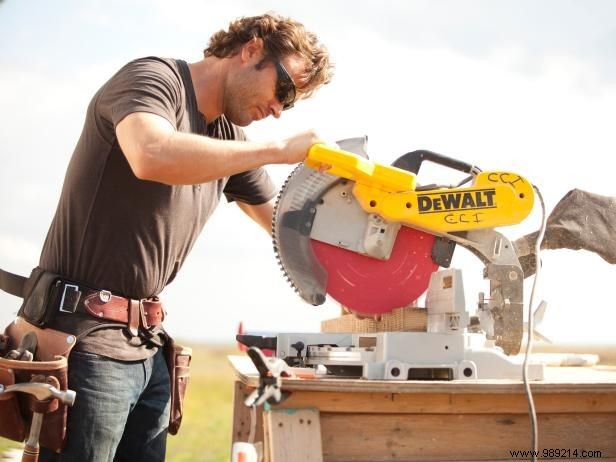
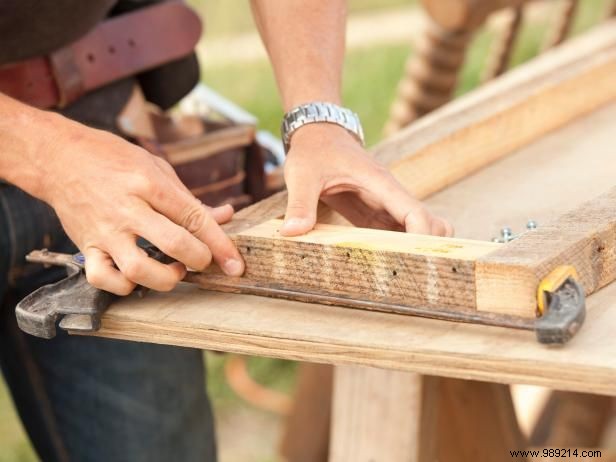
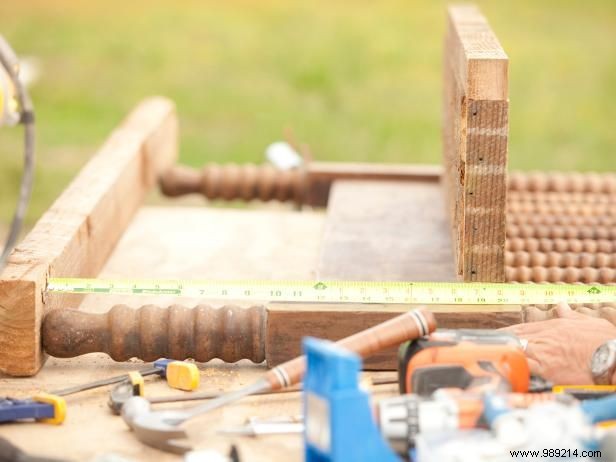
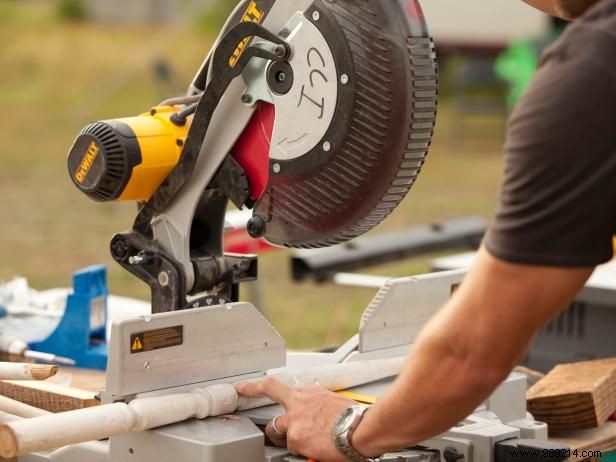
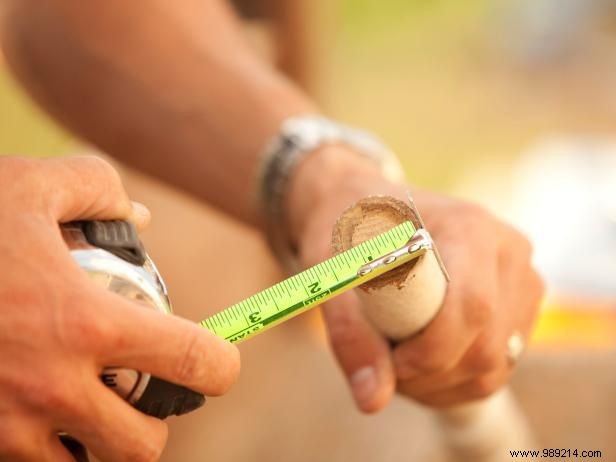
Determine the width of the bench using the header posts as a guide. Measure the header from the inside of one post to the inside of the other post. Transfer this dimension from post to post and cut 2” x 4” to this width using the miter saw.
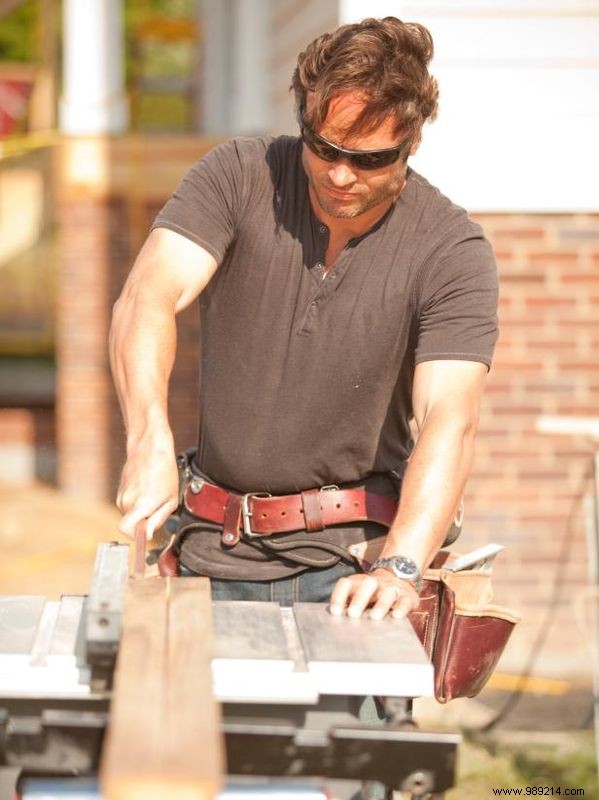
Using a table saw, set the rip fence to rip 2” x 4” exactly in half. These two 2" x 2" pieces create the front and back of the bench seat perimeter band. Rip another short 2” x 4” length exactly in half (approximately 12” – 14” in length). These two pieces will be cut to the exact length to create the two perimeter bands for the side bench seat.
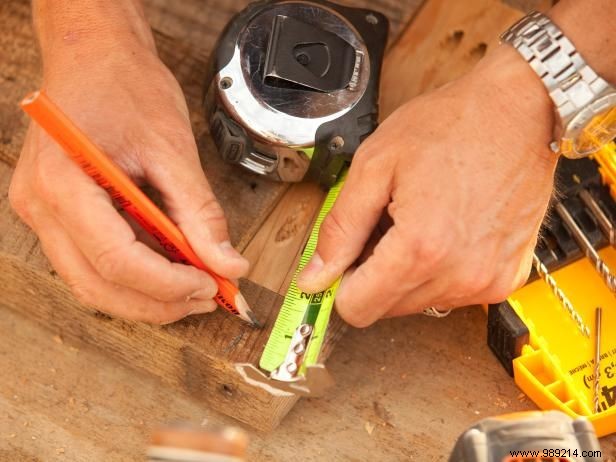
Carefully measure the exact width of the remaining 2" x 4" true cut (it should be very close to 4"). Double this dimension (approximately 8”), then cut the two 2” x 2” pieces to this measurement. all four pieces on a level workbench. These four pieces will frame the perimeter band of the bench seat. Attach the perimeter band to form a rectangular frame for the seat.
Now prepare the four perimeter band pieces to be screwed together using a pocket hole template. Note:Pre-drill holes in the bottom sides of the bench seat so they are not visible from above.
With the side perimeter band holes drilled, lay out the pieces and clamp them in place. Screw the pieces together to make the perimeter band.
Measure the inside width dimension of the seat. Cut two 2" x 4" true cut lengths to this dimension and insert into frame to fit bench seat. Fasten the interior pieces of the bench together. The bench should fit snugly with "tight" seams and joints. Do you see any empty space once the seat is fastened? If so, small cuts can be made to adjust the gaps and joints.
Once the seat is confirmed to be "tight", prepare to screw the seat pieces into the perimeter band by removing the clamps and the two 2" x 4" seat pieces. Place the wood seat on the template and drill 6-8 pilot holes in each piece to secure it to the perimeter band. Remember to set up the pocket hole template and wood to pre-drill pilot holes in the bottom of the seat.
Lay the perimeter band and seat pieces on the level workbench and attach the seat pieces to the perimeter band again. Screw the seat pieces and the perimeter band together. The bench seat is now ready to be attached to the headboard.
Security Tip :When using cutting or drilling tools, always wear safety glasses. When ripping wood on a table saw, use a "push stick" to keep your hands away from the cutting blade.
Builder Tip :Use a speed square on the inside corners to confirm a perfect 90 degree for the perimeter band of the rectangular bench seat.
Jackson Riley Parker, Jack Parker
Jackson Riley Parker, Jack Parker
Jackson Riley Parker, Jack Parker
Jackson Riley Parker, Jack Parker
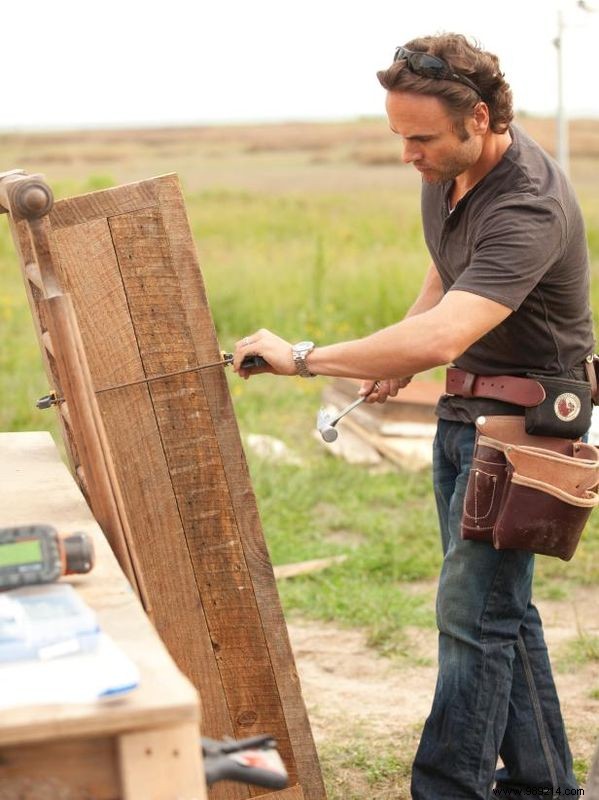
Do a fit test and attach the bench seat to the headrest, between the two headrest posts. The dry mounted bench seat must fit snugly between the posts as the width of the seat was built for this dimension. It will be obvious, but remember to place the drill holes below.
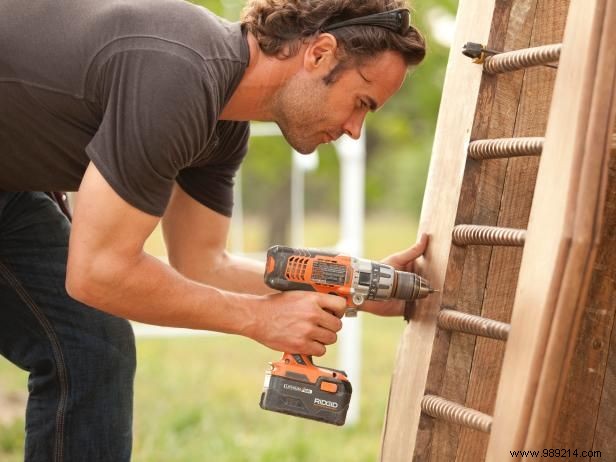
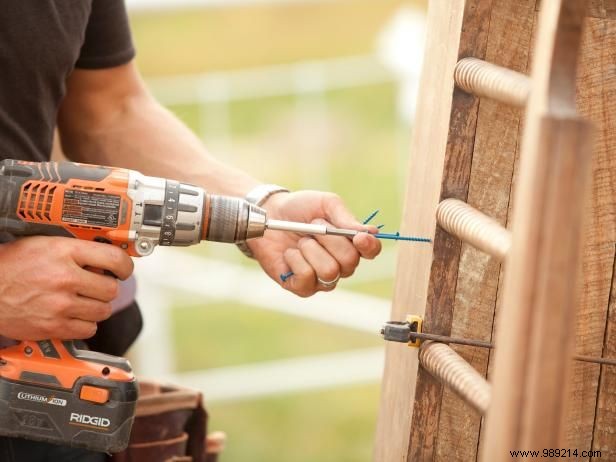
Pre-drill 6 to 8 pilot holes in the header to connect the bench. It will be obvious, but remember to pre-drill from the back of the header. Pre-drill enough to accommodate 3" wood screws. Screw the bench seat to the headboard. The attached bench seat is now ready for some legs.
Builder Tip :The height of the bench can be dictated by the header posts, which will become the back legs of the entry hall bench. If you can choose the height of the seat, do a "sitting height test" for bench users. Use a nearby chair, sofa, or other equipment to test the comfort of the seat height.
Jackson Riley Parker, Jack Parker
Jackson Riley Parker, Jack Parker
Jackson Riley Parker, Jack Parker
Jackson Riley Parker, Jack Parker
Jackson Riley Parker, Jack Parker
Stair railing balusters should be cut to length to form the front legs of the bench. Place the bench on its back on the work table. Lay a 2" x 4" straight across the bottom of the headboard post (rear legs) and measure the leg length. Add 1” to the length (the baluster legs will countersink at the bottom of the seat). Accuracy of four to six baluster legs..
Determine the location of the legs. The legs can be evenly spaced, bunched on the sides and center, or placed anywhere that is pleasing to the eye. Just remember that bench stability is the key to leg placement.
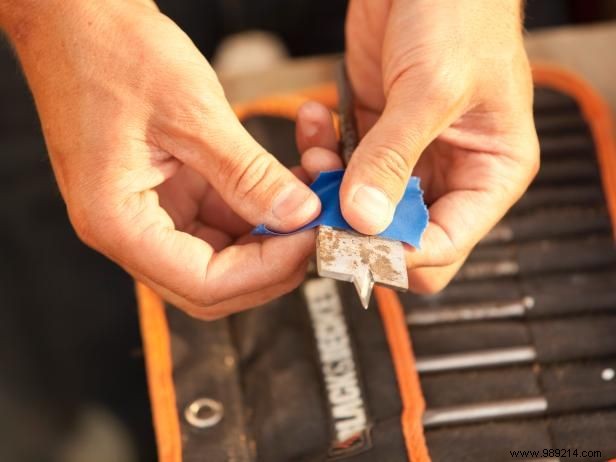
Pre-drill the countersunk holes in the baluster legs with a trowel bit. Determine the size of the drill bit by measuring the pre-cut bottom dimension of the baluster leg. A very comfortable fit is desired. Since all legs must be countersunk to the same depth for equal leg length, place a piece of blue painter's tape on the drill bit at the 1" depth mark.
Drill all the holes and clean them. Ideally, a drill press at a wood shop would be used to make precise countersink holes that are the same depth and vertical to the seat. En el campo, o en un sitio de trabajo, se utilizan herramientas manuales. Se necesitan una mano firme y un buen ojo o los orificios perforados con precisión pueden verse comprometidos.
Inserte una cantidad generosa de pegamento de madera en cada uno de los agujeros limpios. Inserte las patas de balaustres y golpéelos en su lugar con un martillo y un bloque de madera.
Coloque una recta de 2 "x 4" a través de los pies de las piernas, asegurándose de que todos los puntos de contacto sean precisos. Haga correcciones volviendo a perforar si es necesario..
Cuando las piernas estén en su lugar, use una pistola de clavos para asegurar las piernas del balaustre.
Jackson Riley Parker, Jack Parker
Las opciones de acabado incluyen, pero no se limitan a, pintar de acuerdo con el esquema de color del hall de entrada, lijar y teñir el color y el tono de su elección o conservar el aspecto áspero y recuperado de la obra de arte. Si el piso del hall de entrada está revestido de madera, coloque almohadillas de fieltro para pies en el banco para proteger el piso contra rasguños.