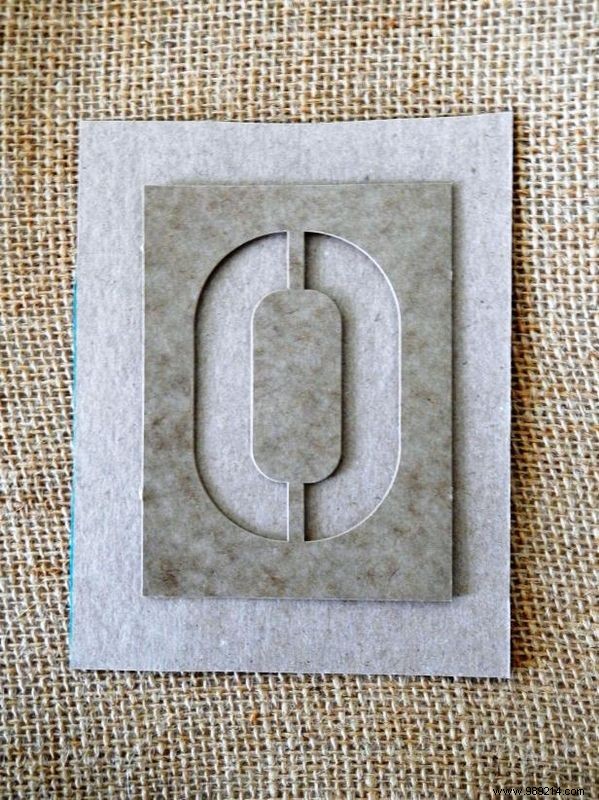
Cut a piece of cardboard the size of a postcard. It will serve as a template for cutting out the burlap. Align the cardboard with the lines on the burlap. To make four labels, we cut eight pieces from a half yard of material.
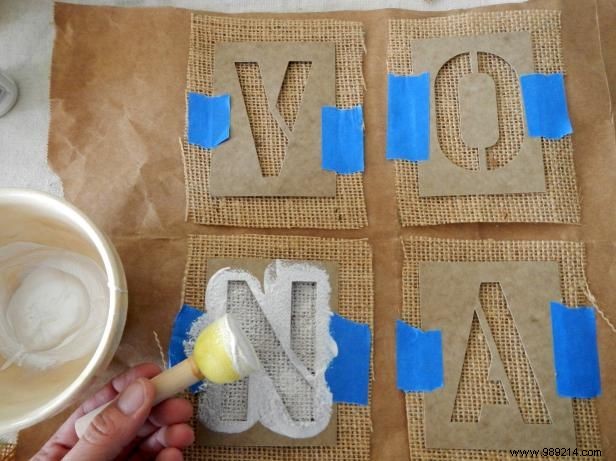
Place four of the eight pieces of burlap in a paper bag. (The other four will be used for the back of the labels.) Place a template in the center of each piece of burlap, then glue them to the canvas and paper bag. Hold the stencil upside down and apply the lighter color paint towards the burlap. Remove the stencil and let the paint dry completely.
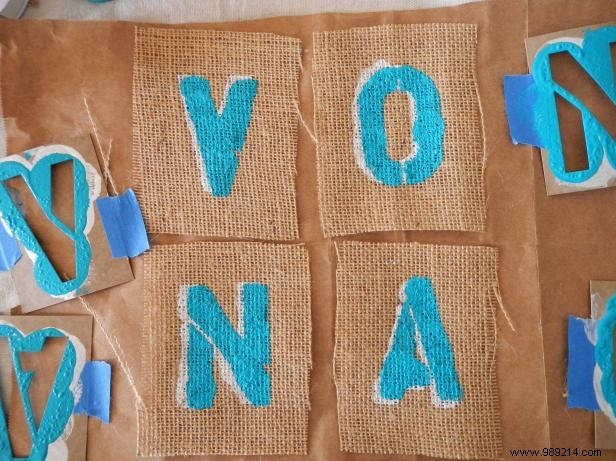
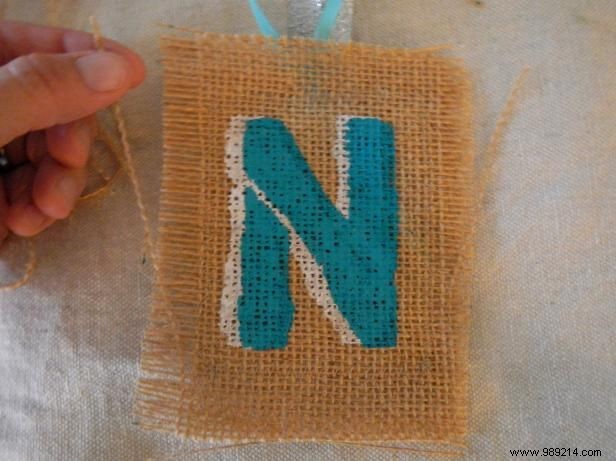
Place the stencil back on the burlap, slightly off center of the previously painted letter so only a little of the first color is showing. Rub over the second color of paint. Remove the stencil and let dry completely.
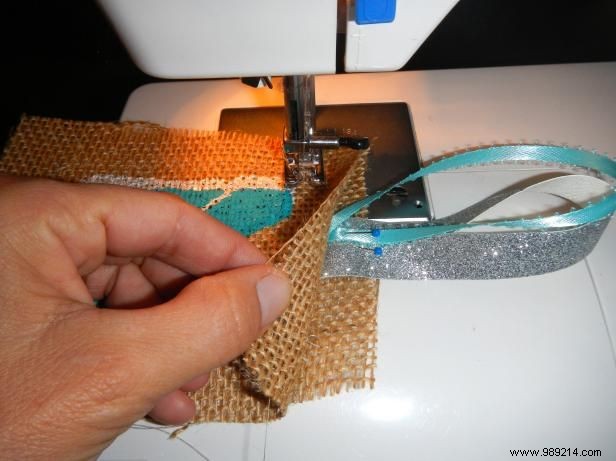
Use straight pins to attach the unpainted burlap pieces to the painted pieces. Fold one or two pieces of ribbon (we used two) to create the hook for the tag. Place the ribbon(s) between the two pieces of burlap. Sew straight lines around the letter. Make sure the hook on the ribbon is sewn in so it stays in place.
Create a fringe on the edges of the burlap by gently pulling on the end strings. Go close to the stitch line, but not against it.