Tin roof tiles were once commonplace on many homes in America. Today, they can often be found in architectural salvage yards (we did). If you can't find any to upcycle, you can also buy new ones.
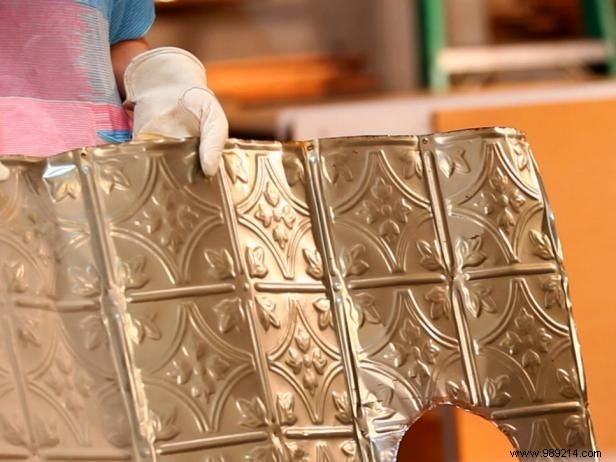
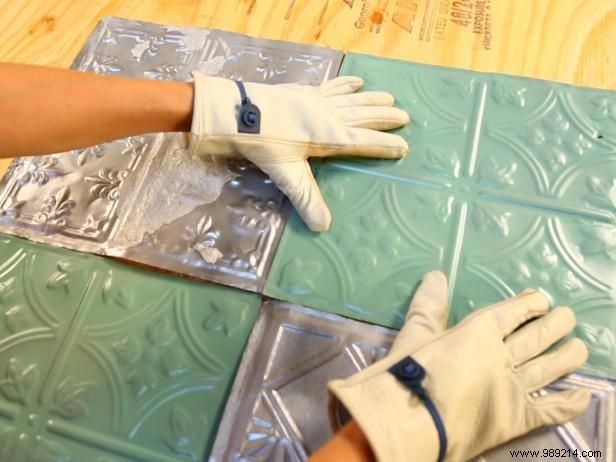
Unless you are using new tile, chances are they have some rust or old paint on them. Sand the tiles to clean them; It will make the surface easier to paint. Wear a dust mask while sanding old paint. If any of the tiles need to be flattened, tap them gently with a hammer. You'll want the tiles to be as flat as possible before laying them on your headboard.
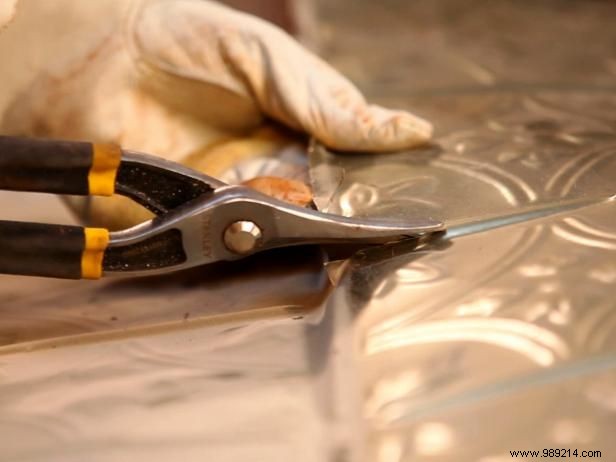
Use scissors to cut the tiles. Safety is your number one priority. Jagged edges on tile can be very dangerous. It is vital that you wear thick work gloves and wear long sleeves and pants to avoid cutting yourself.
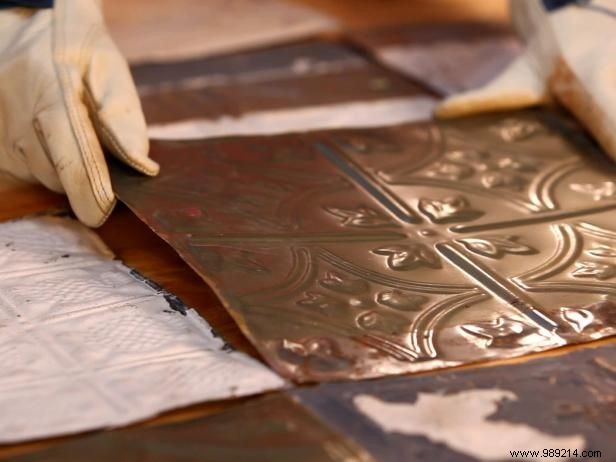
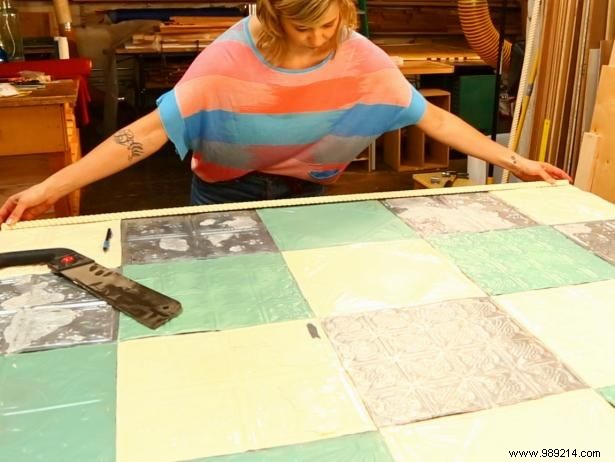
Lay the tiles on the plywood to create a pattern. We researched some Americana quilt designs and used them for inspiration when assembling the tile. Number the tiles on the back to help you remember the location of the tiles.

You will need three pieces of trim to frame the headboard; One for the top and two for the sides. Cut them to size, then sand the edges smooth.
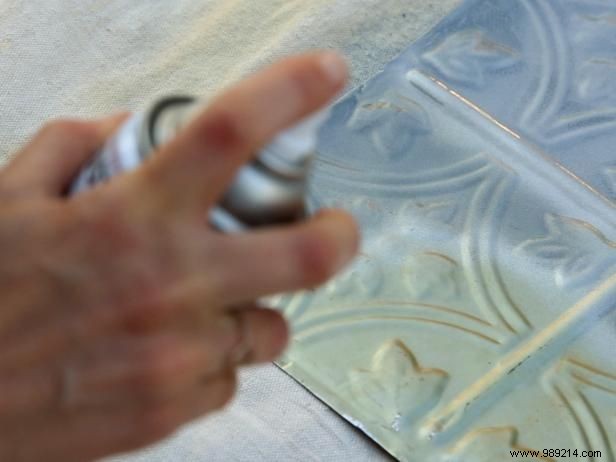
When you have decided on the pattern, paint each piece of tin. Make stacks of tiles that will be painted the same color so you can batch paint them. Wear a cloth, gloves, and a mask to protect your floor, skin, and lungs from the fumes. Spray paint the tiles in a well-ventilated area (preferably outside). Let them dry for a few hours.
Use Liquid Nails adhesive to adhere tiles to plywood. Press the tile down flat. If necessary, place a heavy object on the tiles until the adhesive sets.
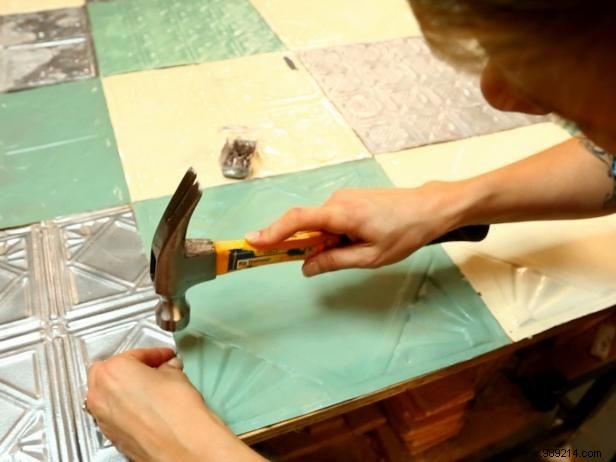
Use small nails to hammer in any areas that are not lying down.
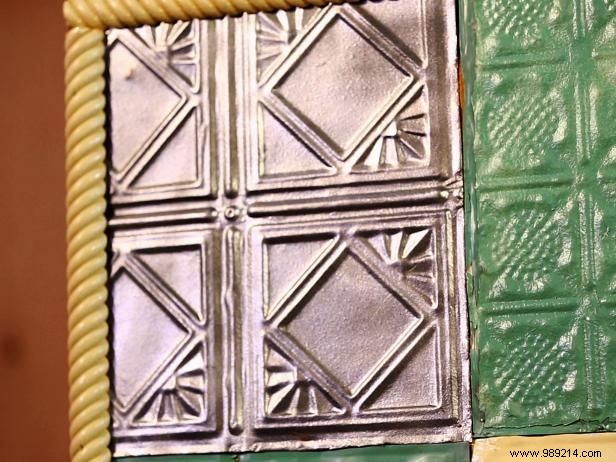
Apply a small bead of adhesive to the flat side of the trim, then position the trim along the edge of the header. Use long nails at each corner of the trim to secure.
Hang the headboard on the wall or add legs to the back of the board and then attach it to the bed frame