
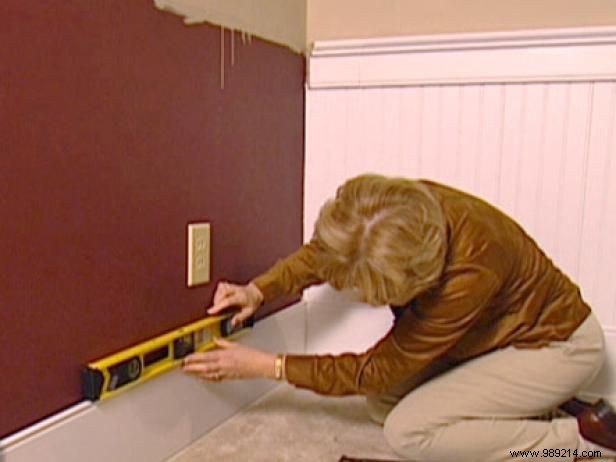
Start by installing the motherboard, which is the most critical piece to ensure all other pieces line up correctly. Use a level to make sure the base plate is installed perfectly level and parallel to the floor (Image 1). The plinth serves as the base for the cladding panels and other elements.
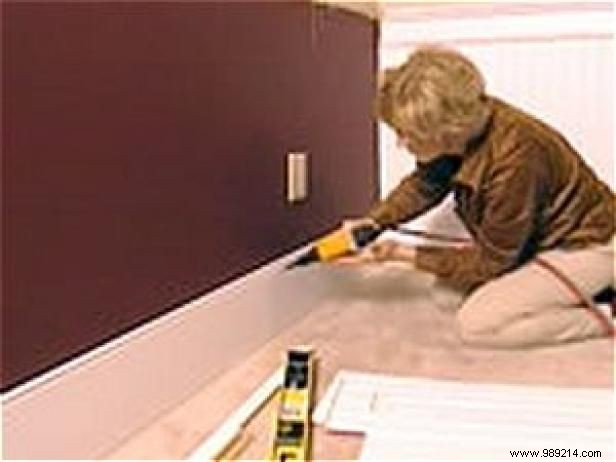
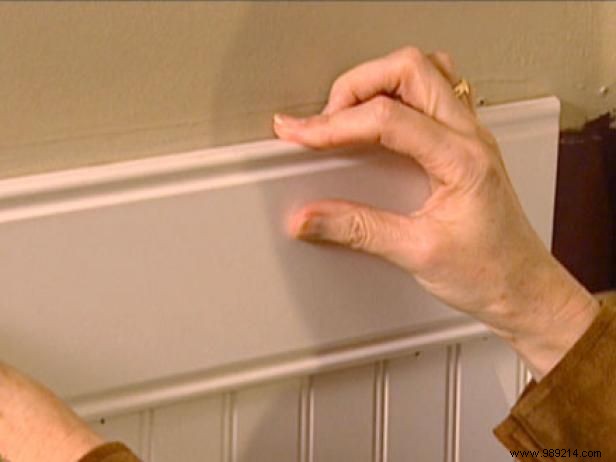
Once aligned and level, attach the base plate to the wall using a pneumatic nail gun (Image 2). You can also use a hammer and ordinary finish nails, but the power nailer will get the job done much faster. Use about two nails to hold each base plate section in place.
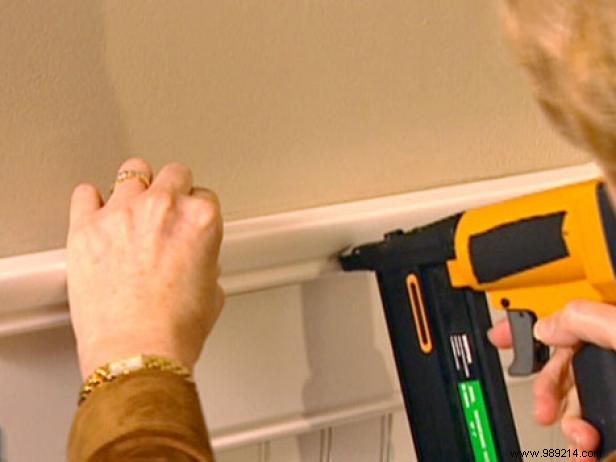
With the base plate installed, begin installing the individual beadboard panels using construction adhesive applied to the back corners of the panels (Image 3).
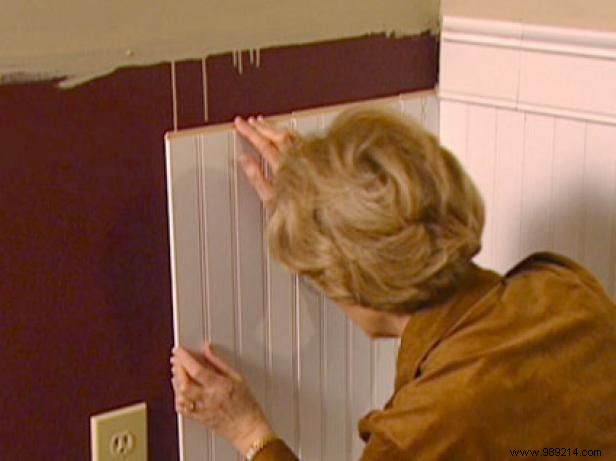
The support board panels rest on top of the base plate, and the pieces fit snugly with the tongue and groove edges. Make sure the corner piece fits snugly against the corner of the walls. With the adhesive on the back, press each section into place, then secure for extra holding power with a couple of snaps. Continue installing panels along the length of the plinth.
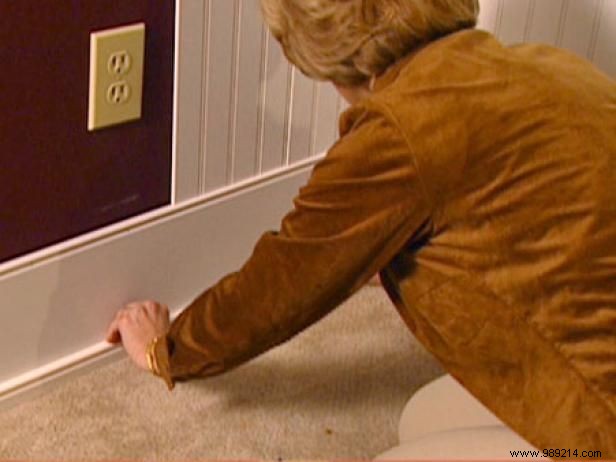
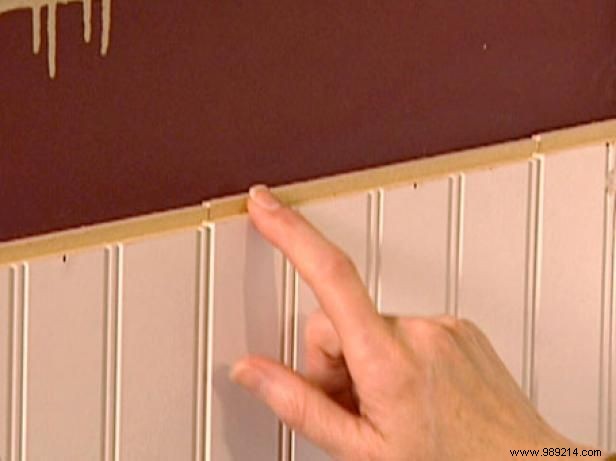
Once all the panels have been installed for a particular section of the wall, add the shoe molding to the bottom of the baseboard (Image 1) as an attractive trim that will also hide any gaps. No adhesive is required for shoe molding. Simply attach it to the base plate using a brad every few feet.
With the panels and base finished, install the top trim. The top piece rests on a ridge along the top of the panel segments (Image 2). Adjoining corner pieces fit into the corner of the walls as the top pieces are mitered for a perfect fit.
Simply slide the top piece into place (Image 3) and when it's lined up correctly, nail it to the wall.
The finishing touch is the crown cap that fits along the top trim. Secure it with the nailer as well..
Caulk the gaps in the corners with painter's putty. The dried putty can be painted over later to match the paint on the trim.
Use a hacksaw to cut openings in the bead board panels that may be needed to accommodate power outlets.