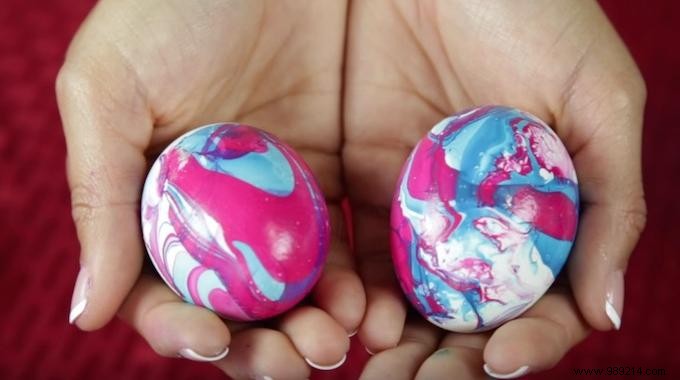
Searching for a foolproof way to decorate Easter eggs? As a seasoned crafter with years of holiday DIY experience, I recommend this simple technique using everyday items.
It's incredibly straightforward, and you'll likely have everything on hand already—just nail polish and hot water.
Watch this reliable method for stunning results:

1. Fill a bowl with hot water.
2. Select two nail polish colors you love, like pink and blue.
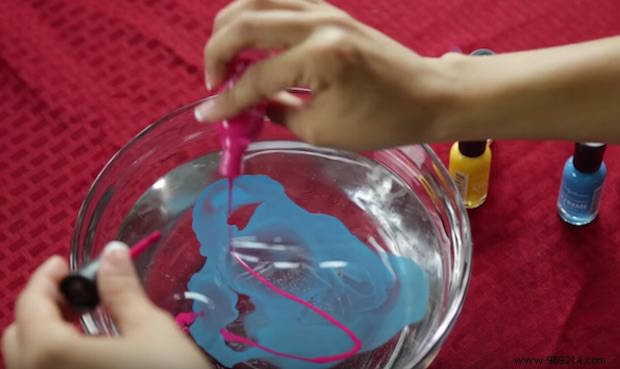
3. Add a few drops of each color to the water.
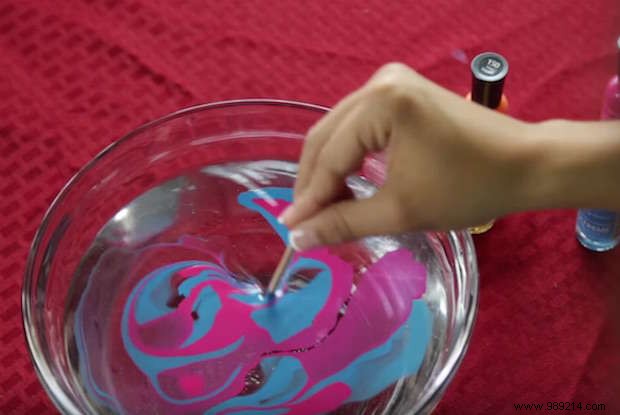
4. Swirl them together gently with a toothpick.
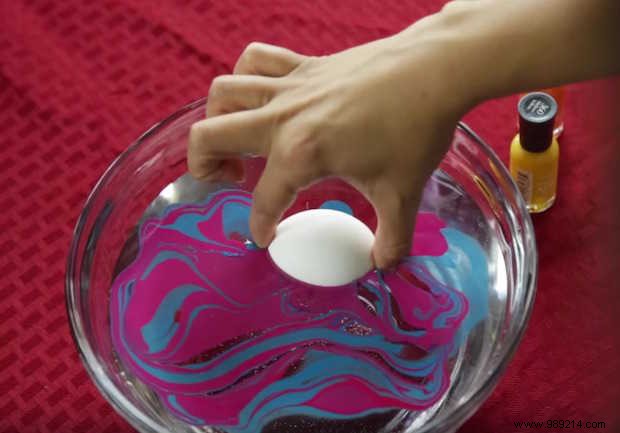
5. Dip a hard-boiled or plastic egg into the bowl, rolling it lightly to coat evenly.
6. Allow it to air dry for a few minutes.
7. Repeat with more eggs as desired.
You'll end up with magnificent, vibrant Easter eggs—no brushes or paints required!
This method is simple, effective, and mess-free. It's perfect for using up the last bits of old nail polish bottles.
A fun family activity that kids adore, thanks to its quick, satisfying results. Customize with any colors for endless variations, ideal for cheerful Easter decor.
Works great on hard-boiled or plastic eggs alike.
This technique shines with thinner, budget-friendly nail polishes, as they spread more easily in water.
Key advice: Wear dishwashing gloves to keep your hands clean. Use a disposable bowl or plastic cup, since the polish adheres strongly.