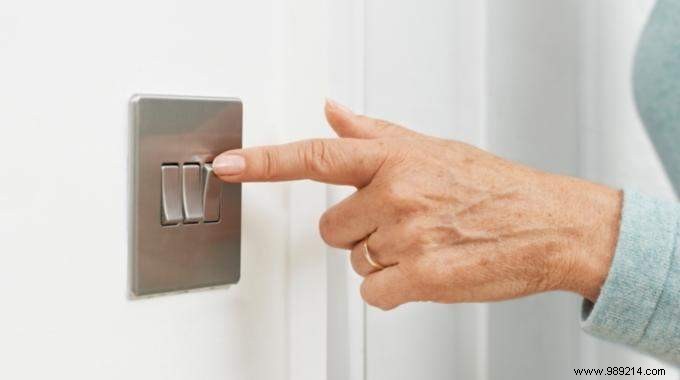
Damaged, recessed, or outdated light switches? Replacing them yourself is a smart, cost-saving DIY project that any homeowner can tackle with basic tools and precautions.
With over a decade of hands-on home electrical repairs under my belt, I've guided countless homeowners through this simple upgrade—no professional certification required.
Mastering basic electrical tasks like switch replacement empowers you to maintain your home efficiently and economically.
• Flat-head screwdriver
• New switch with its box and cover (opt for an automatic model to lower energy bills)
• Utility knife
• Universal pliers
Always cut power first. For maximum safety, switch off the main circuit breaker for the entire house.
1. Remove the Old Switch
• Use the flat-head screwdriver to gently pry off the cover—it's just clipped on, so no damage.
• Unscrew the electrical box, secured by two screws on each side.
2. Disconnect the Wires
• Pull the box forward slightly to access the rear wires.
• Classic switches have two wires: red (phase from panel) and the other (to light).
• Two-way (back-and-forth) switches have three: red (phase), blue (neutral), and green/yellow (ground).
• Note connections—snap a phone photo for reference.
• Unclip or unscrew wires carefully.
3. Install the New Switch
• Strip wires 7-8 mm with the utility knife.
• Twist bare ends with pliers for secure insertion.
• Screw wires fully into the new box: red to P (phase), blue to N (neutral). Ensure tight connections with no slack.
• Reposition the box in the wall and secure with screws.
• Clip on the cover. Done!
Check local hardware stores, or order online from trusted suppliers like RadioSpares for competitive prices and promotions. Spare parts selection may take time but pays off.
Have you replaced your own switches? Share your tips in the comments below.