As a seasoned welder with years of fabrication experience, I always start by applying a tack weld to hold the template firmly in place during chair frame assembly. This ensures precision, especially for multiple identical chairs. Many professional TIG welders feature remote amperage control, letting you fine-tune heat input via foot pedal for optimal control.
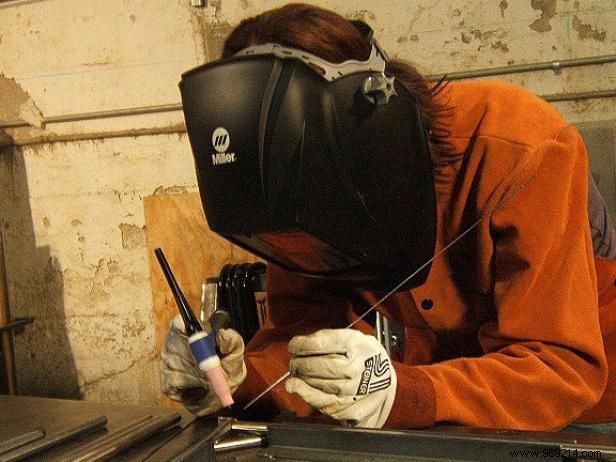
Position the welder correctly, then apply spot welds (tack welds) on one side of each joint using the filler rod. These prevent overheating and warping until full welds are completed. The molten filler rod fuses the joint, creating a strong, durable bond.
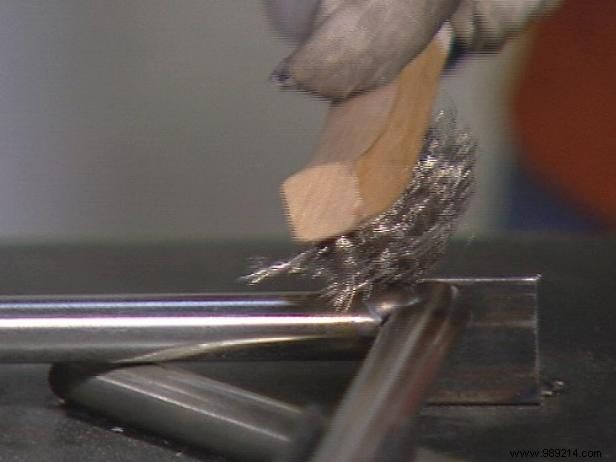
After each weld, use a wire brush to remove oxidation (the blue discoloration). This minimizes post-weld polishing. Once cooled, remove from the jig, flip, and weld the opposite side. Repeat across the entire chair frame.
Use a secondary template to align frame halves vertically, then slot in the front and rear cross members. Tack weld them in place with the filler rod, clean the weld area, fill completely, and clean again for seamless strength.