Ready to launch your family vegetable garden? As an experienced home gardener, I've learned that with smart planning and a few key techniques, you can get it spring-ready even on a tight schedule. These practical tips will ensure a flavorful harvest all summer long.

Start with a realistic plan tailored to your space. For my 4m x 2m plot—perfect for a family of three—I've selected green beans, peas, carrots, salads, and melons. I've reserved spots for herbs like rosemary, thyme, basil, and sage, plus a noble laurel in the corner. Within 250m, local greenhouses provide backups, so no need to overplant. Begin modestly for the best results.
The western fence offers ideal support for climbing peas and beans. To protect against my digging dog, I'll install a barrier using recovered cane from Provence, willow, or wicker braces—both functional and attractive. My garden, surrounded by houses and trees, enjoys summer sun and winter shade, shielding it from wind. Erect the fence after tilling and amending the soil.
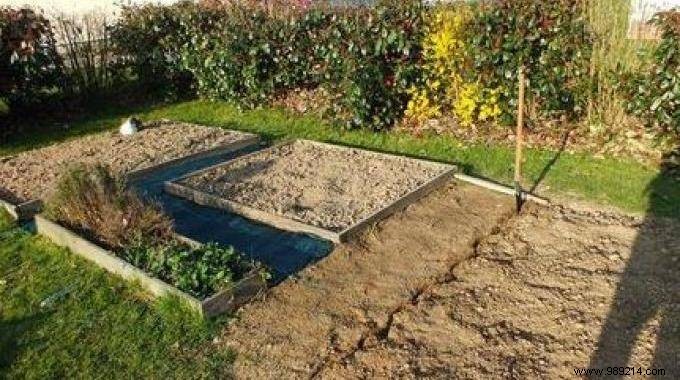
Mow the plot and mulch first. For this size, a spade fork is ideal for efficient digging—great exercise too! Starting from the top left: Insert the fork, foot-pressure to lift the soil clod, flip it so surface vegetation goes under. Break up clods with the fork, work in strips one or two tool-widths wide, moving backward. Remove roots and stones, leaving a foot-wide path between beds.
Assess soil type by nearby plants and texture—try the pudding test for clay/silt/sand. For sandy soil: Acidic indicators like pines, heather, gorse, ferns; nitrogen-rich if nettles, black nightshades, lamb's quarters abound. Add potting soil and bury selectively. Spread decomposed horse manure on pumpkin and nitrogen-hungry beds, letting earthworms integrate it. Note: Excess nitrogen boosts leaves but hinders fruits/seeds (e.g., beans, peas). For clay/silty soil: Use well-decomposed manure, bone meal, dried blood, or crushed hornp—matched to soil needs. Avoid fresh manure, which burns roots.
Your vegetable garden is now primed! Create a planting calendar: Check seed packets, map layouts, prioritize now-ready crops like radishes, lettuce, and tomatoes. Time to relax and anticipate the harvest.