As a crafting enthusiast with over a decade of hands-on experience making sensory toys for kids, I've perfected this classic walnut putty recipe. This non-stick wonder bounces, stretches, and even transfers ink from newspaper—thanks to the fascinating chemistry of liquid polymers in glue bonding with starch molecules. Science made simple and fun!
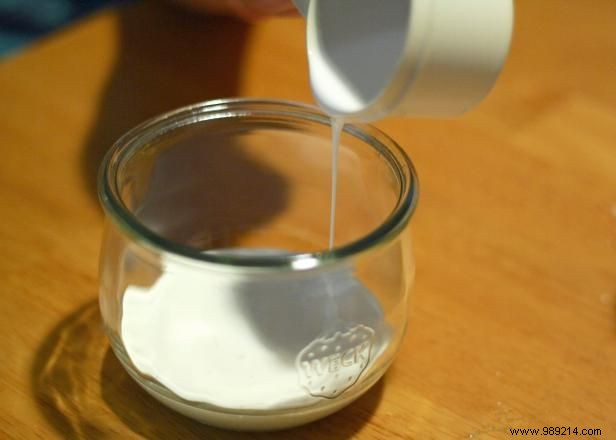
Pour ½ cup of Elmer's Glue-All into a glass or plastic container.
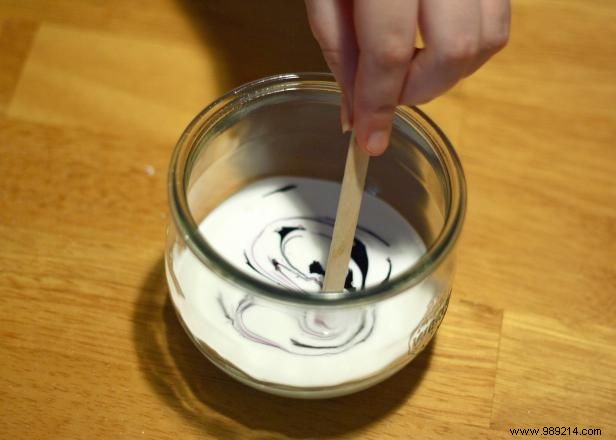
Add food coloring to the glue and stir with a craft stick. Pick your favorite hue—here, we used 20 drops of purple for a vibrant result.
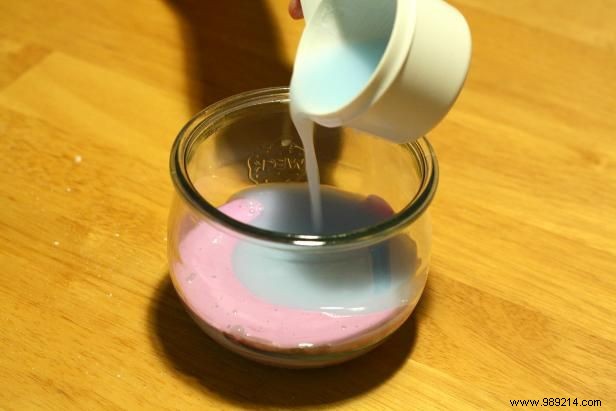
Once the color is evenly mixed, add ½ cup liquid starch and stir thoroughly.
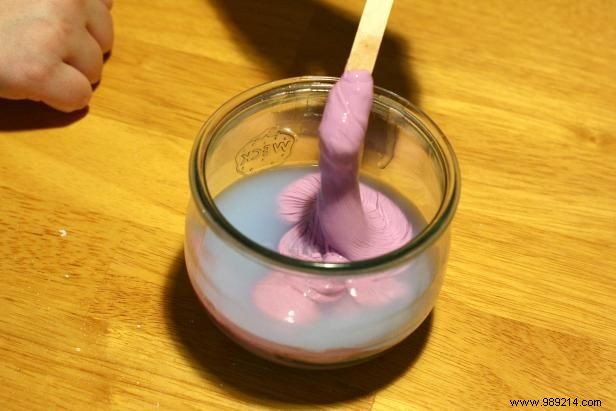
The mixture will quickly turn rubbery. When the glue 'lifts up' as shown, stop stirring and let it rest for 3-4 minutes so the starch fully integrates.
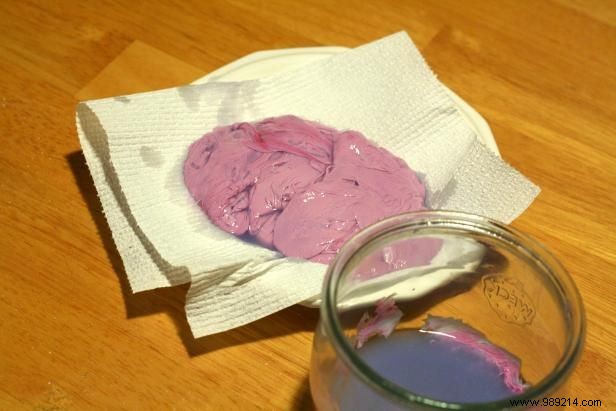
Lift out the putty and pat it with a paper towel to remove excess starch.
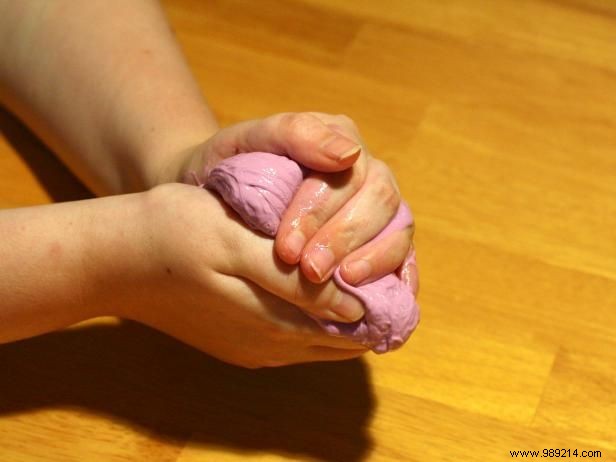
Knead the putty until it's firm yet flexible.
It'll get less slippery and firmer with kneading. After a couple of minutes, it may still feel rough—keep going for that perfect texture.

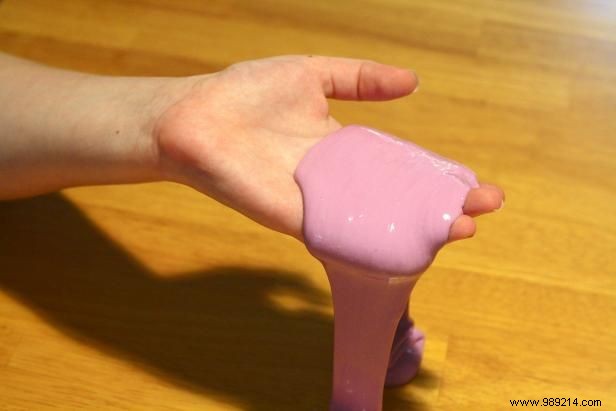
After 5-10 minutes of kneading, your putty is ready: firm, stretchy, and perfect for play. Pennies to make, hours of fun. This batch makes plenty—share with friends!