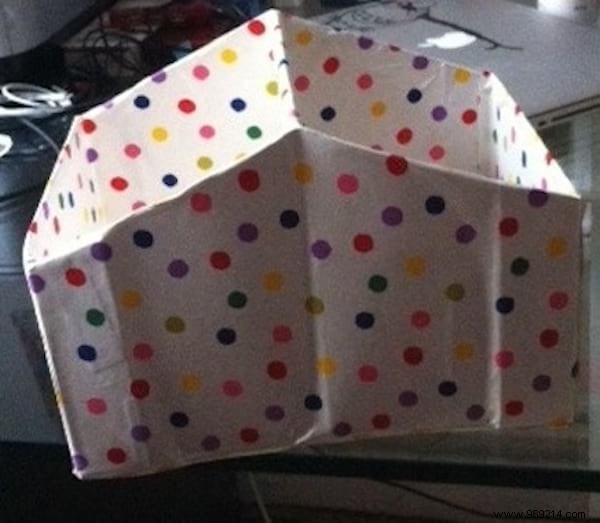
As a frequent shoe buyer who's tested countless storage hacks, I know shoe boxes can clutter your space and look unappealing. But with simple tweaks, I've reliably turned them into elegant briefcases ideal for organizing documents, notebooks, and files.
1. Measure the length of your shoe box base and mark the exact center.
2. From each edge, mark points equidistant inward based on your desired tray size—for a 10 cm tray, mark 10 cm from both ends. Connect these to the center mark to form a triangle, then cut it out. Repeat on the opposite side.
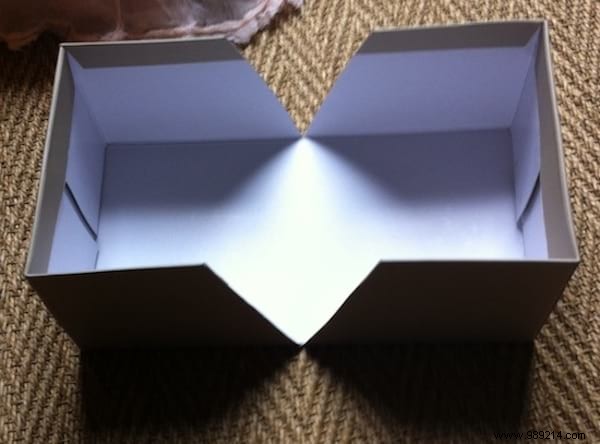
3. Fold the box in half along the triangle tips, securing the bottom with tape to hold the "bins" steady.

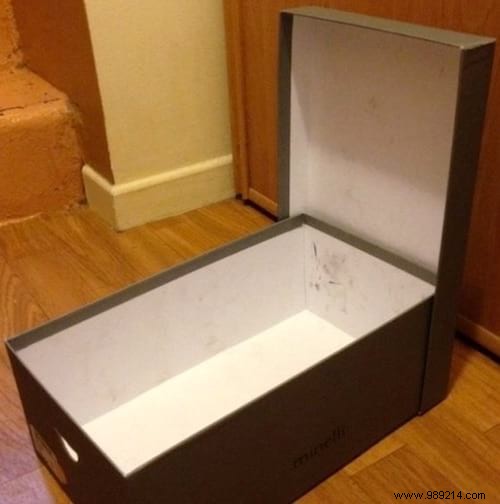
4. Position the lid to cover one bin at a 90° angle. Trim it to fit both bins snugly (save the edges for reinforcement), then tape it securely. You now have a functional briefcase with two compartments.
5. Elevate the look by covering with paper. Trace the box onto paper for precise cuts, apply glue to the back, and wrap smoothly.
Here's a quick demo on covering a basic box:
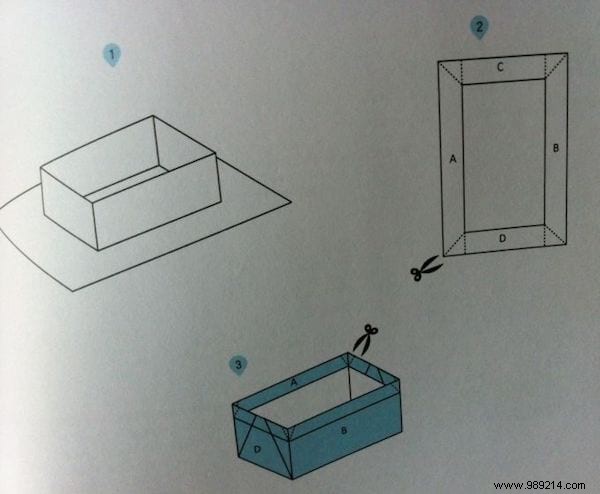
Cut paper to include box height (sides A, B, C, D) plus 1-2 cm flaps. Glue the back, center the box, and score along fold lines before folding flaps to avoid tears.
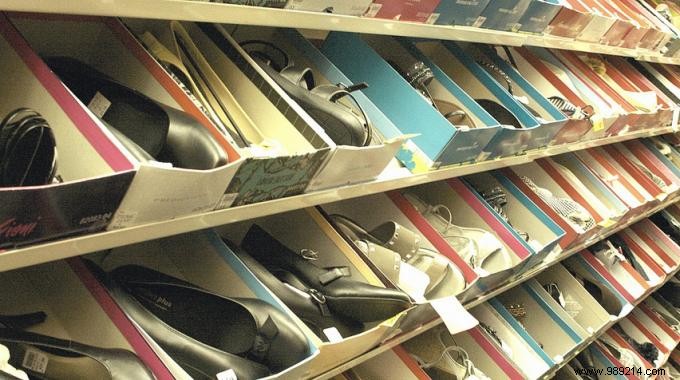
Ditch pricey filing cabinets—this proven DIY creates custom, beautiful storage. For shoe storage ideas, check our other simple hacks!