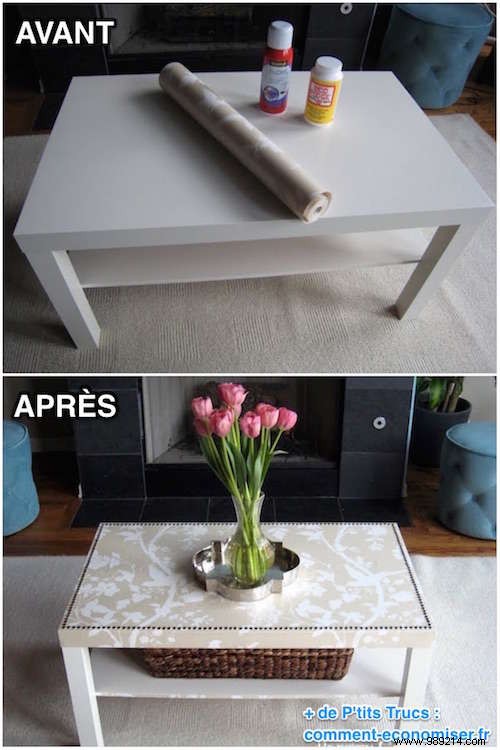
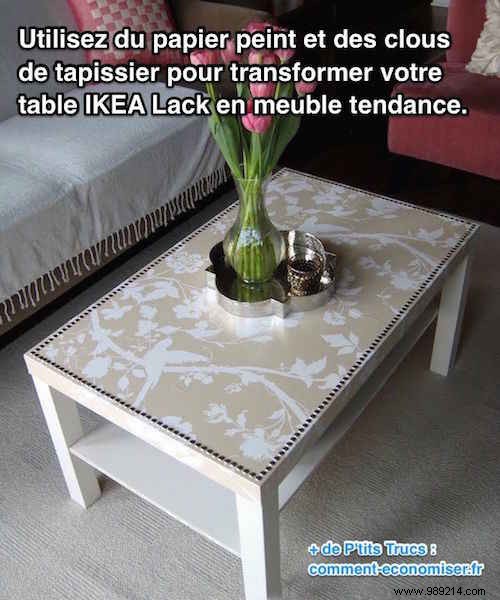
At under €20 with its minimalist design, the IKEA LACK table is an ideal candidate for a stylish upgrade. As a DIY expert who's customized countless IKEA pieces, I've perfected this simple transformation to turn your basic side table into a chic, one-of-a-kind furniture statement.
Here's the straightforward method to personalize your LACK table—proven effective and durable for everyday use.
 Contents
 - Wallpaper of your choice (select a pattern that complements your decor)
- Spray glue (neoprene spray glue from your local hardware store)
- Clear glue varnish
- Shellac
- Brass upholstery nails
- Hammer
- Ruler
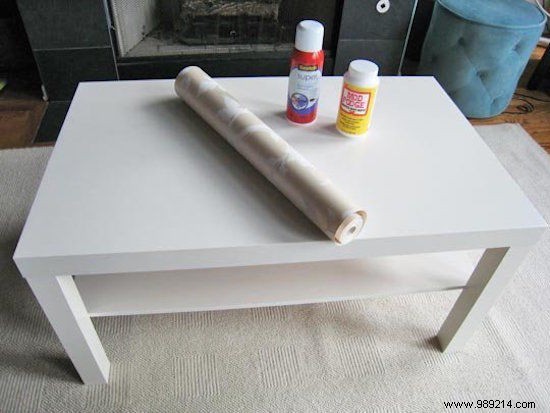
1. Ensure the table top is clean and completely dry.
2. Spray the glue evenly across the table surface.
3. Carefully position the wallpaper on top. For best results, have one person spray while the other applies the wallpaper.
Pro Tip: If bubbles form, smooth them out with a rolling pin, ruler, or even a credit card.
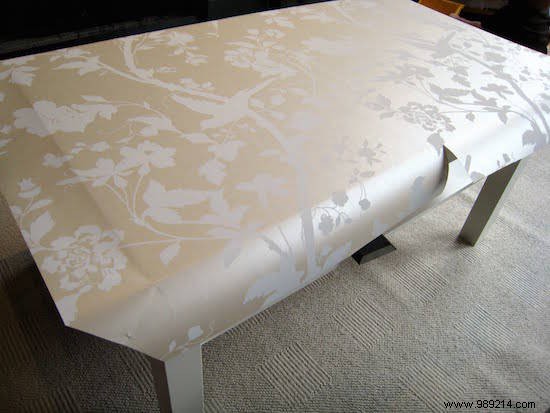
4. Fold the wallpaper edges down over the sides and underside. Remove the legs first for easier handling.
5. Apply a coat of clear glue varnish.
6. Once dry, add a layer of shellac. These sealants provide robust protection—spills wipe clean without damage.
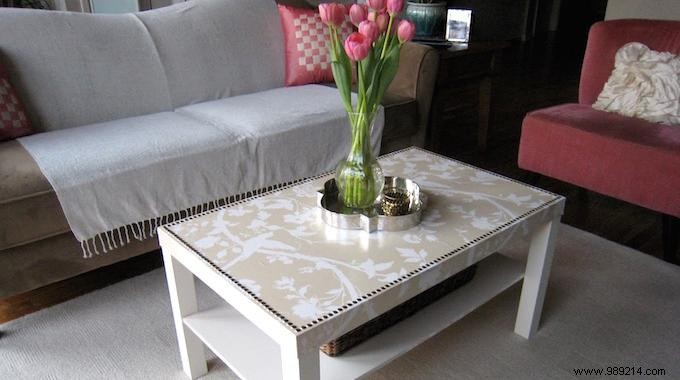
7. When fully dry, hammer upholstery nails around the perimeter for a polished finish.
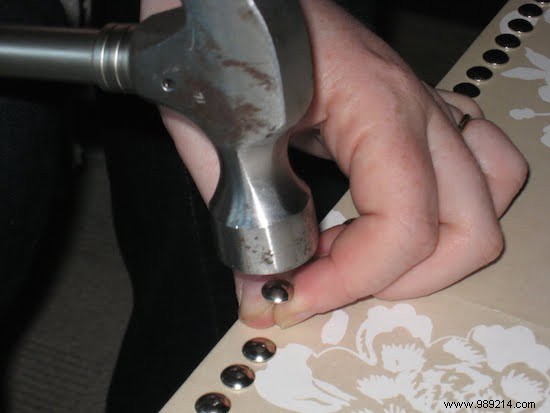
Mark 15mm from the edge for nail placement, then space heads 20mm apart using a pencil guide for uniformity.
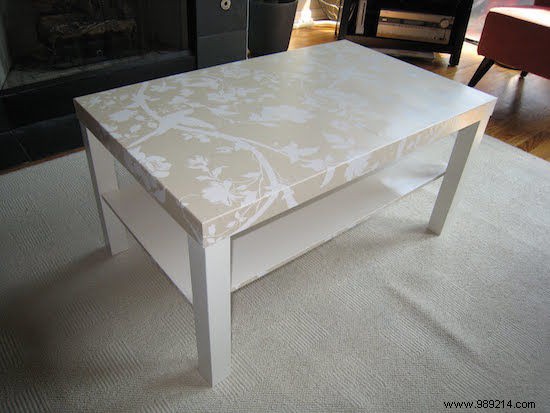
Your IKEA LACK table is now a sophisticated, custom focal point—simple, stunning, and far more elegant.
- Tackle this project before assembly on a new table for simplicity.
- If wallpaper is short, butt two pieces together seamlessly, as shown.