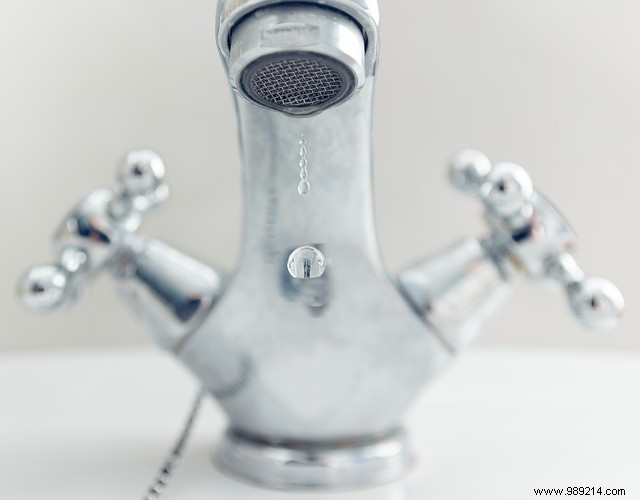
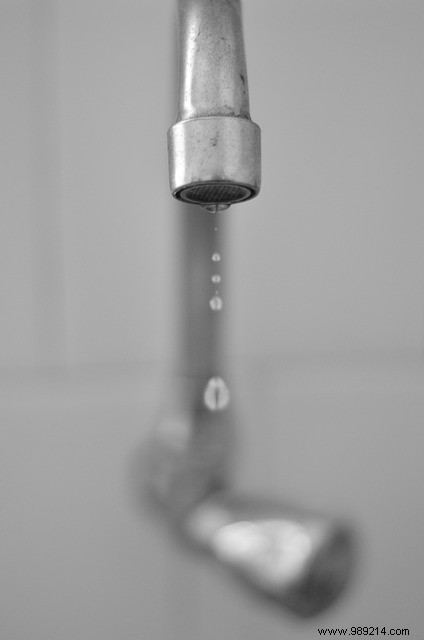
Leaky faucets are one of the most common plumbing issues in bathrooms and kitchens. As a plumbing expert with years of hands-on experience, I've helped countless homeowners tackle this problem efficiently.
A dripping faucet isn't just irritating—especially at night—it can spike your water bill significantly. The key is acting fast. Balancing work and family life often makes scheduling tough, but I've seen firsthand how convenient services can be.
If you're in Paris's 14th arrondissement or nearby, Mesdepanneurs.fr connects you with trusted local plumbers. Simply describe your issue on their platform, and an experienced pro arrives promptly to resolve it right.
If you're comfortable with basic tools and have time, handle it yourself. You'll need water pump pliers, adjustable pliers, and a screwdriver. First, shut off the water supply and open the faucet fully to drain it—keeping everything dry.
Most leaks stem from worn seals. Dismantle the faucet to access them, but plug the drain first to catch small parts. Steps vary by faucet type.
Screws are often under blue/red caps—pry them gently with a thin knife. For caps, unscrew carefully; use a dry cloth to grip. Only use a wrench if needed.
Unscrew the head nut with an adjustable wrench, remove the crosspiece(s), and extract the black rubber washer. No seal? It may be stuck in the valve seat from wear. Soak in white vinegar while sourcing an exact replacement from your hardware store.
Install the new seal, reassemble (including caps), and your faucet is good as new.