Nothing detracts from a bathroom's appeal like cracked, blackened silicone seals. As experienced DIY renovators know, replacing them is a quick fix that restores hygiene and prevents water leaks and mold growth.
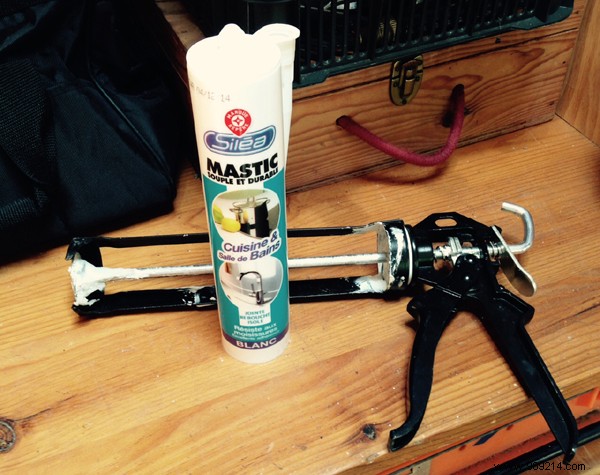
Replacing seals on bathtubs, showers, sinks, toilets, and basins ensures watertight performance and cleanliness. Head to your local hardware store for sanitary-grade silicone in a cartridge, a caulking gun, seal remover, flathead screwdriver, utility knife, painter's tape, wire brush, white spirit, and a sponge.
Clear the workspace for easy access. Apply seal remover to dissolve old residue quickly, then use a flathead screwdriver for stubborn bits. Scrub with a wire brush if needed, wipe with a sponge, and finish with white spirit for a pristine surface.

Ensure the surface is completely dry for optimal adhesion. Apply painter's tape along both sides of the joint line for crisp edges.
Cut the nozzle tip at a 45-degree angle and load the cartridge into the gun—start with a small cut to control the bead size, adjusting as needed. Pre-loaded gun options are also available.
Apply steady pressure to lay down an even bead of silicone. For pro results, smooth it immediately with a finger dipped in soapy water. Remove the tape, then tool the edges with a scraper. Trim any excess on tiles with a utility knife or cloth. The silicone skins over in 20 minutes but requires 24 hours to fully cure before use.