The Raspberry Pi is a remarkably versatile mini-computer that excels as a media hub. In past guides, we've explored turning it into a home theater using Raspbmc—How to Make Your Raspberry Pi a Home Theater. Since then, a superior, user-friendly option has emerged: RasPlex. As someone who's built dozens of Pi-based setups, I can confirm it's the simplest path to a high-performance media center.
RasPlex ports the acclaimed Plex media software to the Raspberry Pi. Plex evolved from XBMC (used in Raspbmc) into a powerful duo: the client and server.
On the Pi, RasPlex runs only the lightweight client. Install the server on a more powerful PC. This offloads heavy processing—like transcoding—to your main machine, streaming optimized content to the Pi (or any Plex client, from TVs to mobiles). It overcomes Raspbmc's limitations, such as USB storage hassles—The Raspberry Pi Home Theater: What It Can and Can't Do. Movies stream effortlessly from your server.
I sourced everything except the remote and server PC from this Amazon kit.
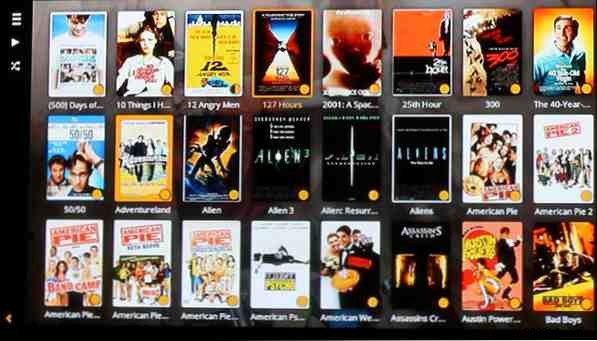
Plex scans files and pulls metadata from online databases. For accurate matches, structure folders simply: one for Movies, one for TV Shows. Use subfolders per movie or series.
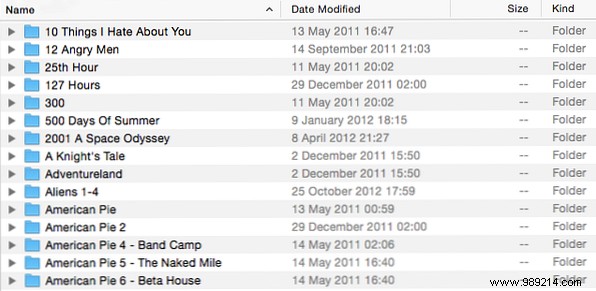
Plex handles flexible naming: spaces, periods, underscores, or hyphens work for titles like The Movie, The.Movie, The_Movie, or The-Movie.
TV episodes need season/episode info, e.g., The_Show_S01E01 or The.Show.1x01. Extra details in names are fine—Plex's flexibility shines here, no rigid renaming required.
Plex setup has streamlined over the years, supporting more platforms including x86 NAS (avoid ARM for transcoding).
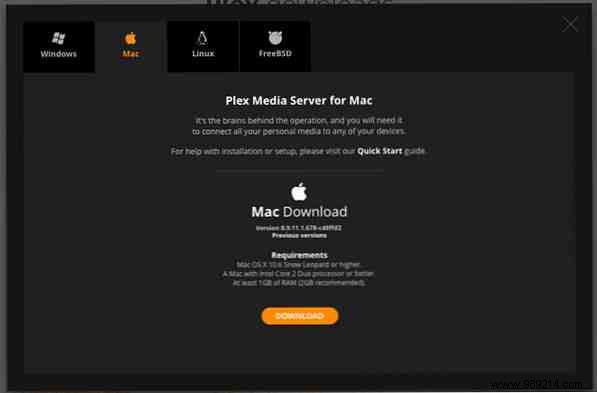
On your server PC, visit the Plex download page, select Plex Media Server > Computer, and download for your OS.
The server runs in the system tray (Windows) or menu bar (OS X). Access the web interface at https://localhost:32400/web or via the icon > Media Manager.
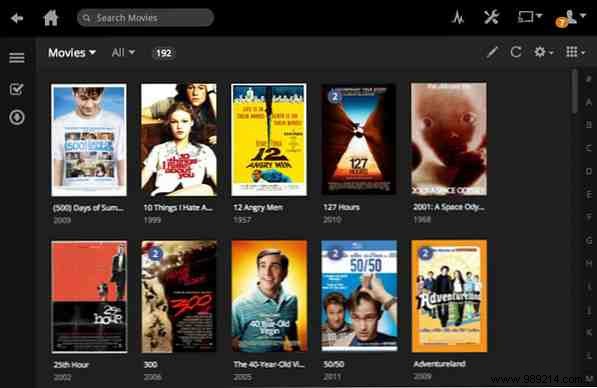
Add libraries: Click +, select type, name it, browse to folder, and hit Add library. Plex scans, fetches metadata, and shares content.
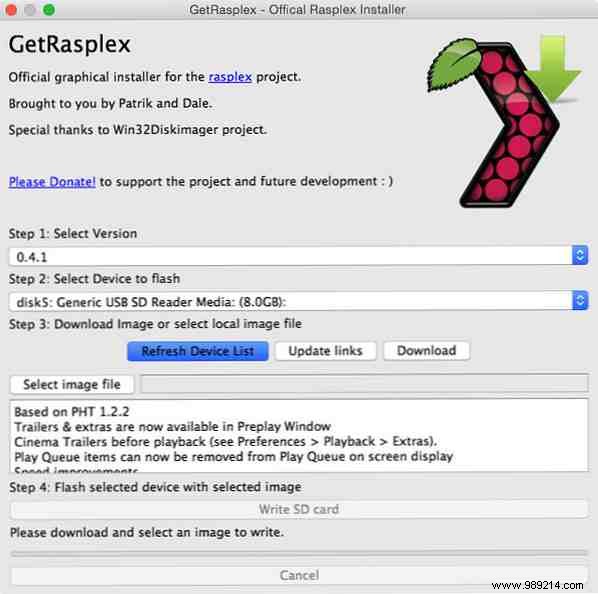
With the server ready, prep the client. Download the RasPlex installer for your OS and insert the MicroSD card.
Run as admin on Windows; enter password on Mac. Select latest RasPlex version, your SD card, Download, then Write SD card.
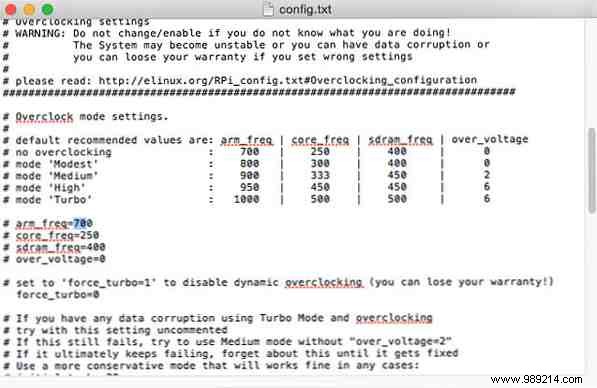
Overclocking boosts CPU speed—a gamer staple for years: Overclocking for Gamers and Power Up Your Pi. RasPlex is optimized for it.
With SD card inserted, edit config.txt. Under overclock settings, select High (as I did): adjust arm_freq, core_freq, sdram_freq, and over_voltage to match.
Eject, insert into Pi.
Connect HDMI to TV, Wi-Fi/Ethernet, keyboard, and remote (if any).
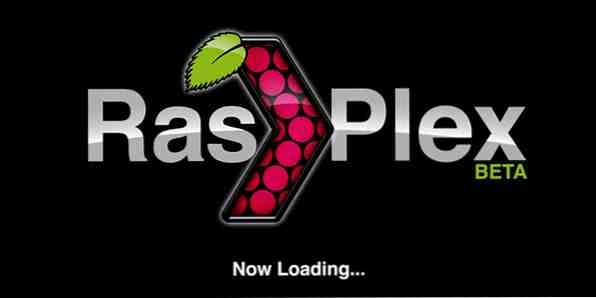
Power on. Follow prompts: select Wi-Fi, enter password, enable pre-caching (yes).
RasPlex connects to server, caches metadata (initially slow, then snappy).
Ditch the keyboard: use a remote or phone app. RasPlex supports LIRC remotes like Windows Media Center ones: Superpower Your Media Center.
I prefer the Plex app (iOS/Android/Windows Phone). It streams to phone or controls Pi: tap Choose player, select plexhometheatre in rasplex.

Play, pause, skip from anywhere.
Rip DVDs/Blu-rays with MakeMKV: Rip DVDs and Blu-Rays Easily. Add a stylish case. Upgrade to Plex Pass ($5/month) for mobile sync, trailers, multi-user support: Plex Pass Features.
Using a Pi media center? Share your experience in comments.