"It’s actually bad to eat apples. Better to turn them all into cider." – Benjamin Franklin
Homebrewing has exploded in popularity, with creative beer recipes like Cucumber Beer or Chocolate Cranberry Cream fermenting in garages everywhere. As a homebrewer with years of hands-on experience, I love beer, but my go-to brews often ditch barley and hops entirely. Franklin might have overstated apples' downsides, but his passion for hard cider resonates—I make it regularly and never regret it.
Hard cider fueled colonial America: Thomas Jefferson pressed it from Monticello apples, George Washington offered it to voters, and John Adams downed a pitcher daily as a health tonic. By the mid-1700s, Americans drank over 30 gallons per capita yearly.
Post-Civil War railroads boosted cheap beer distribution, sidelining cider—until the craft revival brought it back strong.
Hard apple cider shines for homebrewing. It's forgiving, endlessly flavorable, and lets you tweak clarity, gravity, and carbonation with natural additives.
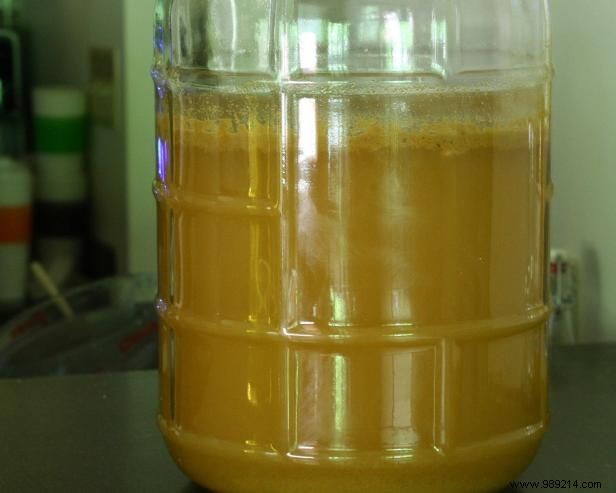
Pour two gallons of apple juice into a sanitized fermenting bucket. Choose preservative-free store-bought juice. For fresh-pressed, pasteurize by heating to 160-170°F (don't boil) to kill bacteria and wild yeast.
This recipe is straightforward, but sanitize all gear meticulously with boiling water, rubbing alcohol, or a commercial sanitizer.
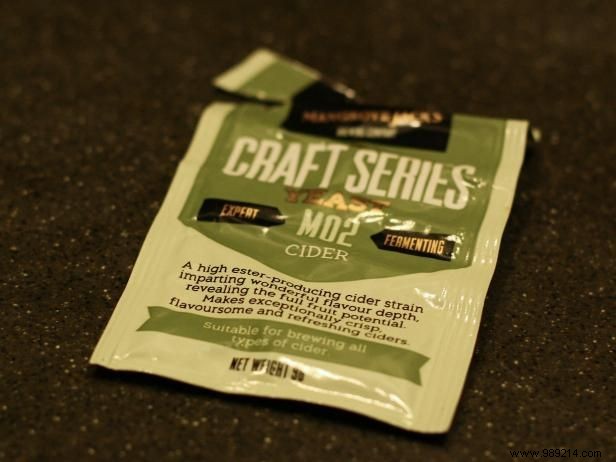
Dissolve half a packet of cider or ale yeast in ¼ cup warm water, then stir into the juice.
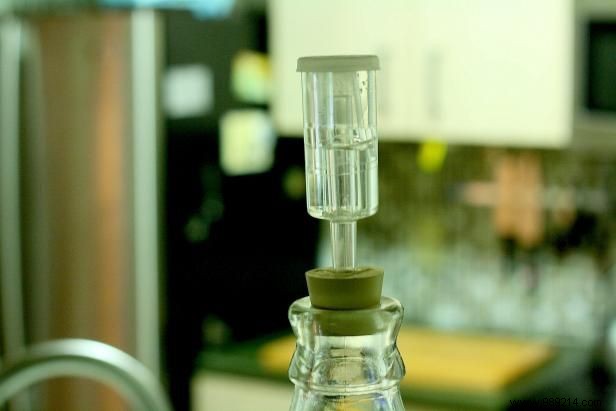
Fit an airlock to the fermenter. It lets CO₂ escape while blocking contaminants. Bubbles start in hours as yeast eats the sugars.
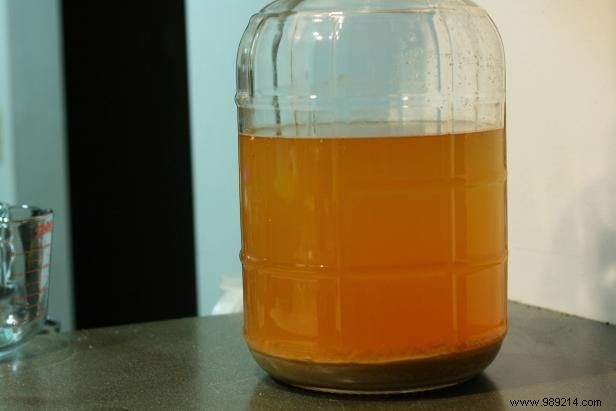
After 10-14 days, bubbling slows and solids settle as trub (slimy sediment). Rack the cider to a secondary fermenter to separate it—this clarifies and stabilizes.
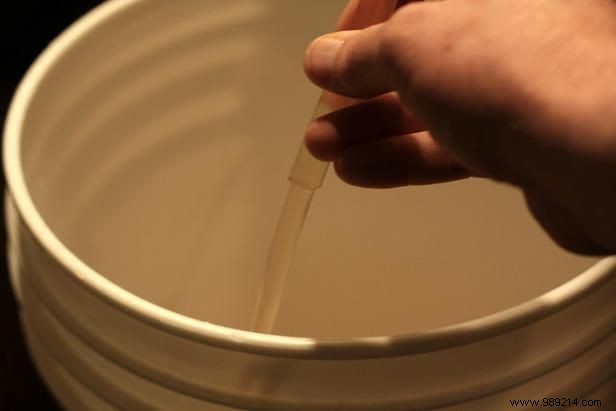
Siphon cider with tubing, avoiding the trub (discard it). Position the secondary lower for gravity flow. Prime the siphon by filling the tube with water first.
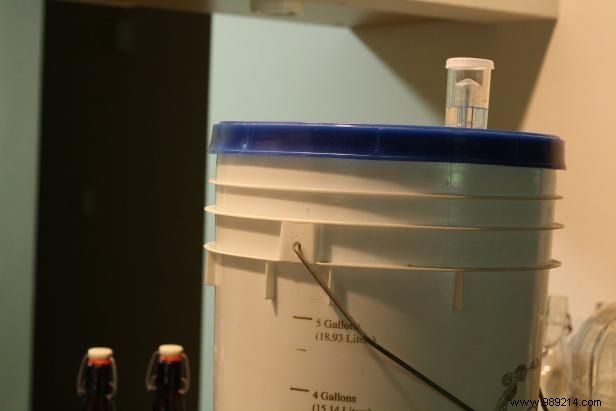
Add an airlock and store in a dark spot for another 10-14 days. If using an open bucket, sanitize the primary and rack back later.
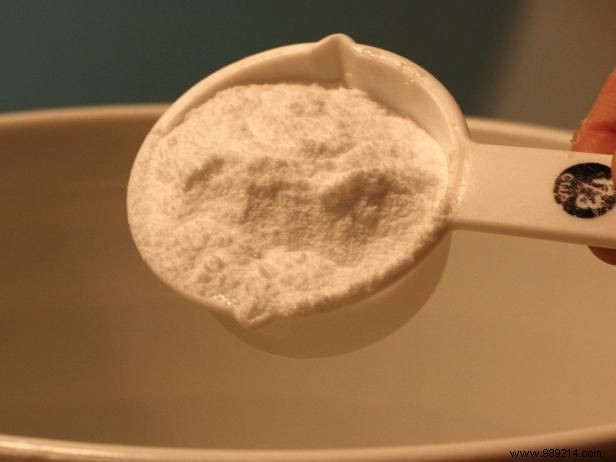
Before bottling, stir in ⅓ cup corn sugar. Yeast will ferment it in the bottles for natural carbonation.
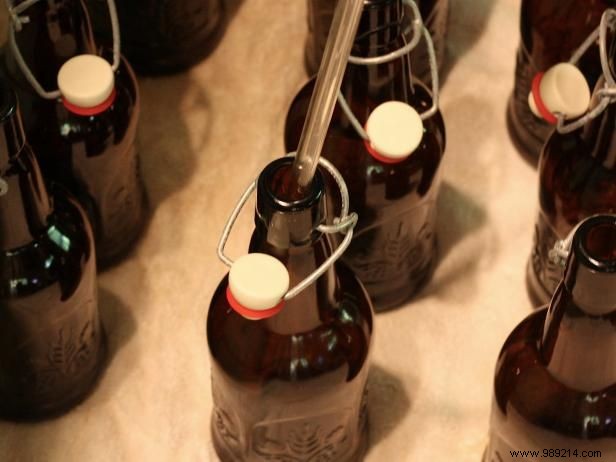
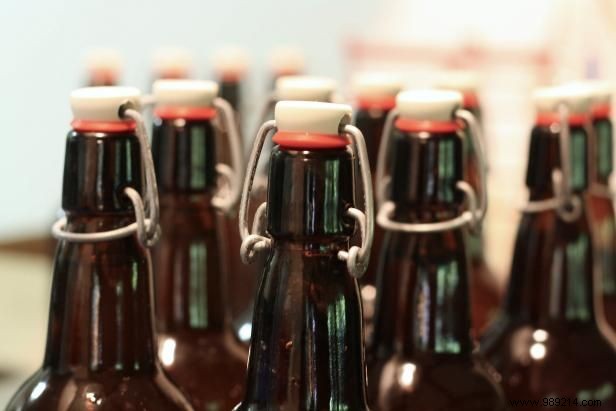
Fill sanitized bottles via tubing or funnel, leaving 1 inch headspace. Use twist-offs or crown caps with a capper—ensure airtight seals.
Store bottles in a dark spot. Sample after 3 weeks; wait longer if needed for carbonation. Cider improves with age, but refrigerate to halt it and avoid over-pressurization. Start your next batch!