As a seasoned crafter with years of DIY costume experience, I've created this delightful ice cream scoop using papier-mâché atop a laundry basket cone wrapped in brown kraft paper. Colorful ping-pong balls add fun sprinkles, and a red knit hat with a green pipe cleaner forms the perfect cherry on top.
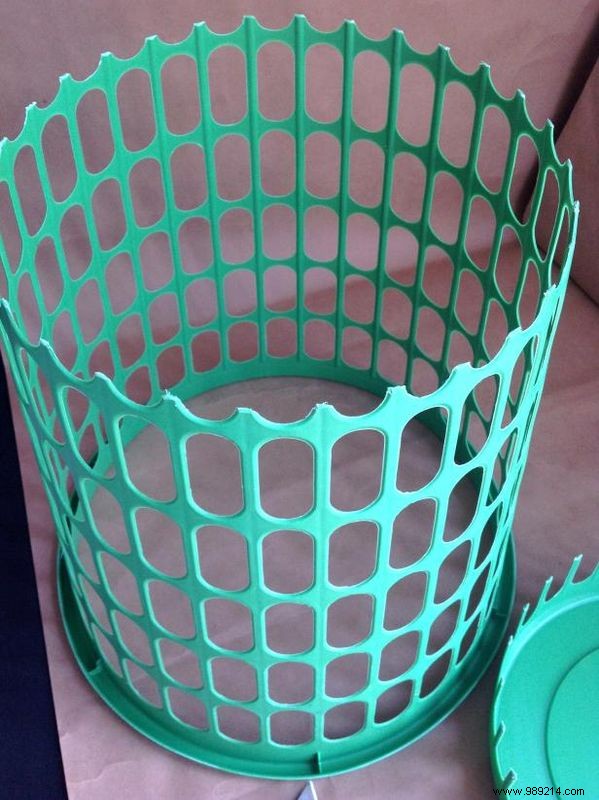
Cut the bottom out of the laundry basket to form the base of your cone.
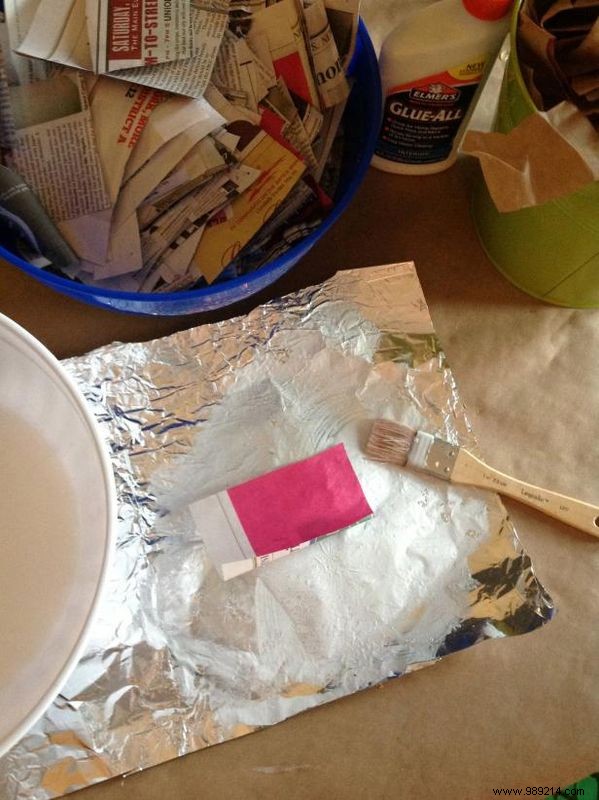
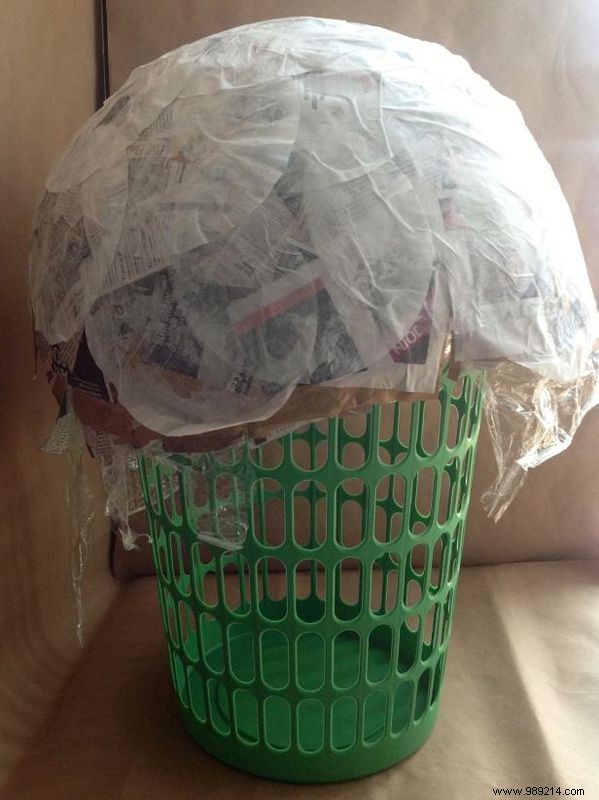
Cut newspapers and brown kraft paper into 4" x 4" or 4" x 6" strips. Pre-cutting saves time and ensures smoother results. Use alternating paper types for easy layer tracking. Wrap a beach ball in 2-3 layers of plastic wrap to protect it and ease removal. Position the ball over the basket and trace a circle with a marker where they meet—this marks your coverage area.
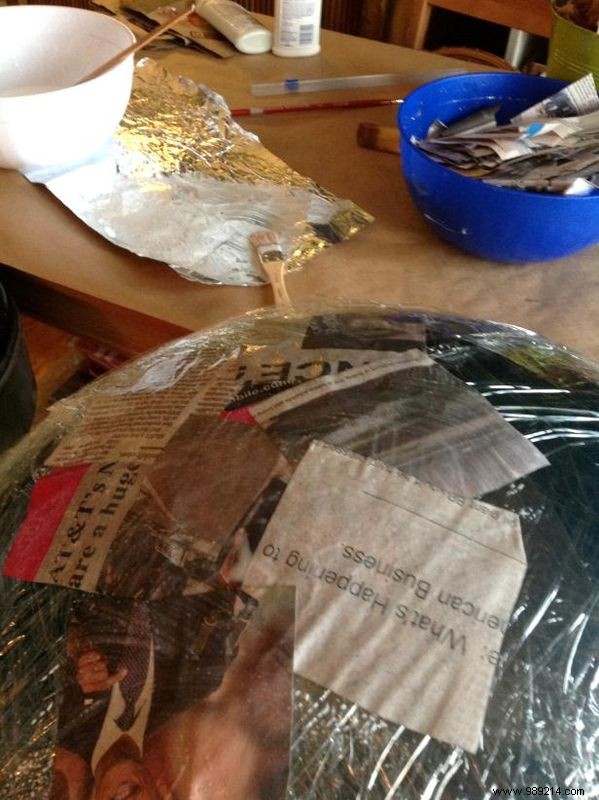
Mix papier-mâché paste in a large bowl: 4 parts glue to 1 part water. Stir until smooth. Start with newspaper or brown paper strips; brush both sides lightly with paste and apply to the ball.
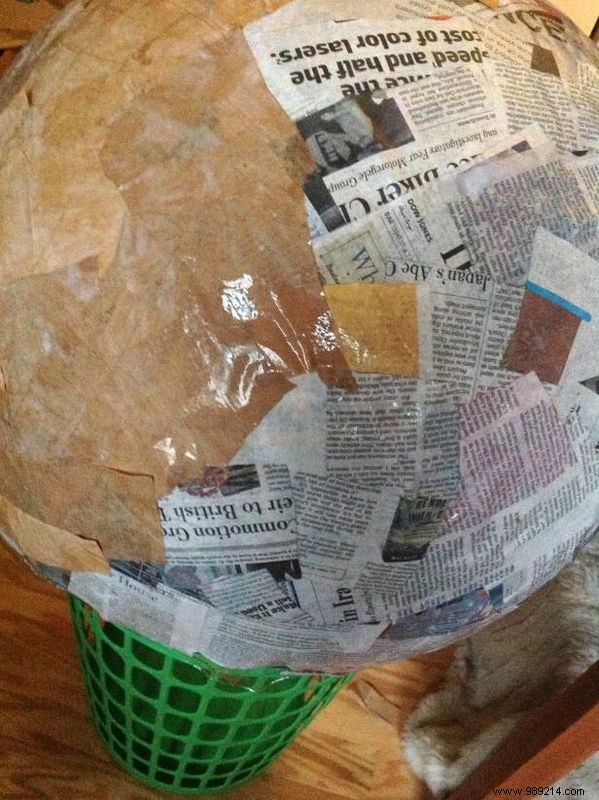
After the first layer dries slightly, switch paper types. Alternate between newspaper and kraft paper for strength and identification.
Continue layering until the top half of the ball has six layers. For the outermost layer, use coffee filters for a smooth finish.
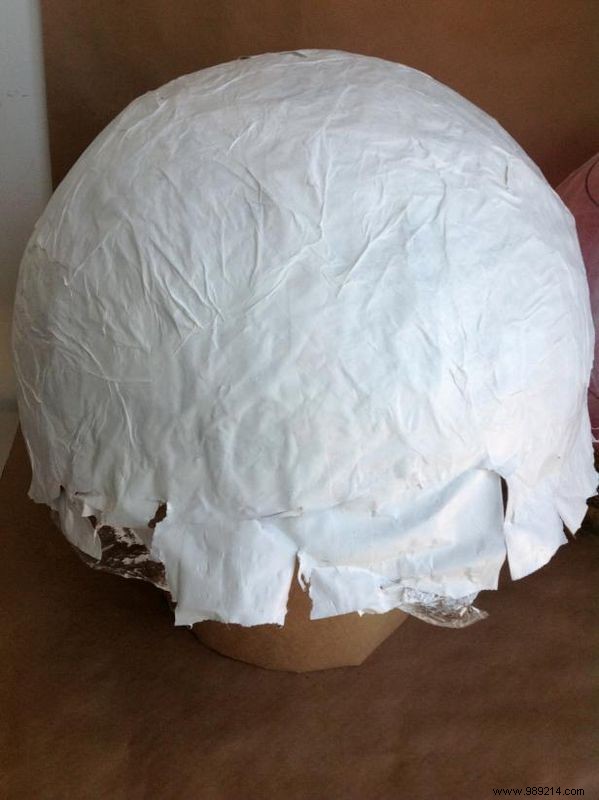
Dry overnight. Deflate the ball or cut small slits at the base to gently remove the papier-mâché scoop. Once fully dry, paint white (or your preferred ice cream color). Allow to dry per paint instructions, about an hour.
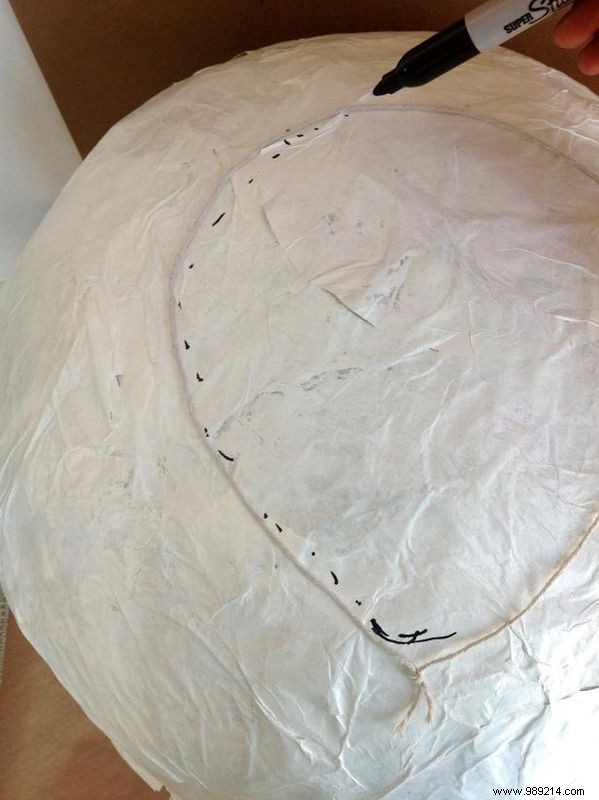
Measure the wearer's head circumference with string, adding 2 inches for comfort. Lay the string on the scoop and outline with a marker.
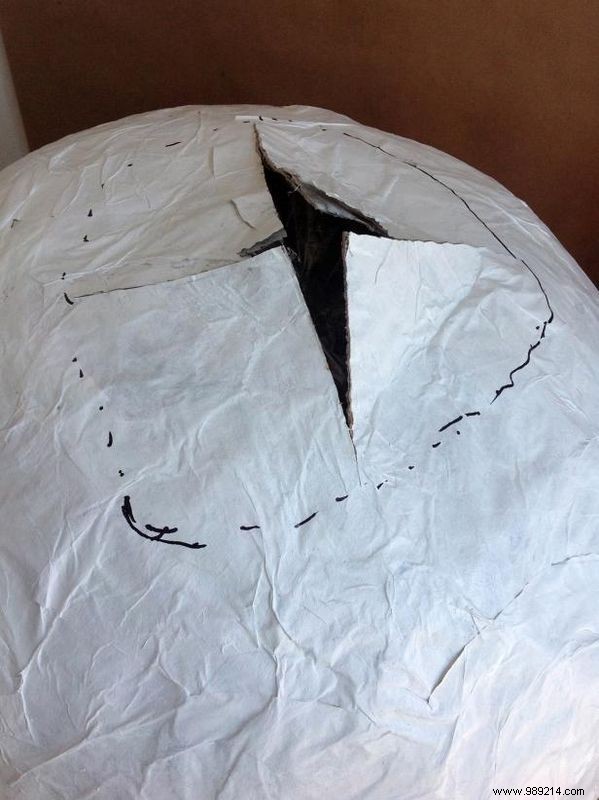
Carefully cut an X in the center of the outline with a knife, then gently expand the opening.
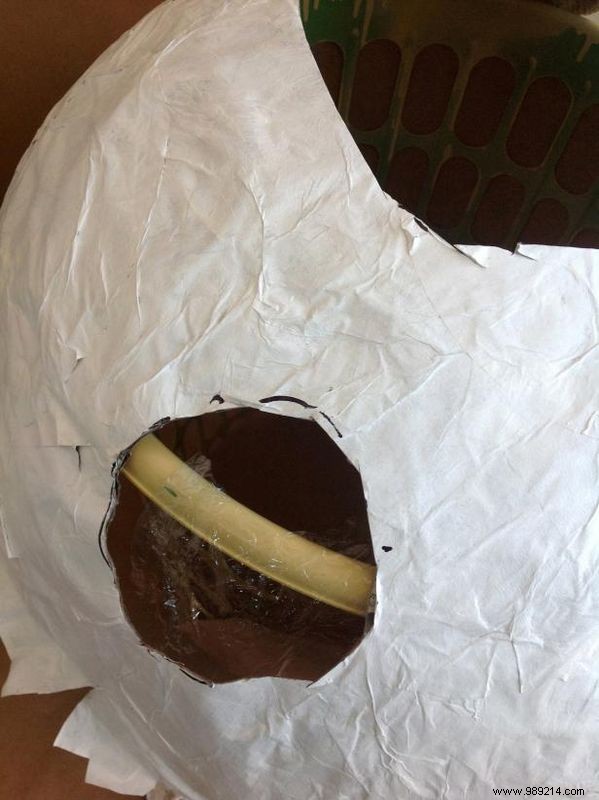
Repeat for both armholes to fit comfortably.
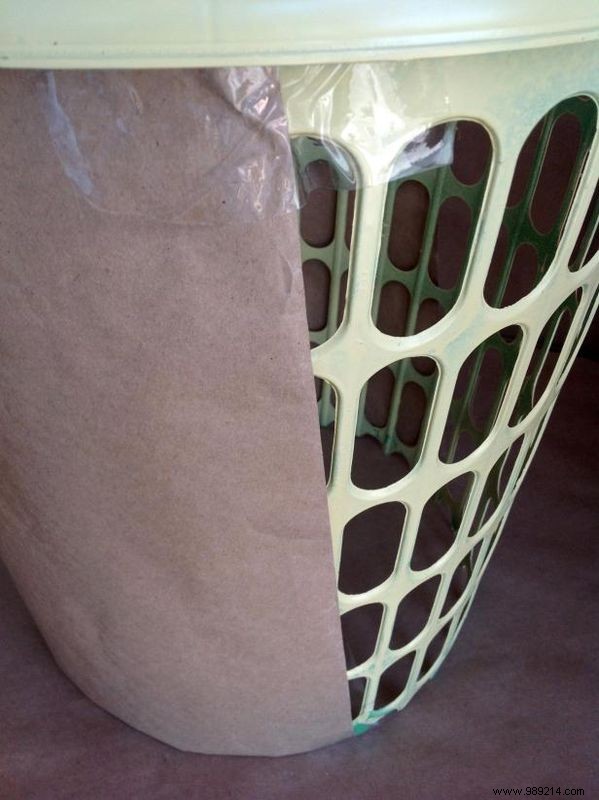
Create shoulder straps by looping through opposite slots in the basket. Wrap with kraft paper, using the basket's rim as a guide for a tapered cone shape. Tape securely, trimming excess as needed.

Position the scoop atop the cone. Hot-glue ping-pong balls as sprinkles, starting with one color for even distribution.
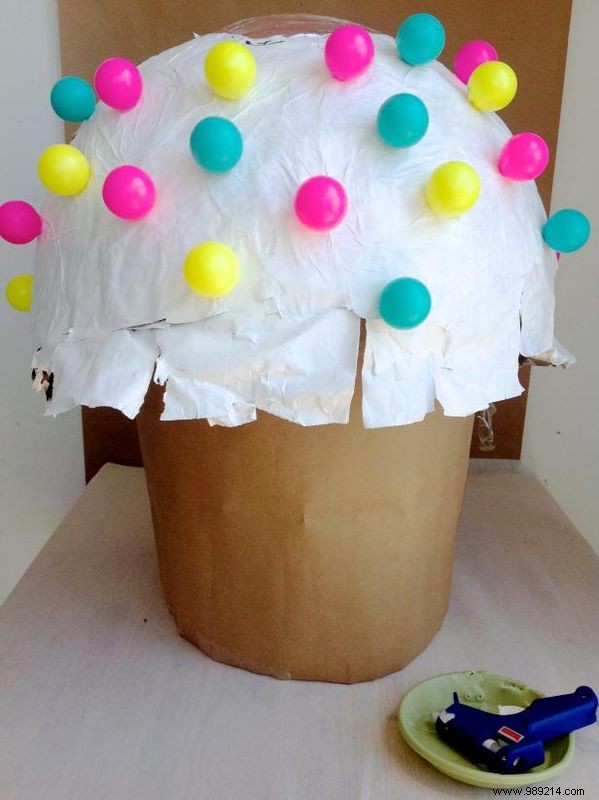
Add remaining colors for a vibrant, realistic look.
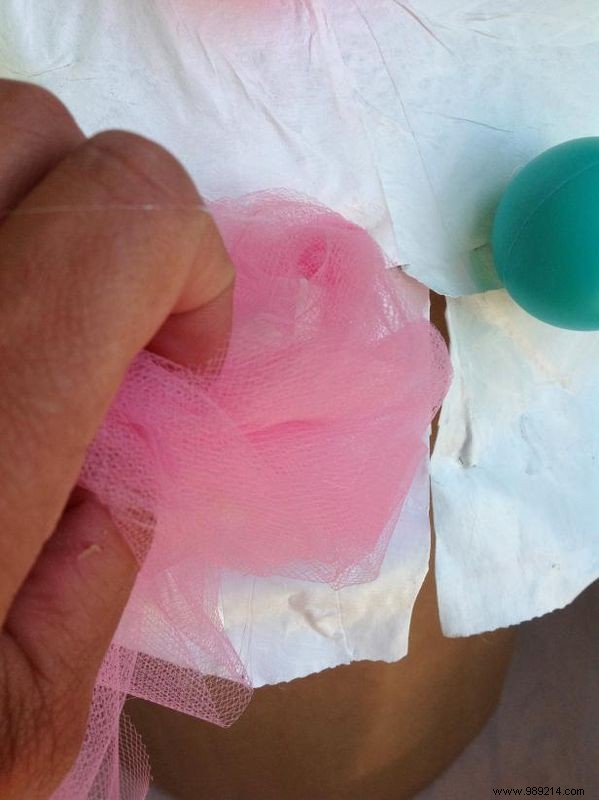
Wrap tulle around the cone base, looping at least twice for fullness.

Thread a green pipe cleaner through the top of a red knit hat for the cherry. Pair with a white ruffled long-sleeve shirt, brown leggings, and boots for the full look.