Blend the festive charm of a piñata with a classic Christmas tree to create this delightful fringed paper cone tree. As an experienced crafter, I've found this whimsical centerpiece adds instant holiday magic to your table for just a few dollars.
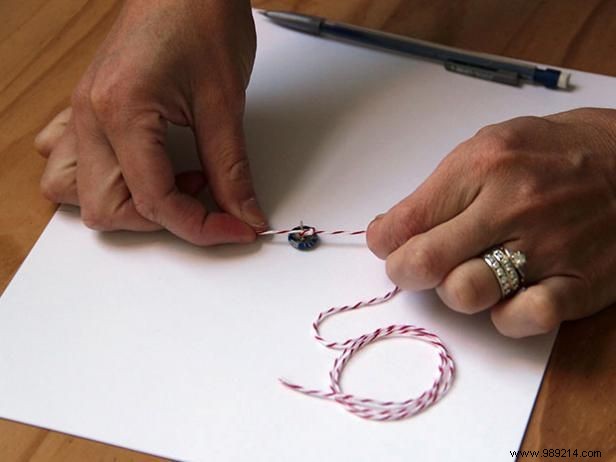
The simplest way to draw a perfect semicircle on cardstock is with a DIY compass. Tie a piece of string to the end of a thumbtack.
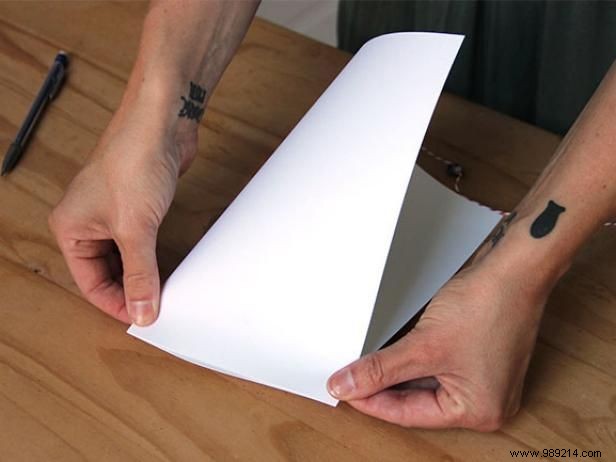
Fold the cardstock in half along the long side to mark the center point.
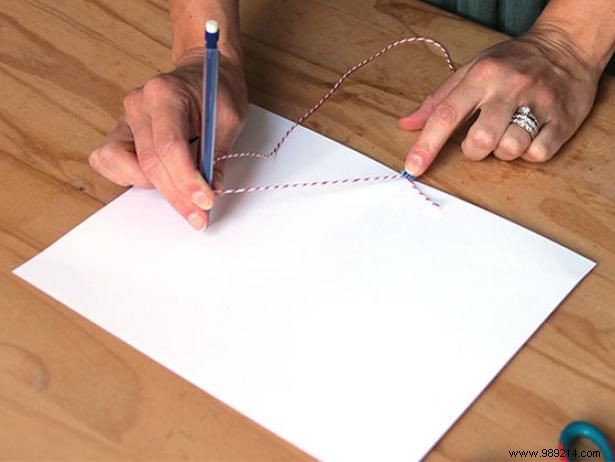
Press the thumbtack down at the center point. Measure the distance from the center to the edge—this sets your string length. Tie the string around a pencil, pull it taut, and guide the pencil to trace a precise semicircle.

Carefully cut along the semicircle line.
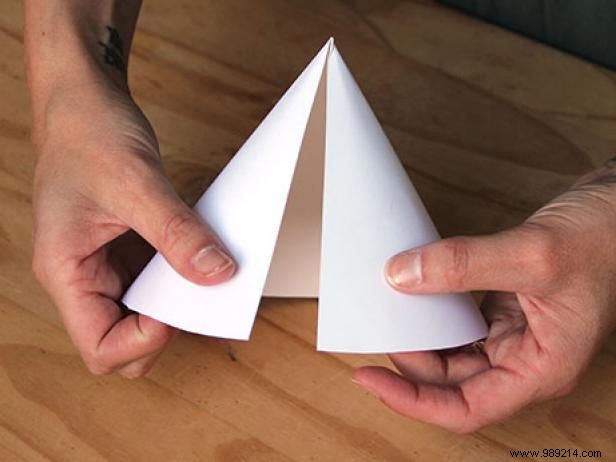
Using the center point as the tree's top, roll the straight edge around until the ends meet, shaping a sturdy cone.

Staple the bottom or apply tape along the seam for a firm hold.
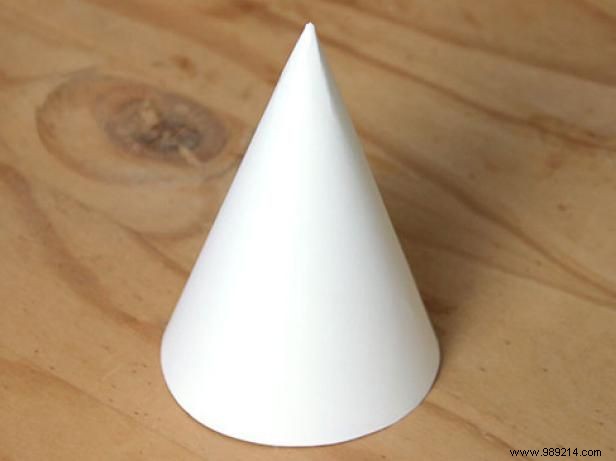
You now have a perfect cone base ready for fringing.
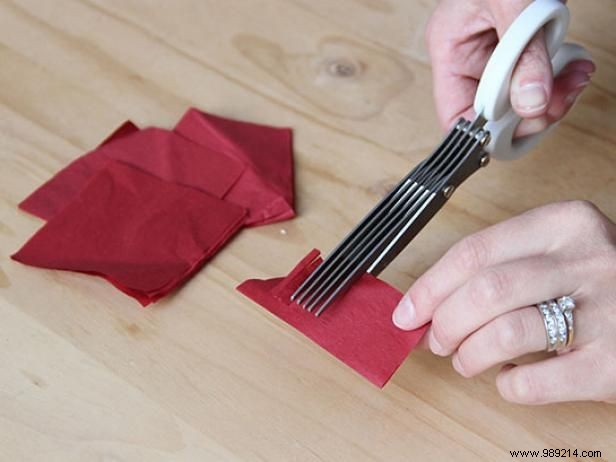
For the fringe, cut tissue paper into squares, then snip 3/4 of the way up each one. Fringe scissors from craft stores speed this up significantly.
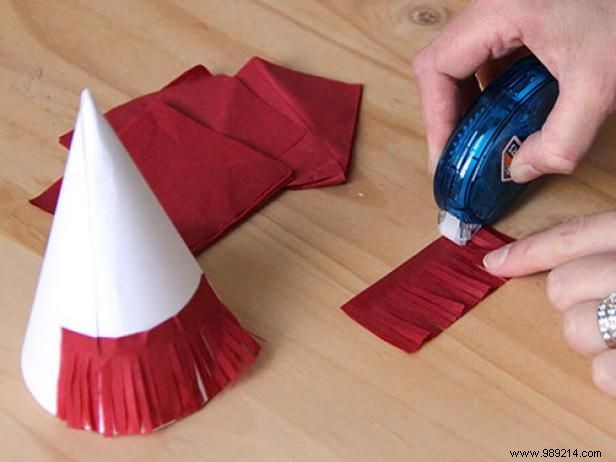
Apply masking tape or glue stick to adhere the fringed strips to the cone. Cut into squares rather than long strips to avoid bunching around the curve. Crepe party streamers work equally well when cut into smaller pieces.

Layer fringe around the entire cone, leaving about an inch between rows. Use progressively smaller pieces (start at 2"x2" squares, taper to 1/2" at the top) for a natural tree shape. Overlap layers for fullness.