As a parent and DIY enthusiast with years of crafting fun projects for my kids, I know how rewarding it is to build a kite from simple materials. It's an easy family activity that sparks creativity and gets everyone outside.
With basic supplies and about 30 minutes, you can create a kite that flies beautifully. I've tested this design countless times, including with my 6-year-old daughter on the beach—it's durable and kid-approved.
 Contents
 - 4 wooden sticks (such as skewers or chopsticks for a small kite)
- White or colored kraft paper
- Adhesive tape (like Scotch tape)
- Twine (kitchen twine works well)
- Markers, sequins, stickers for decoration
- Scissors
1. Tape two sticks side by side securely, wrapping the tape tightly around them.
2. Repeat with the other two sticks.
3. Trim them slightly shorter if needed for a balanced frame.
4. Arrange the pairs into a cross shape.
5. Secure the center firmly with more tape.
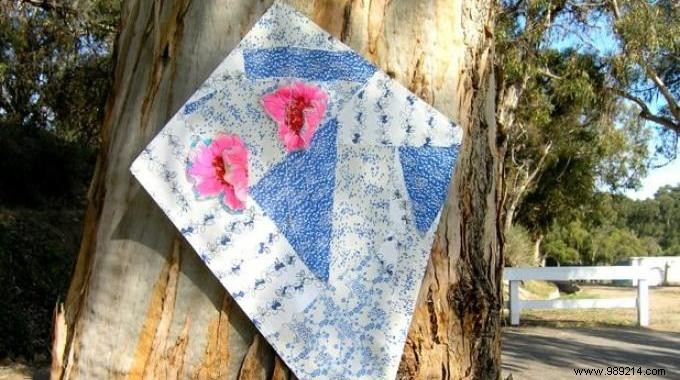
6. Place the cross on your paper sheet.
7. Draw a diamond shape around it, making sure it's slightly larger than the frame.
8. Decorate the diamond with markers, stickers, or sequins.
9. Cut out the diamond shape carefully.
10. Reposition the sticks on the paper, fold the edges over, and tape them down securely.
11. Tie twine to the ends of the horizontal (shorter) stick, making it slightly wider than the kite's width.
12. Attach a long central line to this bridle string—it'll be your flying line, so make it plenty long.
13. Cut two long paper strips and tape them to the bottom as the tail for stability.
Your paper kite is ready to soar! It's incredibly simple, as promised—child's play, really.
No need for store-bought options; this homemade version is just as good and far more memorable.
Crafting it together builds family bonds and keeps kids engaged, even on rainy days until the wind picks up.
They'll beam with pride watching their creation fly. My daughter's kite survived beach gusts and is set for more adventures.