 From: Emily Fazio
Emily Fazio, 2015
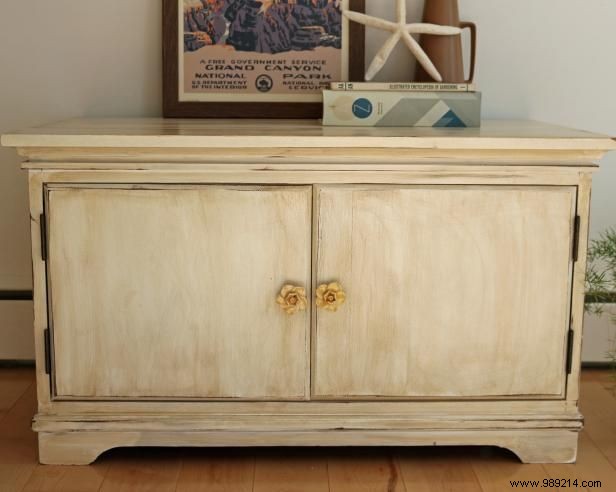
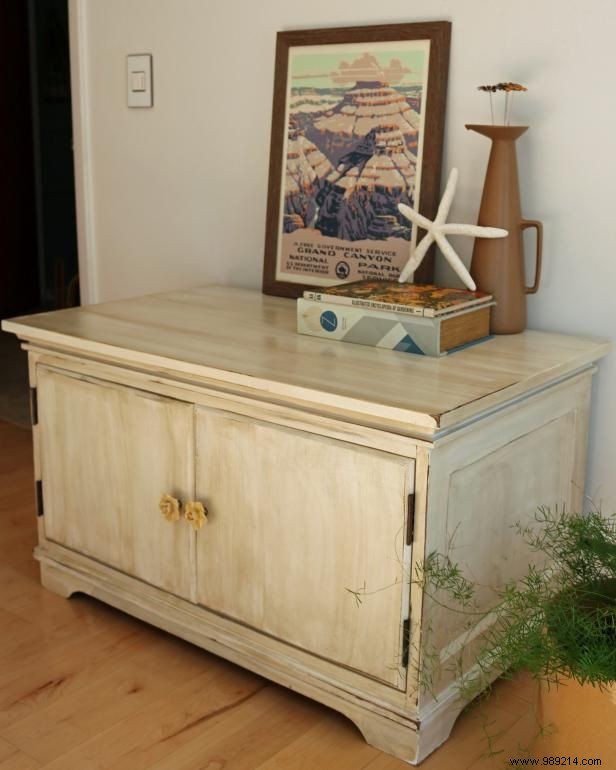
DIY expert Emily Fazio shares her proven technique to transform everyday furniture into a beautifully weathered antique. By painting, distressing, and staining, you can achieve an authentic rustic or farmhouse vibe that stands the test of time.
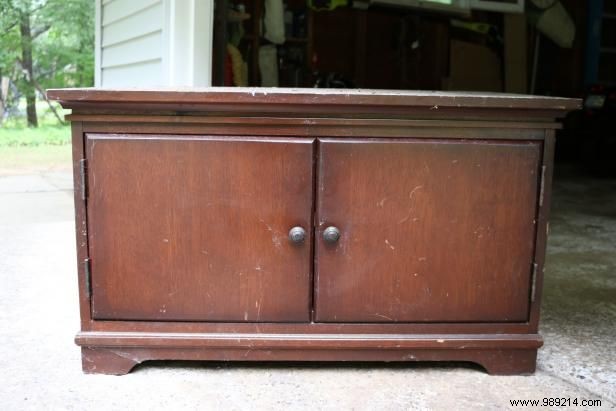

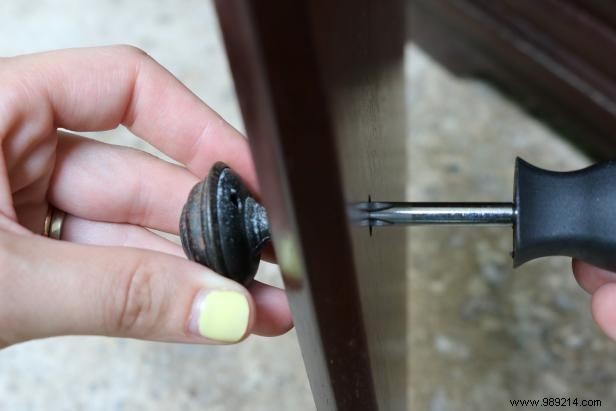
Wipe down the surface with a rag to remove dust and residue (Image 2). Use a screwdriver to carefully detach doors, hinges, and fittings (Image 3). Label or bag screws and hardware to stay organized during reassembly.

Use a sander to rough up the polyurethane finish, then switch to sandpaper for tight corners. This step ensures primer and paint adhere properly while softening edges for a natural distressed effect.
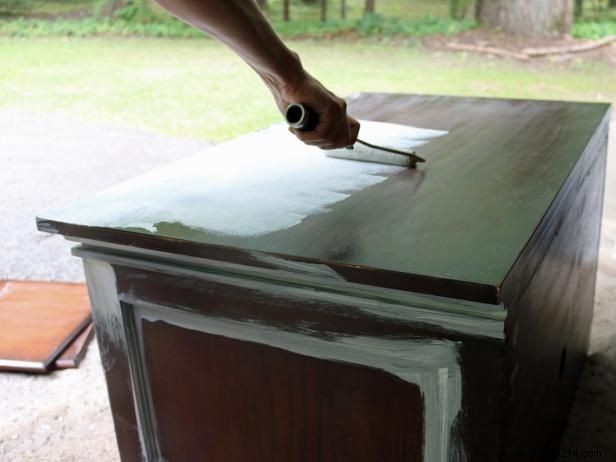
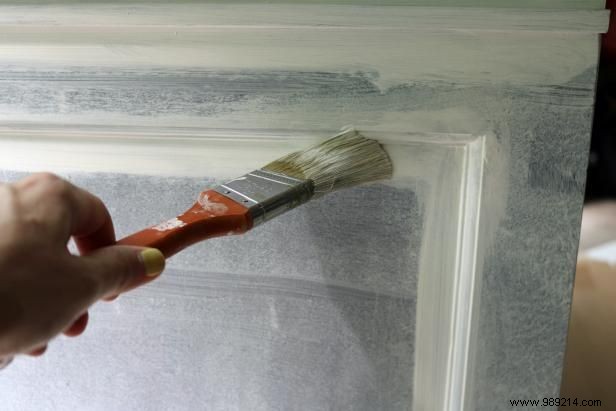
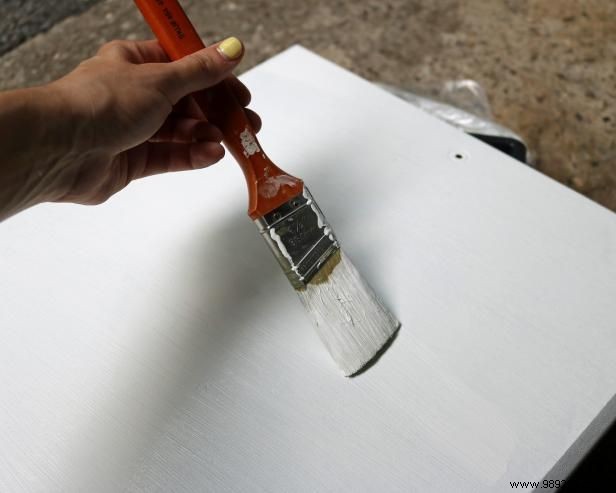
Apply a thin primer coat with a brush and roller (Images 1 and 2). Once dry, add white paint. Opt for high-tack primer on laminated surfaces for better adhesion; traditional primer works well on sanded solid wood.
While the paint is wet, smooth out roller marks with a brush (Image 3) for a brushed, authentic finish ideal for rustic pieces.
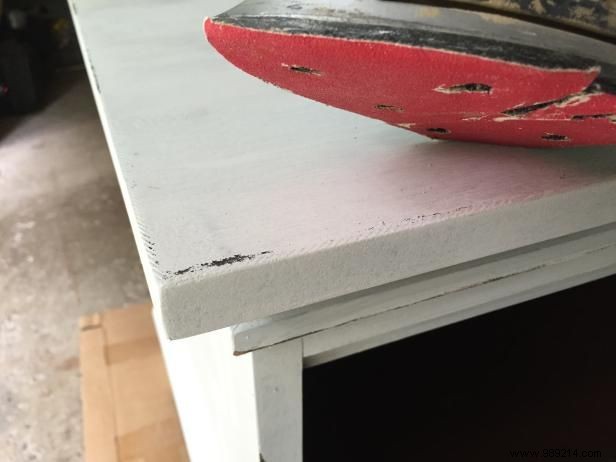
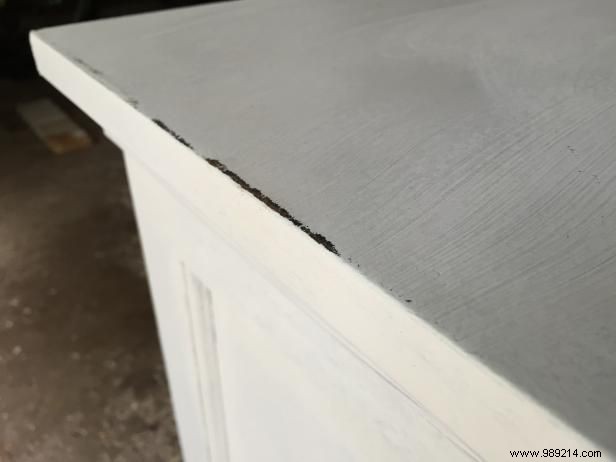
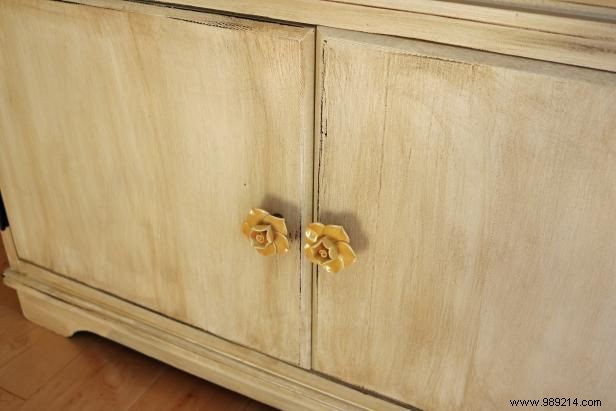
Once paint dries, lightly sand the surface, focusing on edges, to reveal underlying wood. Adjust intensity for subtle or bold distressing, creating a naturally aged appearance.
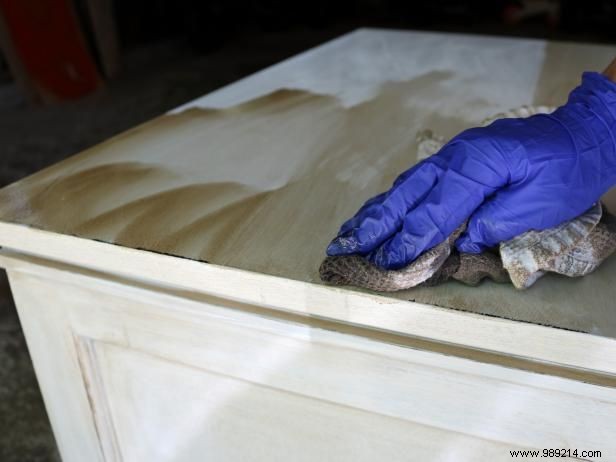
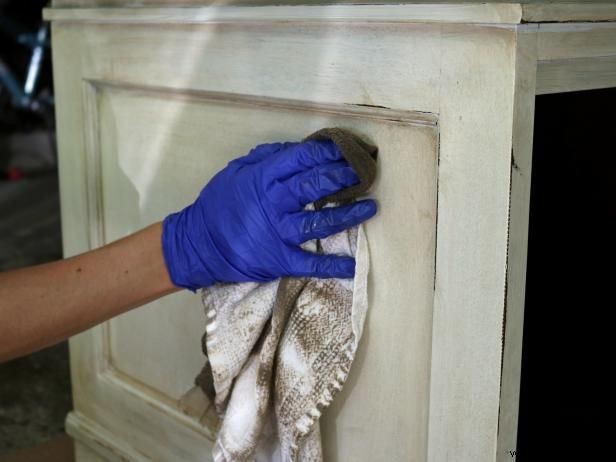
Stain the surface for a vintage patina. Wipe on one coat with a cloth in straight strokes, removing excess. Add more layers for depth or layer colors for unique effects—even mimicking light woods like maple or oak.
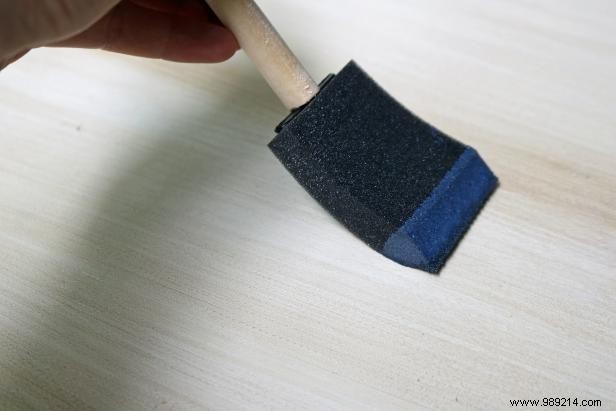
Protect your finish with polyurethane: oil-based over oil stain, water-based otherwise. Use a foam brush for even application in matte or gloss, ensuring long-lasting durability.
Emily Fazio, 2015
From: Emily FazioReattach using original hinges and screws. Swap knobs for a fresh style update to complement your rustic makeover.