Brian Patrick Flynn
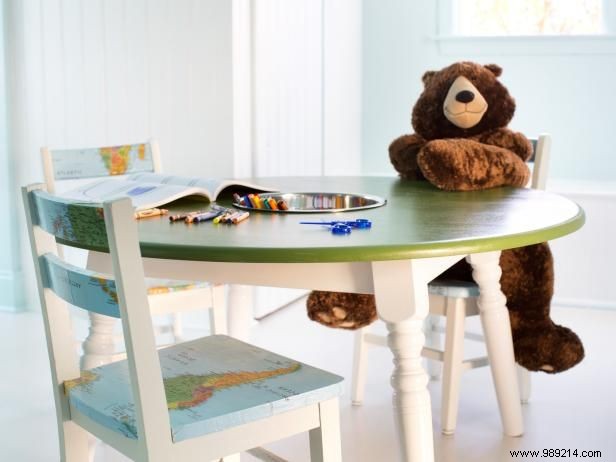
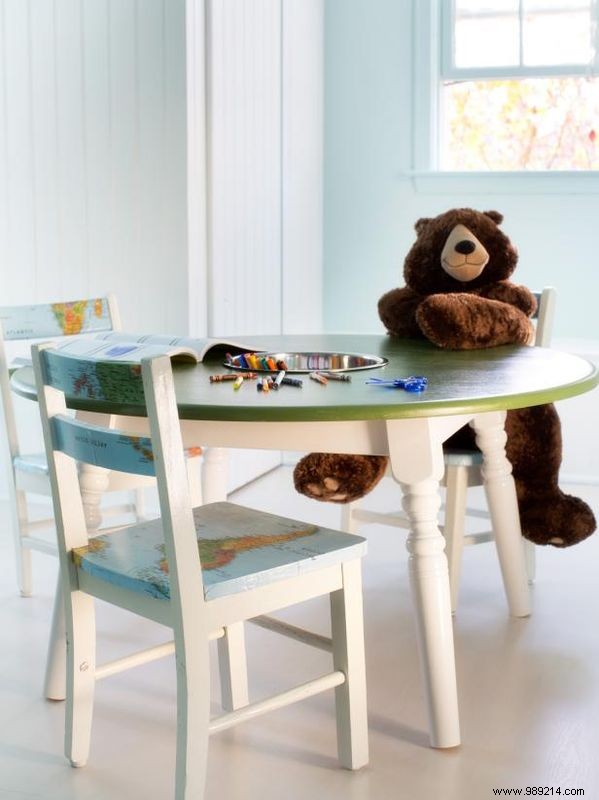
Interior designer Brian Patrick Flynn shows how to create a clever activity station from an old wooden dining table and a large mixing bowl.
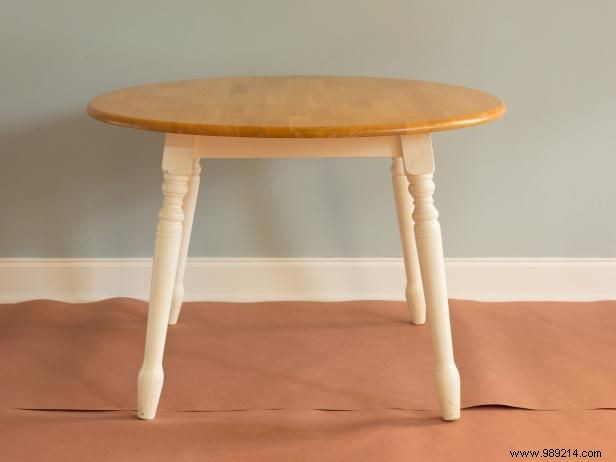
Shorten the legs of an old kitchen table to kid-friendly height. Cut a hole in the center and fit it with a large metal bowl for art supplies and pencils, then finish with fresh paint. Prioritize safety and fit: round tables without sharp edges are best, ideally 30" to 42" in diameter so children can easily collaborate without sitting too far apart.
Brian Patrick Flynn
To build this activity table, you'll need: a wooden dining table; handsaw; large mixing bowl; measuring tape; marker; semi-gloss latex paint; drill with a 1" bit; ruler; 1" wood or metal screw; orbital sander; mini roller handle and sleeve; mini paint tray; spray paint; rag or roll of kraft paper.
Brian Patrick Flynn
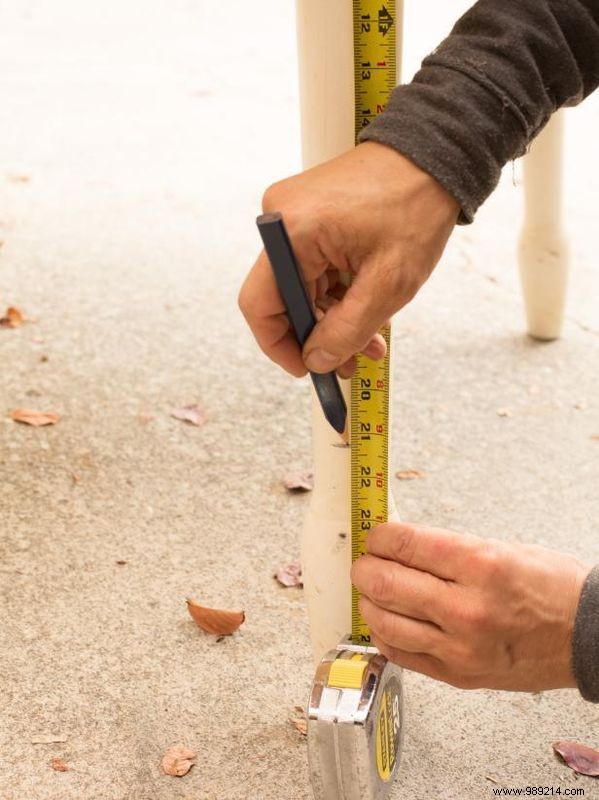
For child height, cut the legs so the tabletop sits 18" above the floor. Use a measuring tape and marker to measure and mark each leg accurately.
Brian Patrick Flynn
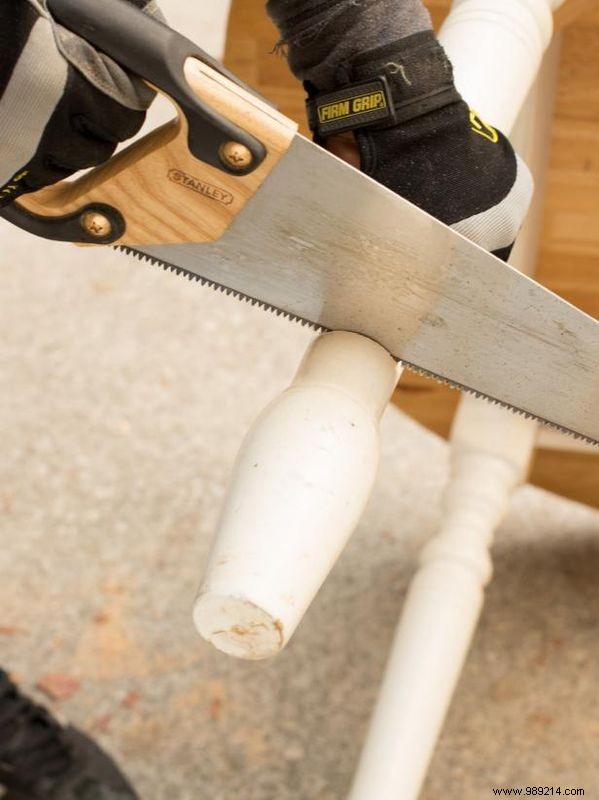
Follow your marked lines and cut the legs with a handsaw for a stable, low-profile table.
Brian Patrick Flynn
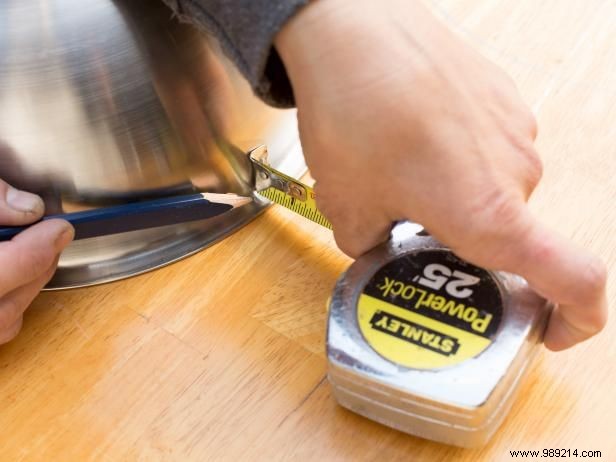
Choose a bowl with a small rim around the top edge to secure it in the hole. Measure the lip depth to ensure a snug fit.
Brian Patrick Flynn
Center the bowl on the tabletop. Use a measuring tape for precision and mark the exact center point with a marker.
Brian Patrick Flynn
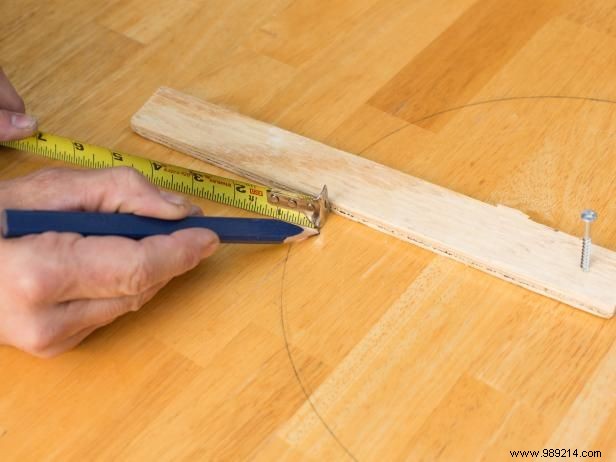
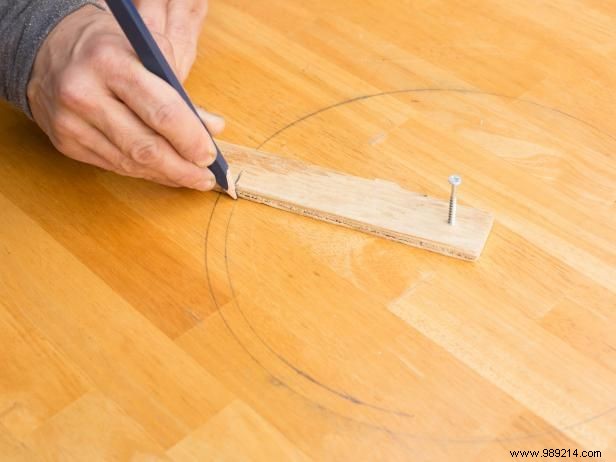
To draw a perfect circle, fashion a compass from a ruler or wood strip. Secure it temporarily at the center mark using a screw.
Brian Patrick Flynn
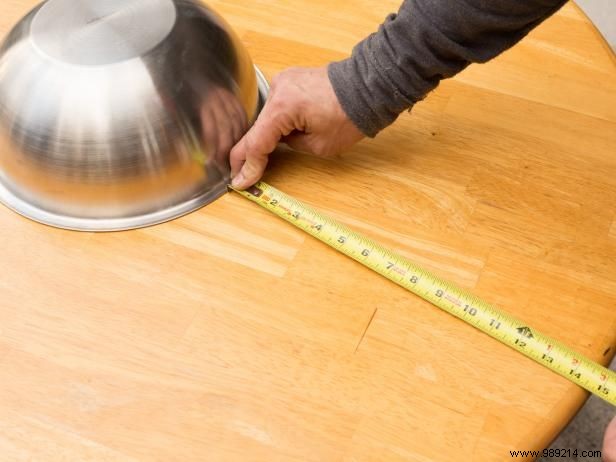
Position a pencil at the edge of your ruler or strip to match the mixing bowl's diameter. Subtract the rim depth and trace the circle onto the table.
Brian Patrick Flynn
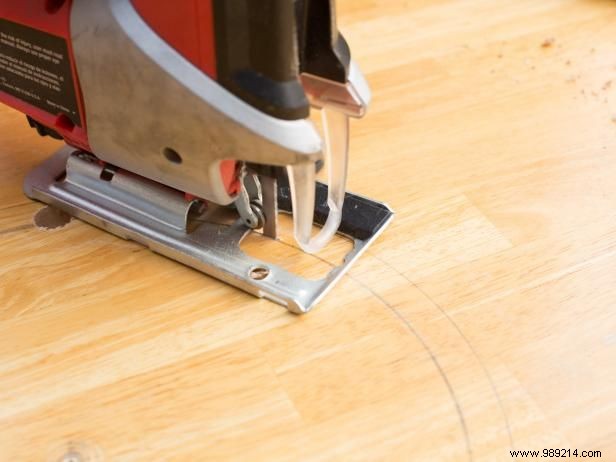
Drill a starter hole with the 1" bit, insert the jigsaw blade, and carefully follow your traced line for a clean cut.
Brian Patrick Flynn
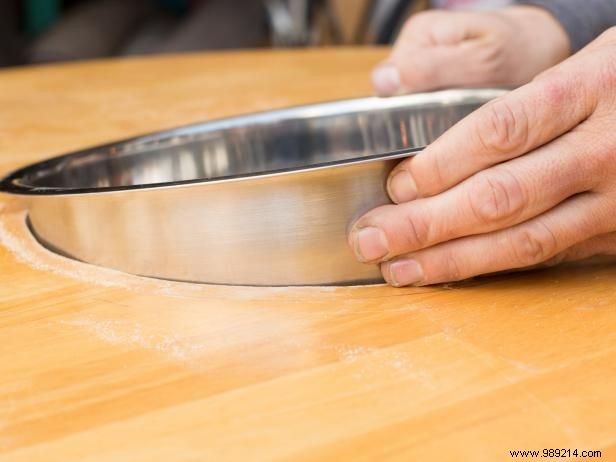
Insert the mixing bowl into the cutout to confirm it sits securely with the rim resting on the table.
Brian Patrick Flynn
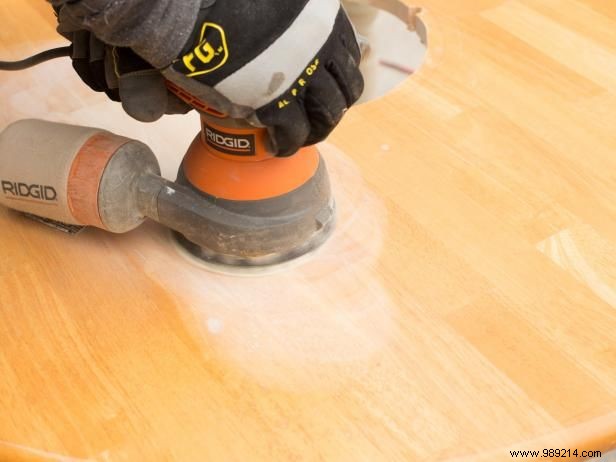
Sand away the old finish and smooth rough edges with an orbital sander for a professional base.
Brian Patrick Flynn
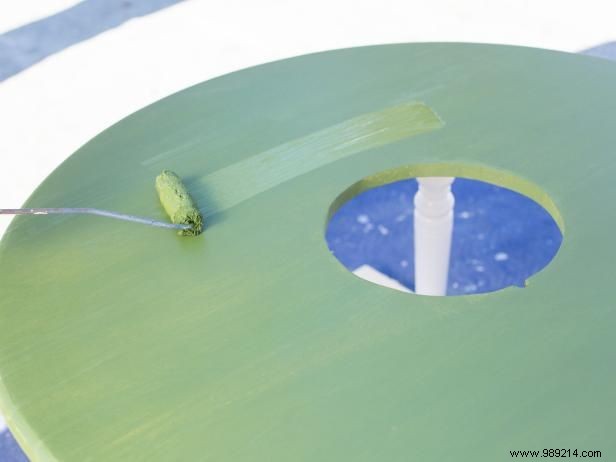
Apply semi-gloss latex paint evenly using a mini roller for a durable, easy-clean surface.
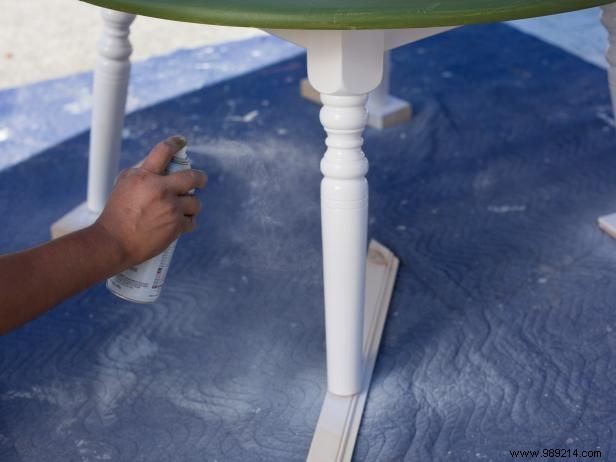
Brian Patrick Flynn
Once dry, spray paint the legs. Hold the can 8 inches away and move in slow, steady sweeps for flawless coverage.
Brian Patrick Flynn
With paint fully cured, set the bowl in place and fill with crayons, markers, and craft supplies for endless fun.