Growing potatoes without a traditional garden is ideal for urban dwellers or anyone short on space. Containers offer controlled conditions for higher yields.
Barrel-grown potatoes minimize weeding, reduce pest and fungal risks, and simplify harvest—no shovels needed. Just tip the barrel over!
After years of hands-on experimentation with container potato growing, here's my reliable 4-step process for success.
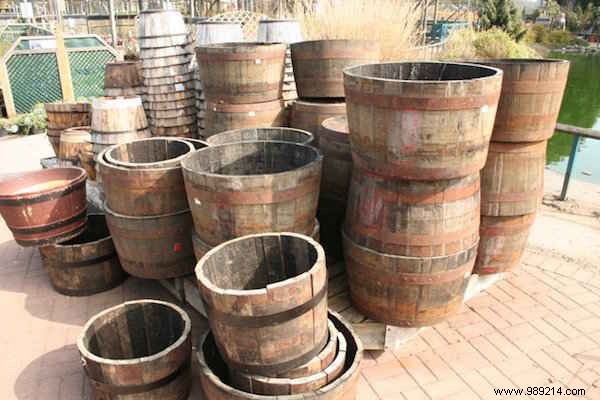
Opt for a 200-liter bin or half-barrel. Any similar-volume container works, as long as it has drainage holes—or you can add them.
Clean it thoroughly with a bleach solution to eliminate contaminants. Prefer natural? Use a bleach alternative like I've done successfully.
Drill large holes in the bottom and lower sides for essential drainage. Alternatively, remove the base and set it on garden soil.
Source certified seed potatoes from nurseries or online specialists.
Sprout them first: Place in an egg carton (eyes up) in a cool, bright spot, or use an open paper bag. Pre-sprouted ones save time.
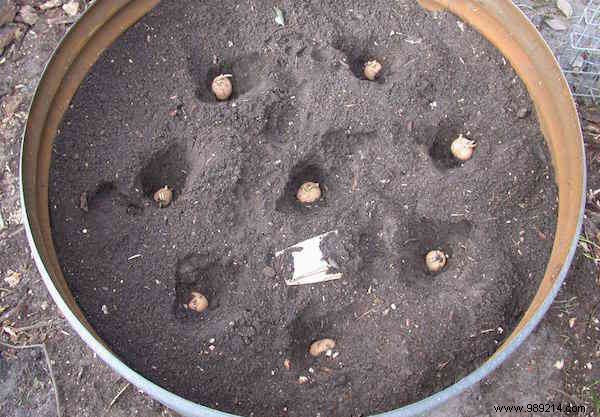
Fill the base with 15 cm of potting mix and compost (coconut coir-based is best for aeration and moisture). Potatoes adapt well to most soils.
Space seed potatoes evenly, cover with another 15 cm layer. Water gently to moisten—keep consistently damp, never soggy.
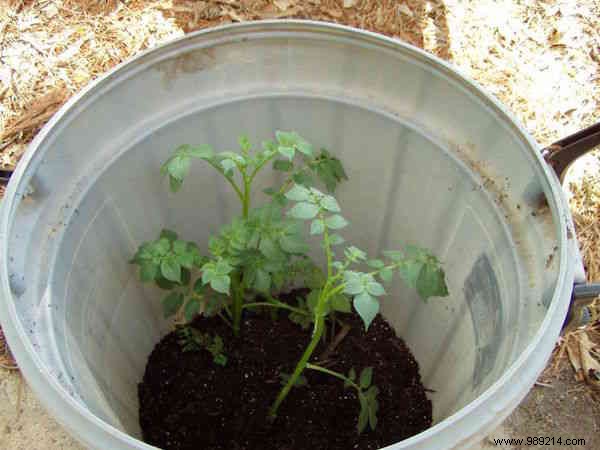
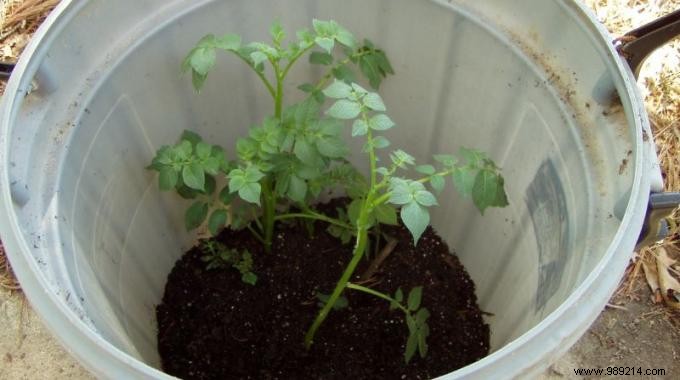
When foliage reaches 15-20 cm, add soil-compost mix to cover 3/4 of stems. Repeat: Let new growth top 15 cm, then hill up.
Water regularly to support development.
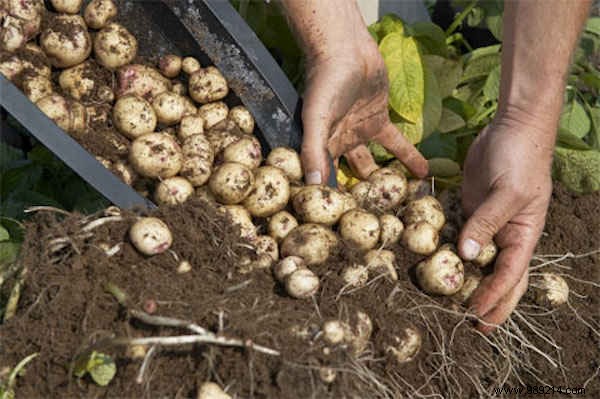
Around 10 weeks, yellowing foliage signals readiness. Hand-check the top layer.
Tip the barrel onto a tarp for easy collection. Save some tubers for next season's seed.
Enjoy your homegrown harvest!