As seasoned experts in custom wall coverings at Scenolia, our team recently relocated to a brighter, more comfortable office—and we couldn't resist revamping the decor with our own high-quality products. This hands-on project allowed us to experience the installation process just like our customers do, gaining valuable insights to share.
Our new space is well-insulated, inviting, and equipped with four actual opening windows— a major upgrade from our previous panoramic view of Lyon's mountain countryside, which unfortunately didn't open. The natural light floods in, creating an inspiring environment (perfect for work, less so for naps).
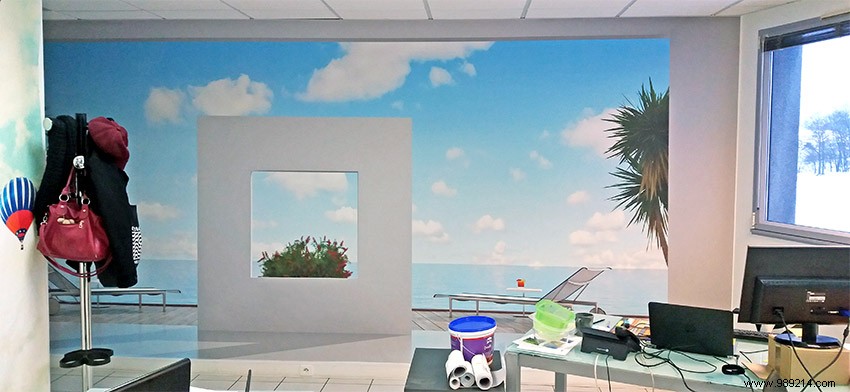
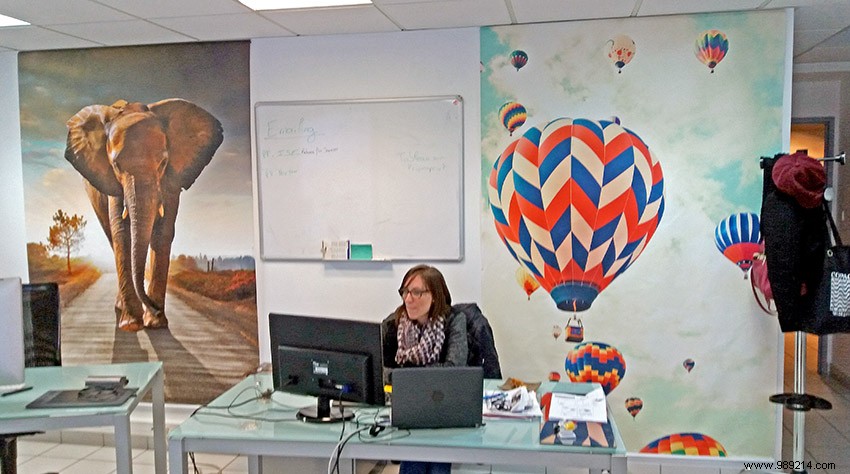
We collaborated as a team to select just three visuals from our extensive collection—a tough decision given how much we love them all. Curious about our choices? Check out the photos below:
What do you think? Love the vibe?
Installing everything ourselves put us squarely in our customers' shoes, revealing key details for flawless results.
We trimmed the 2.50m curtains to fit our 2.35m wall height (plus 4cm margin for the kit). Initially, the kit felt rigid, making it tricky to insert the round bar. Using a small mandrel rolled across the width solved it smoothly—practice makes it effortless.
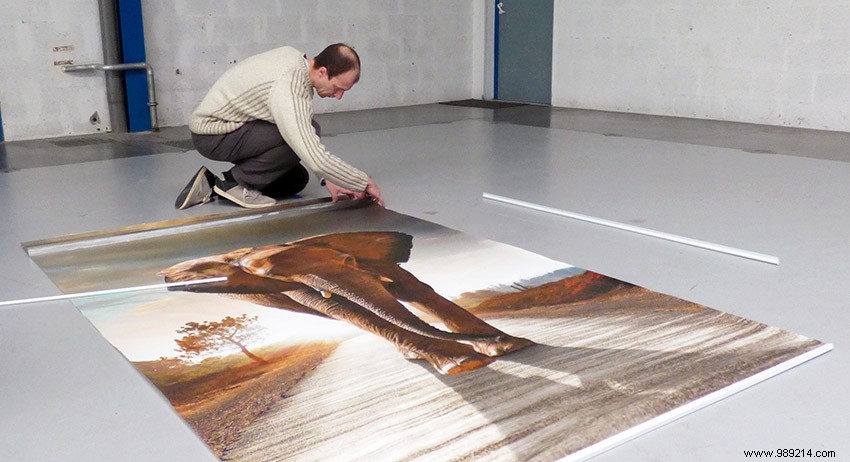
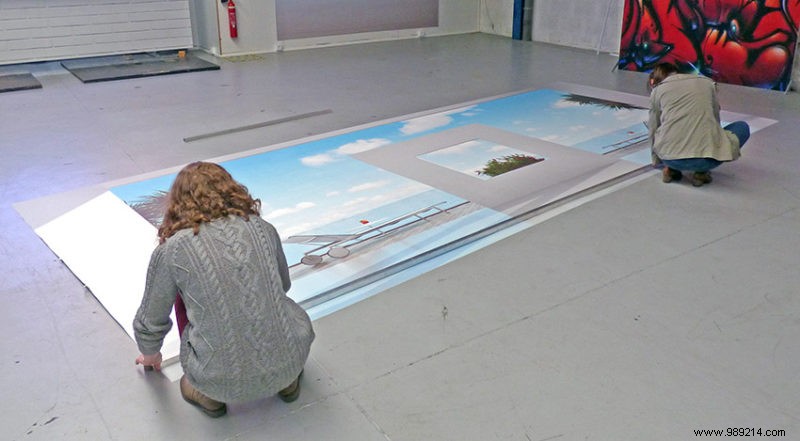
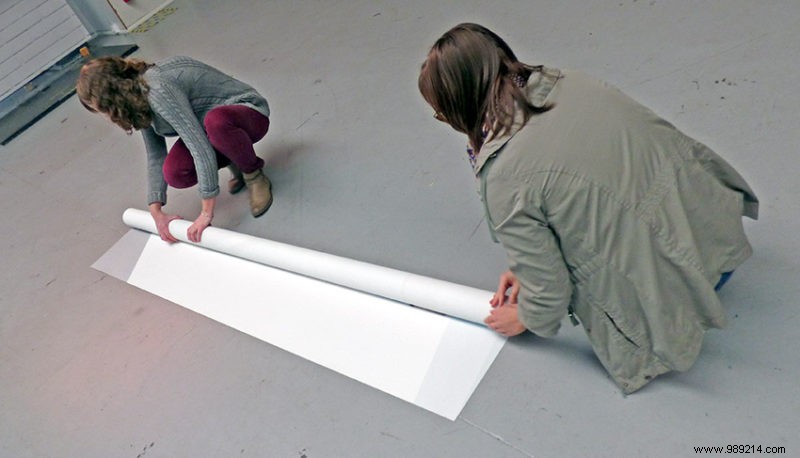
Unrolling and cutting to exact wall size (5.57 x 2.32m) took time but was straightforward. We sliced the tube with a cutter, then re-rolled it.
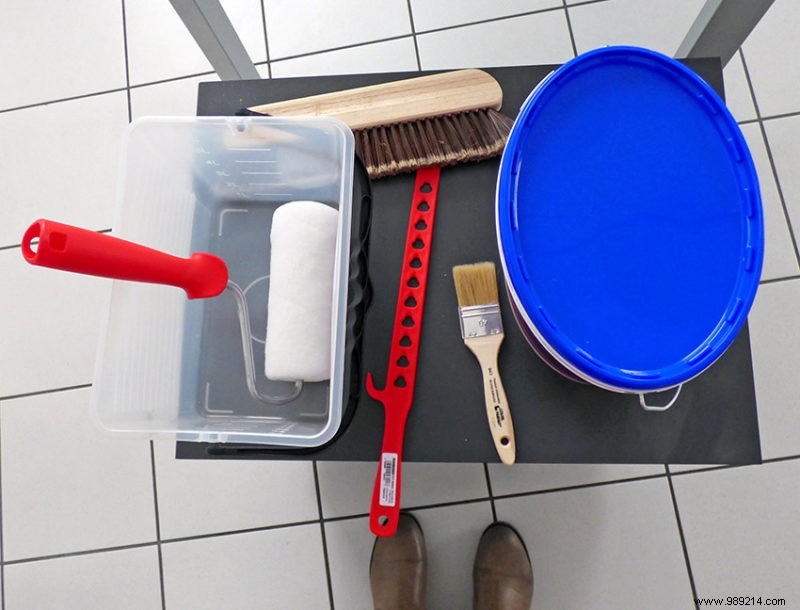
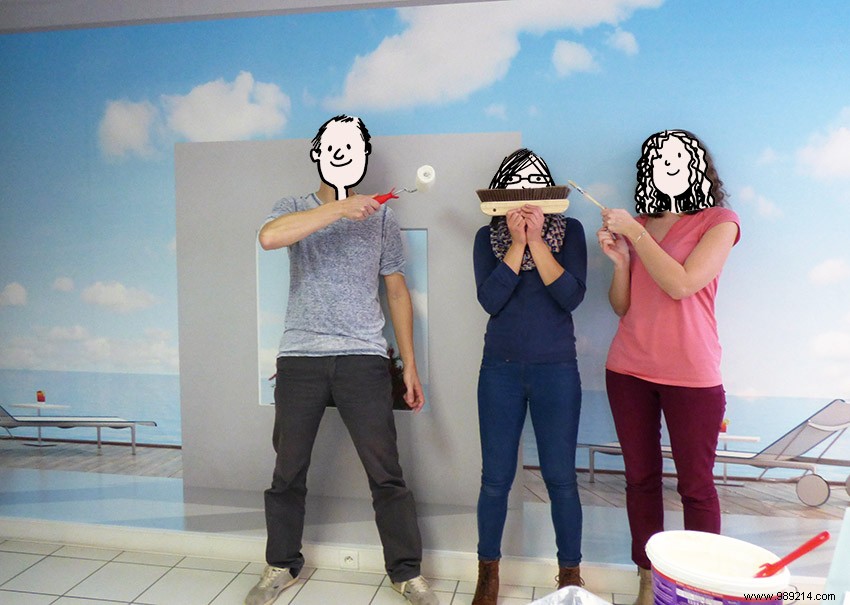
Testing our site-exclusive tools: OVALIT glue (5kg), flat brush, glue roller, cutter, smoothing brush, and glue pot. The thick, low-water formula prevented absorption and warping on the non-woven paper.
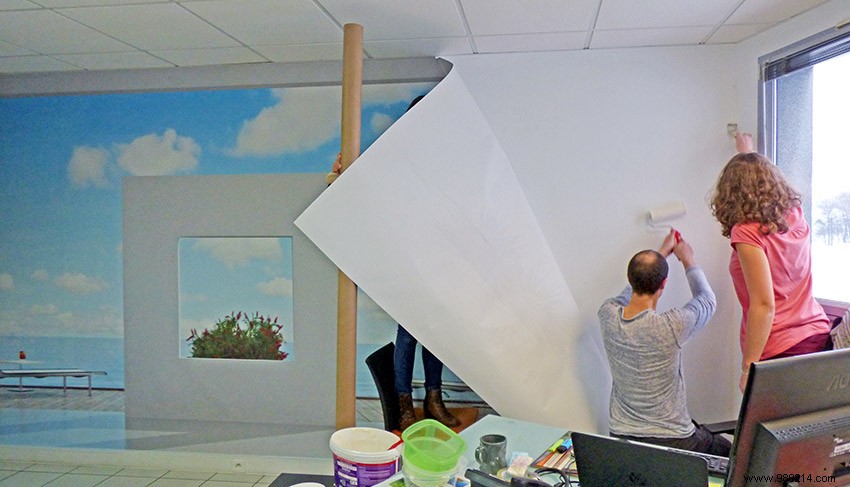
Stéphane positioned the wallpaper parallel to the wall as we glued one-third at a time. Célia smoothed while Emilie unrolled. Early bubbles from skimpy glue were fixed by peeling back slightly, re-gluing, and proceeding meter by meter. It draped perfectly to the edge—just 1mm shy!
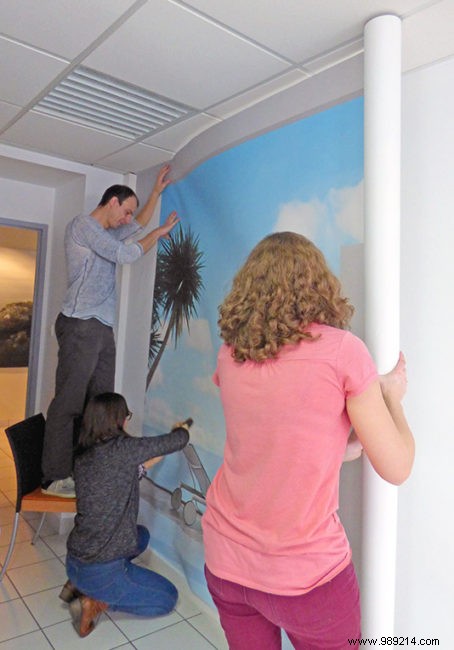
Our selections—a trompe l'oeil, landscape, and animal motif—blend nature and wanderlust themes beautifully. We're thrilled with the outcome and proud to showcase our work.
What decor would you add or tweak?