We've explored the strengths of Arduino and Raspberry Pi—each excels in its domain. But why choose? Combine them for superior results, especially in home automation. Commercial systems are often pricey, incompatible, and installation-heavy. A DIY Raspberry Pi and Arduino setup offers affordability and flexibility.
Update: Since this guide, I've adopted OpenHAB, a robust open-source platform for Raspberry Pi. It integrates seamlessly with diverse hardware, including Arduino. Check the Introduction to OpenHAB on Raspberry Pi for details.
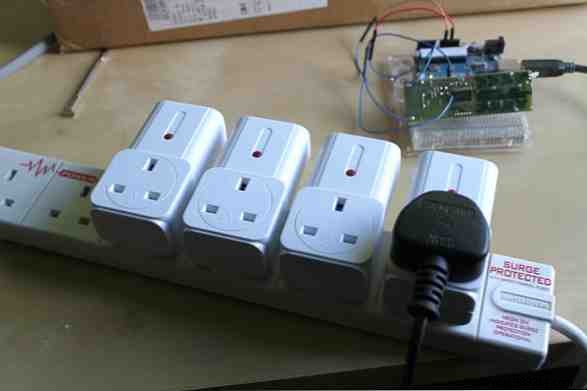
Heimcontrol.js, a Node.js app for Raspberry Pi, pairs with Arduino and remote plugs to control AC devices. Add sensors or TV control later—this tutorial starts basic.
Project breakdown:
Requirements:
Demo video from the creator:
Use Raspberry Pi OS (formerly Raspbian). 11 Operating Systems for Raspberry Pi. Download the latest image, flash to SD card, expand filesystem, enable SSH. Connect via SSH as default user.
This setup draws from original instructions, updated for Raspberry Pi OS. Compiling takes hours—plan accordingly.
Update system and install prerequisites:
sudo apt-get update
sudo apt-get upgrade
sudo apt-get install git-core git scons build-essential scons libpcre++-dev xulrunner-dev libboost-dev libboost-program-options-dev libboost-thread-dev libboost-filesystem-dev
Install Node.js:
sudo mkdir /opt/node
wget https://nodejs.org/dist/v0.10.2/node-v0.10.2-linux-arm-pi.tar.gz
tar xvzf node-v0.10.2-linux-arm-pi.tar.gz
sudo cp -r node-v0.10.2-linux-arm-pi/* /opt/node/
sudo ln -s /opt/node/bin/node /usr/local/bin/node
sudo ln -s /opt/node/bin/npm /usr/local/bin/npm
Add to PATH: Edit profile with sudo nano /etc/profile. Replace export PATH line:
NODE_JS_HOME="/opt/node"
PATH="$PATH:$NODE_JS_HOME/bin"
export PATH
Ctrl+X, Y to save. Test: which node.
Install MongoDB (NoSQL database):
git clone git://github.com/RickP/mongopi.git
cd mongopi
scons
sudo scons --prefix=/opt/mongo install
scons -c
Configure:
sudo useradd mongodb
sudo mkdir /data/db
sudo chown $USER /data/db
cd /etc/init.d
sudo wget -O mongodb https://gist.github.sh
sudo chmod +x mongodb
sudo update-rc.d mongodb defaults
mongod
Reboot: sudo shutdown -r now.
Install Heimcontrol.js:
cd ~pi
git clone git://github.com/ni-c/heimcontrol.js.git
cd heimcontrol.js
npm install
Run: node heimcontrol.js. Access at https://localhost:8080 or Pi IP. Set up port forwarding if needed.
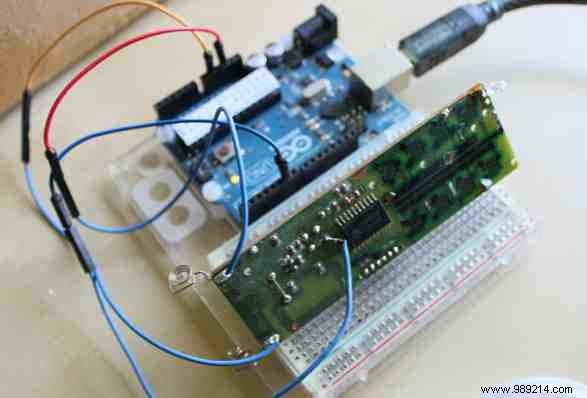
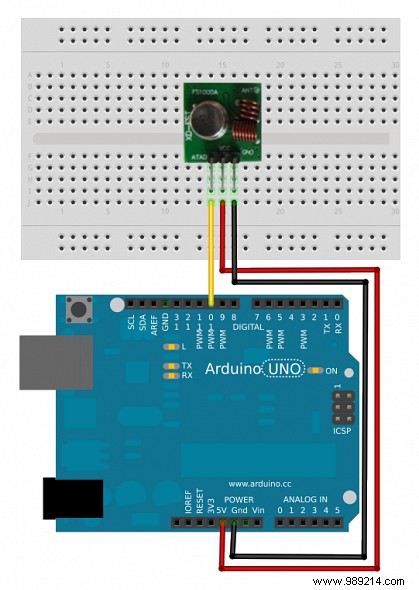
Radio-controlled switches (e.g., Maplin £20 set). Interface 433MHz transmitter: VCC to Arduino 5V, GND, control pin (use pin 10).
Use RCSwitch library; find codes per manufacturer.
Install duino: npm install duino.
Upload Arduino sketch (serial listener).

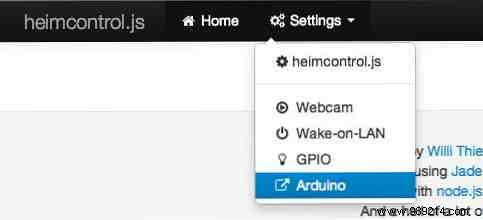
In settings > Arduino: Add RCSwitch item with pin, code.
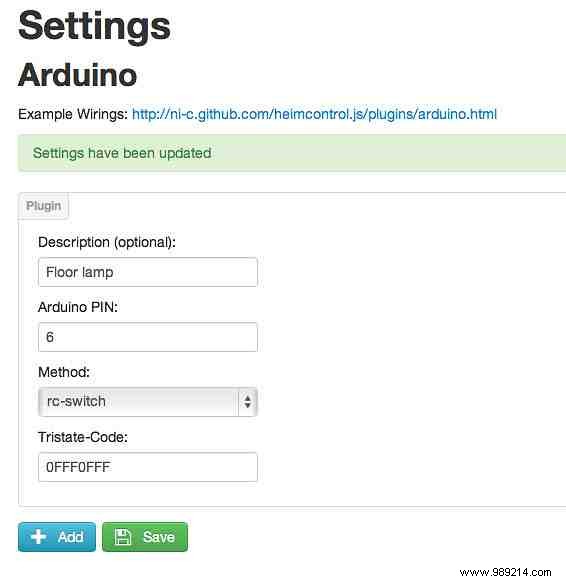
Pin 10 required for transmitter. Edit plugins/arduino/index.js for trisate codes:
// Send RC code
if (item.value) return that.pins[item.pin].triState(item.code + "FFFF");
else return that.pins[item.pin].triState(item.code + "FFF0");
Demo video:
Sensors and IR next. For beginners: 15 Great Arduino Projects.