Sara Alavi
Sara Alavi
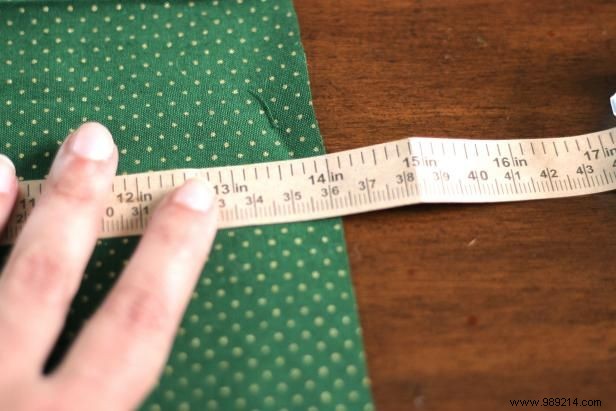
Using a tape measure, cut two 14" x 14" squares from your party fabric. Precision here ensures a professional finish.
Sara Alavi
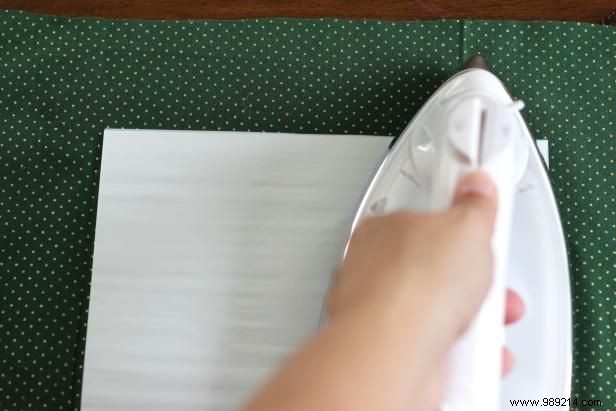
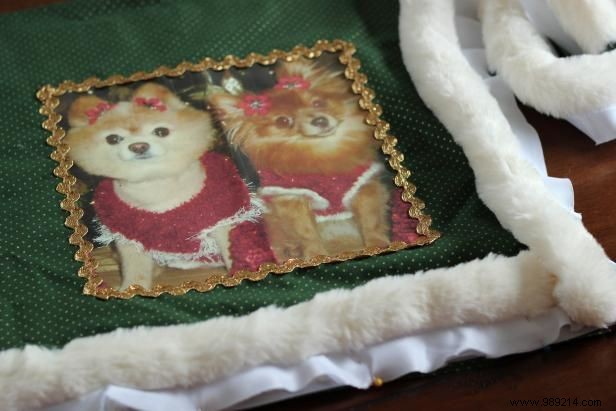
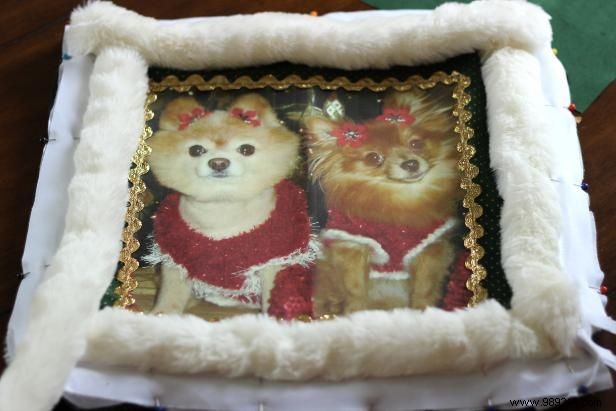
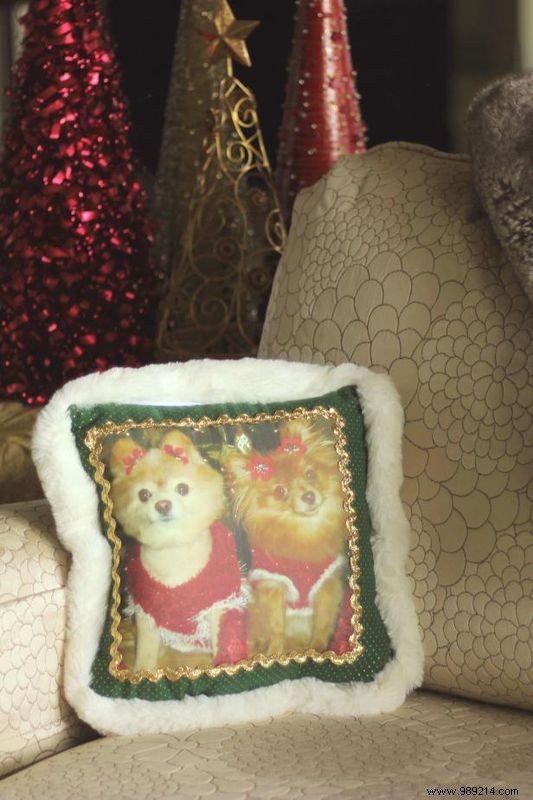
Select a cherished photo of your pet, family, or friend and print it onto iron-on transfer paper using a color inkjet printer. For darker fabrics, choose transfer paper designed specifically for them. Follow the package instructions: place the image face down on the fabric, cover with parchment paper, and press firmly with a hot iron (no steam). Pro Tip: Inkjet printers yield the best results with most transfer papers. If using a laser printer, local screen printing shops can handle it for you.
Sara Alavi
Sara Alavi
Sara Alavi
Sara Alavi
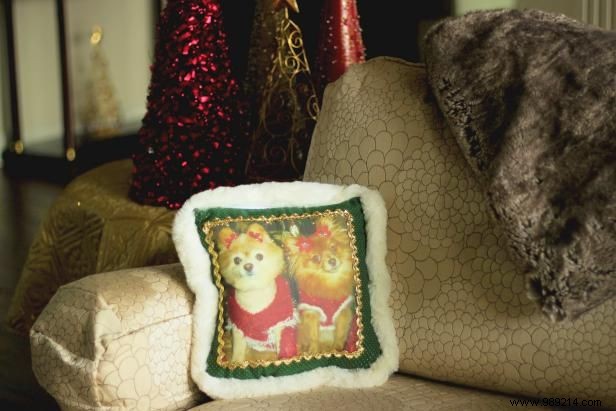
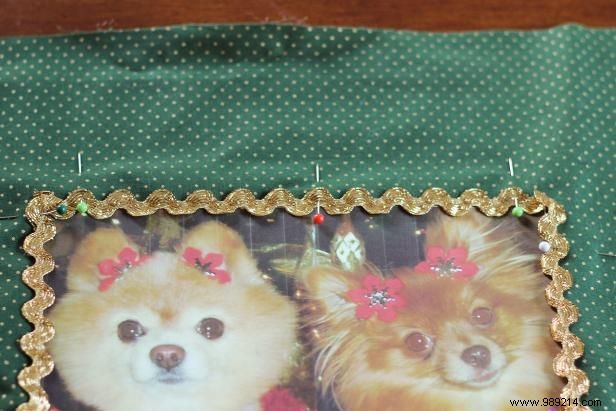
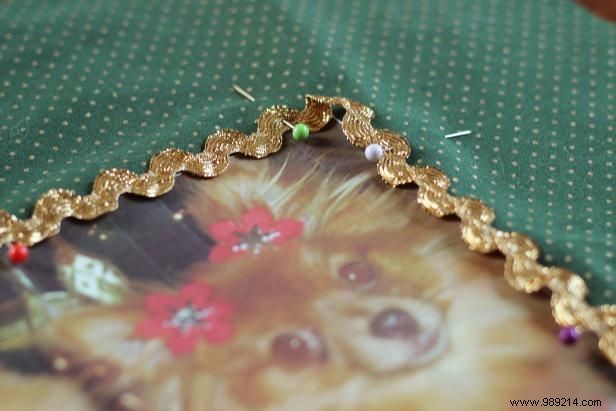
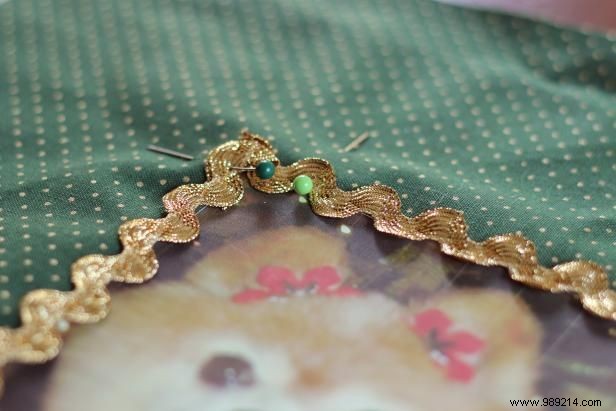
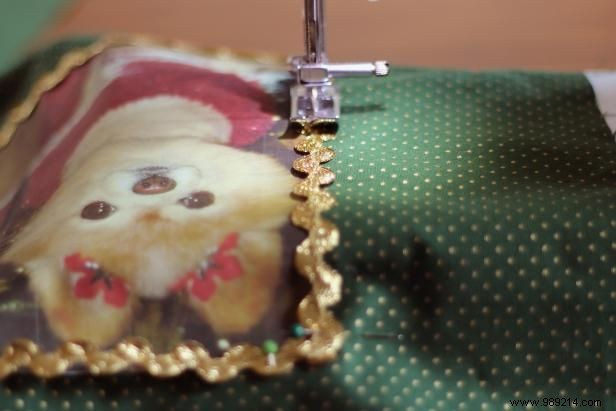
Elevate your design by framing the image with ric rac ribbon. Start at one corner (Image 1), folding at 90-degree angles for crisp corners (Image 2). Overlap the end by 1/4 inch and fold under for a clean edge (Image 3). Sew securely in place (Image 4) for a polished look.
Sara Alavi
Sara Alavi
Sara Alavi
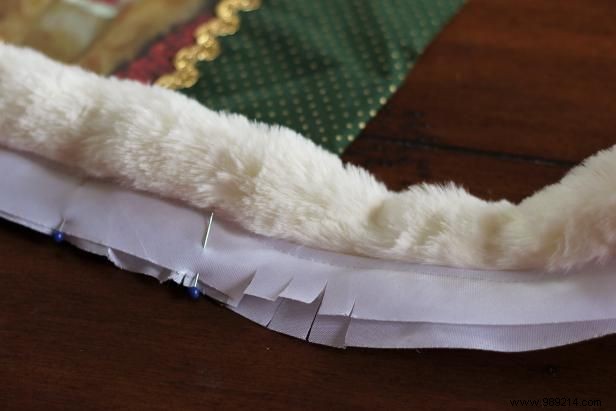
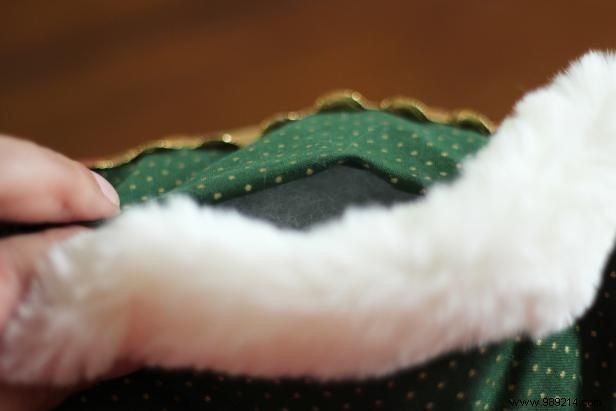
With the printed fabric face up, position the faux fur trim fur-side in, aligning the fabric backing with the edges. Pin in place (Image 1). For smooth corners, snip three small slits in the trim (Image 2), then continue pinning all sides (Image 3). Pro Tip: Place pins perpendicular to the edge for easy sewing removal.
Sara Alavi
Sara Alavi
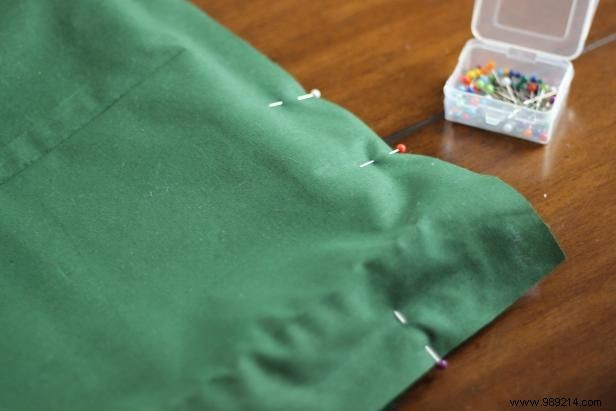
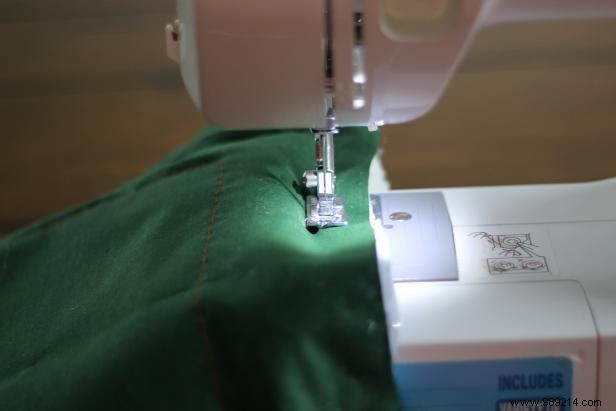
Layer the second fabric square pattern-side down over the trimmed first square, sandwiching the fur trim between. Sew all four sides with a 1/2-inch seam allowance, leaving a 4-inch opening on one side (Image 2).
Trim seams to 1/4 inch and clip corners carefully to reduce bulk without cutting stitches. Turn right-side out through the opening. Fluff fiberfill into small sections before stuffing to avoid lumps—pull apart fibers for even distribution. Use the included tool or a toothpick to push fill into corners gently. Stuff until firmly plush.
Sara Alavi
Fold raw edges of the 4-inch opening inward and pin. Stitch closed for a seamless finish.
Sara Alavi