Why pay top dollar for wedding apparel when you can craft a custom bow tie yourself using just a few affordable materials? This tried-and-true method, photographed by experienced seamstress Clara MacLellan, delivers professional results every time.
Clara MacLellan
Image 1
Clara MacLellan
Image 2
Clara MacLellan
Image 3
Clara MacLellan
Image 4
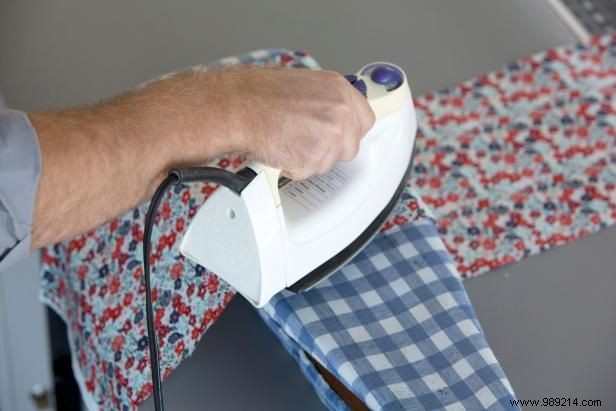
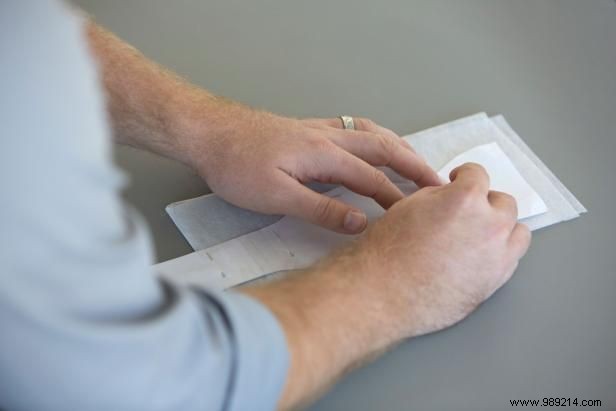
Iron the entire fabric to remove any creases (Image 1).
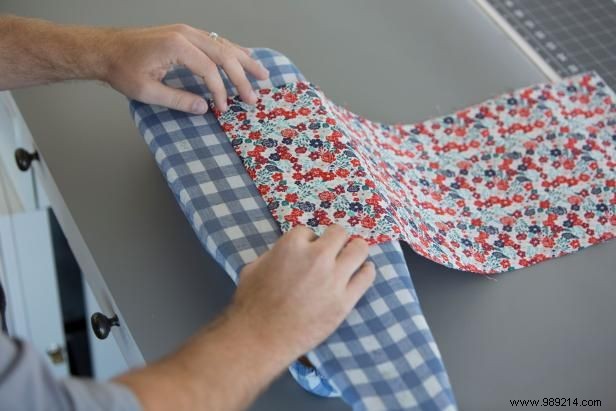
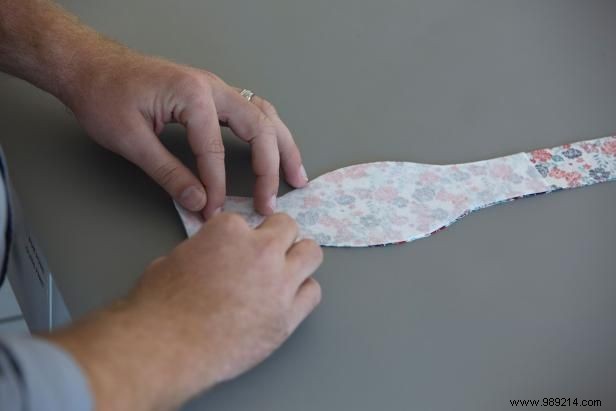
Fold the fabric hamburger-style (short ends together) and iron the fold (Image 2).
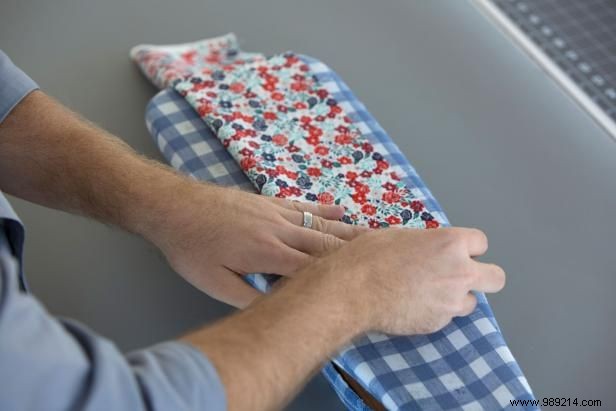
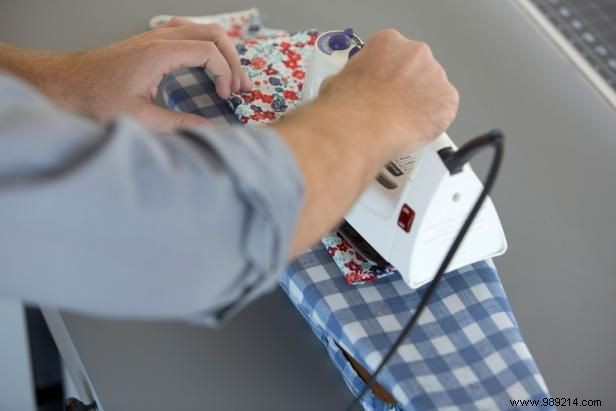
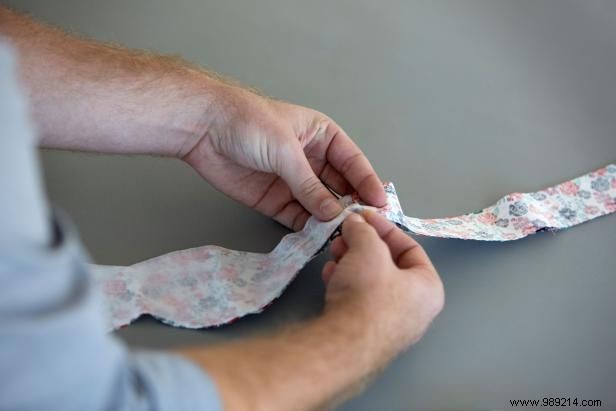
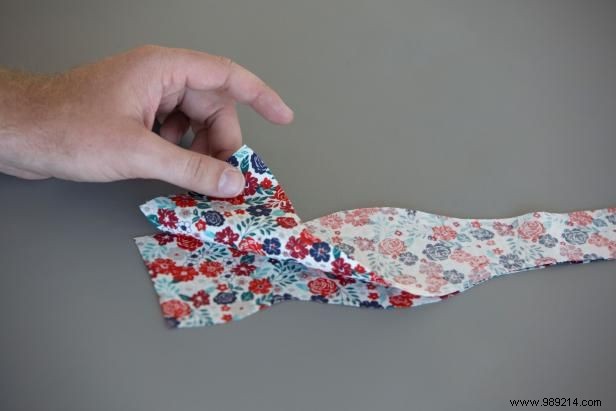
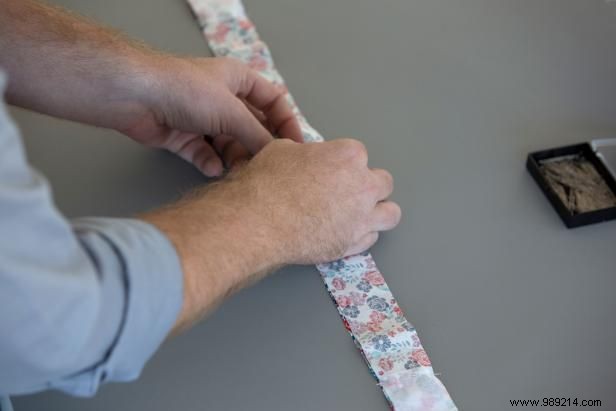
Fold the fabric in half hot dog-style (long ends together) and iron the fold (Images 3 and 4).
Clara MacLellan
Image 1
Clara MacLellan
Image 2
Clara MacLellan
Image 3
Clara MacLellan
Image 4
Pin the template to the fabric at the bottom fold (Images 1 and 2).
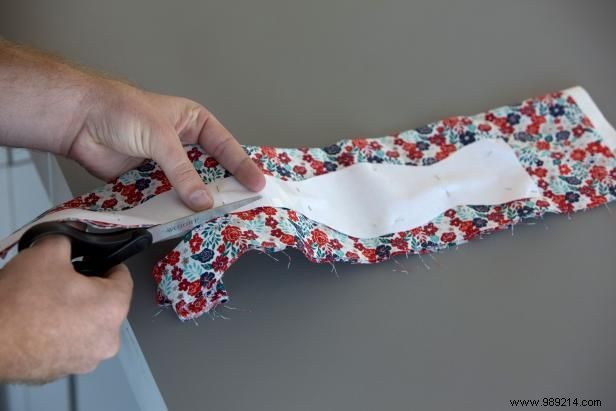
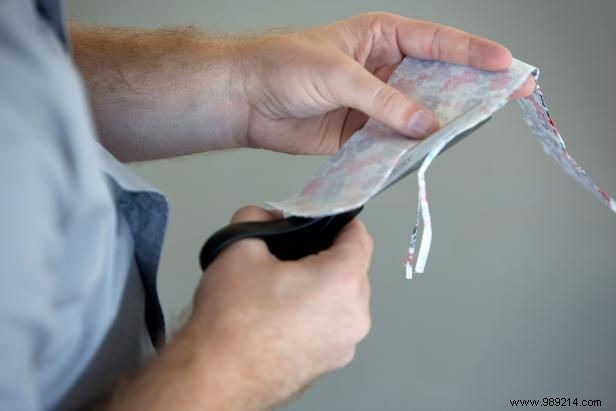
Cut along the template using scissors or a rotary cutter (Image 3).
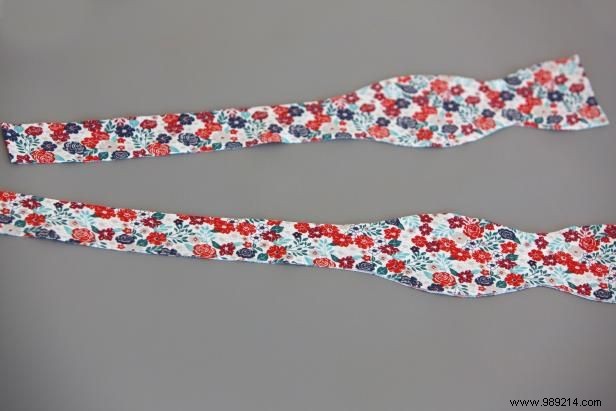
You'll have two identical bow tie fabric pieces (Image 4).
Clara MacLellan
Image 1

Clara MacLellan
Image 2
Clara MacLellan
Image 3
Clara MacLellan
Image 4
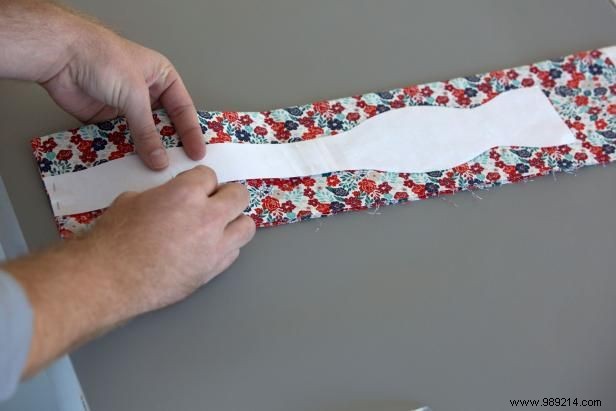
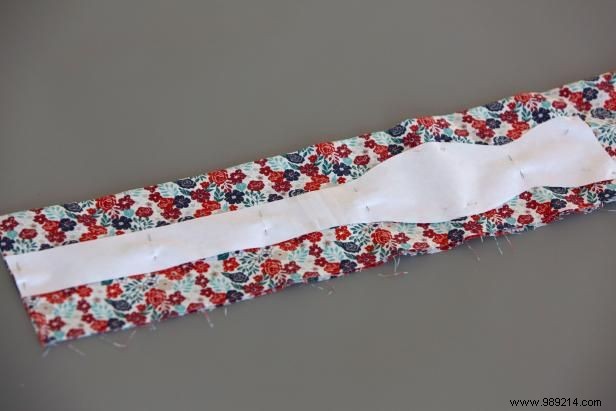
Fold the interfacing in half. Pin the template to it and cut two pieces (Images 1 and 2).
Pin the interfacing to the wrong side (both ends) of one cut fabric piece (Images 3 and 4).
The interfacing doesn't need to cover the full tie length—just enough for the bow ends.
Opt for iron-on interfacing to simplify this step over sew-in.
Clara MacLellan
Image 1
Clara MacLellan
Image 2
Place the two fabric pieces right sides together (Image 1) and pin along the edges (Image 2). We'll turn right side out later.
Clara MacLellan
Image 1
Clara MacLellan
Image 2
Clara MacLellan
Image 3
Clara MacLellan
Image 4
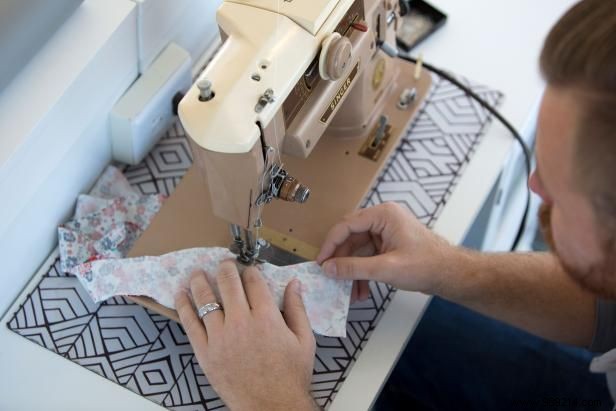
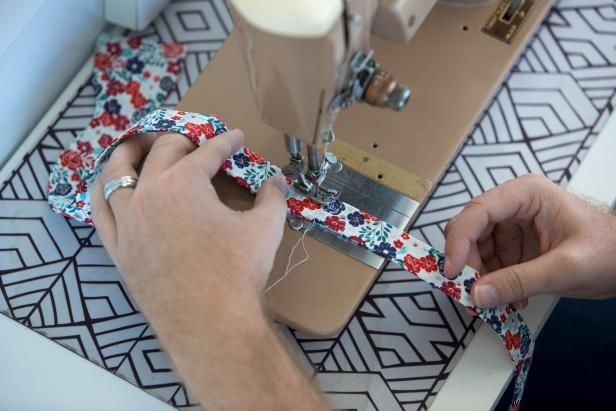
Sew around the bow tie edges, removing pins as you sew (Images 1 and 2).
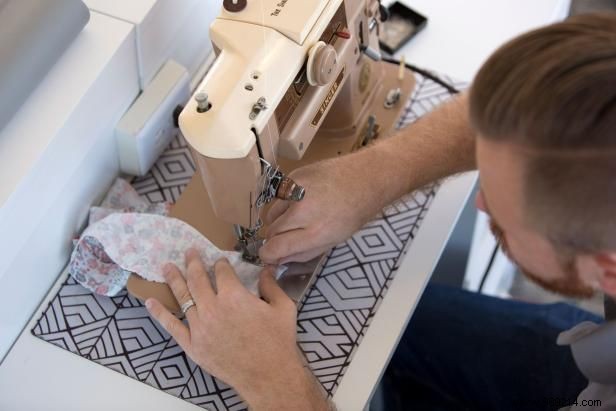
Leave a 3-4 inch gap in the center of the neckband on one side (Image 3).
Trim excess fabric from edges to reduce bulk and prevent puckering when turning (Image 4).
Clara MacLellan
Image 1
Clara MacLellan
Image 2
Clara MacLellan
Image 3
Clara MacLellan
Image 4
Clara MacLellan
Image 5
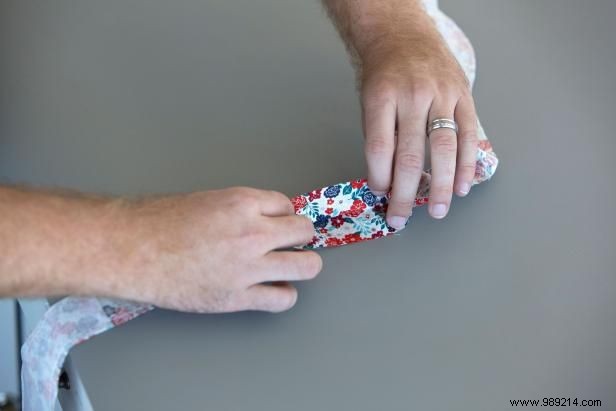
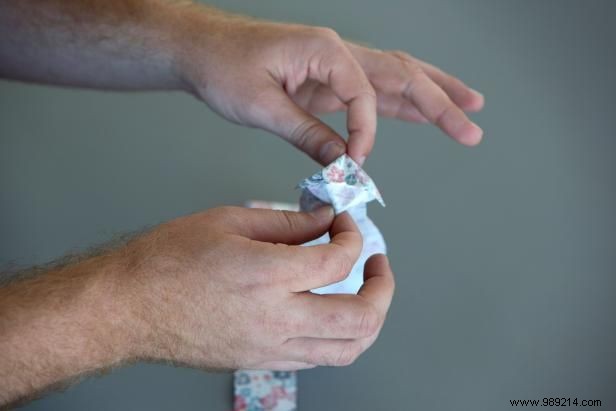
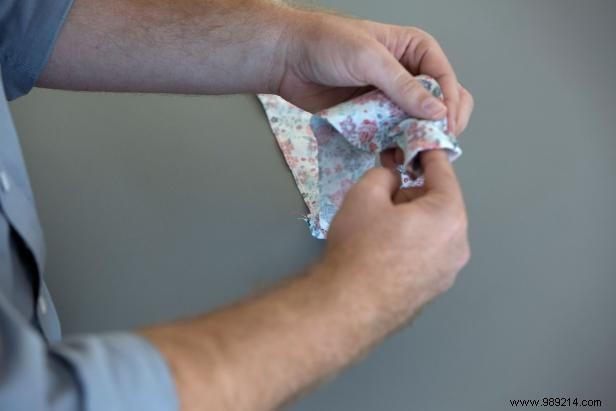
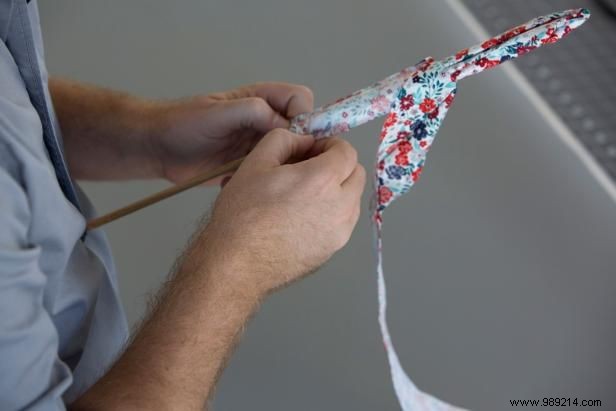
Gently pull fabric from one end, using your finger to push it into the neck gap (Images 1 and 2).
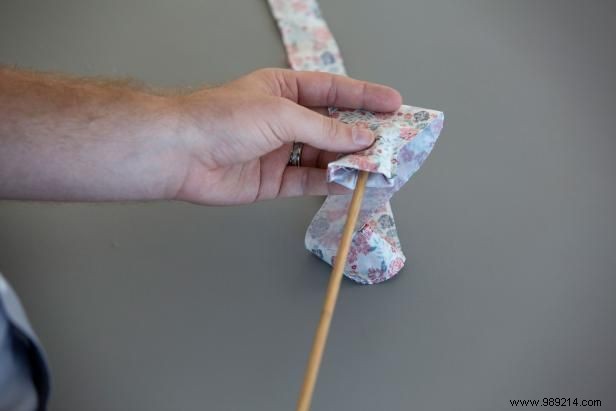
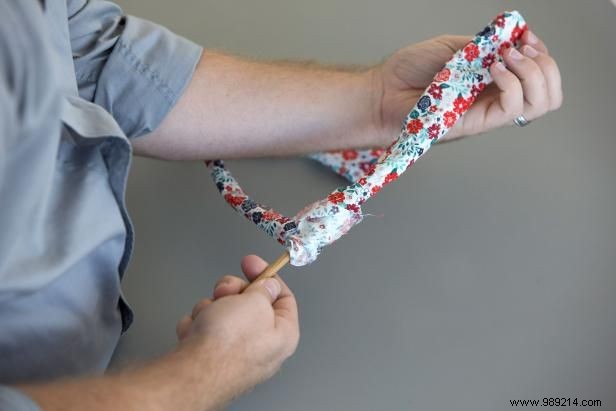
Use a 1/8-inch rod to push fabric through the gap until partially turned (Images 3 and 4).
Repeat on the other end until fully right side out (Image 5).
Clara MacLellan
Image 1
Clara MacLellan
Image 2
Clara MacLellan
Image 3
Clara MacLellan
Image 4
Clara MacLellan
Image 5
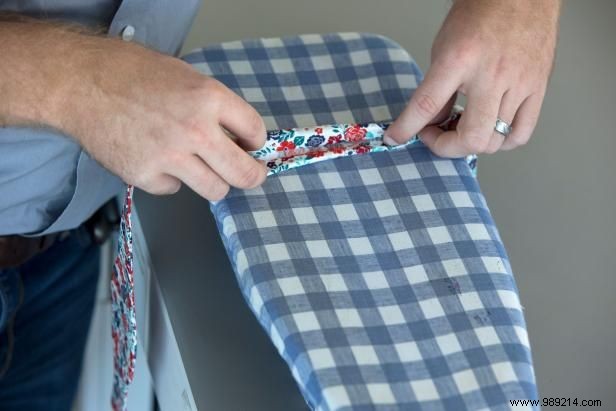
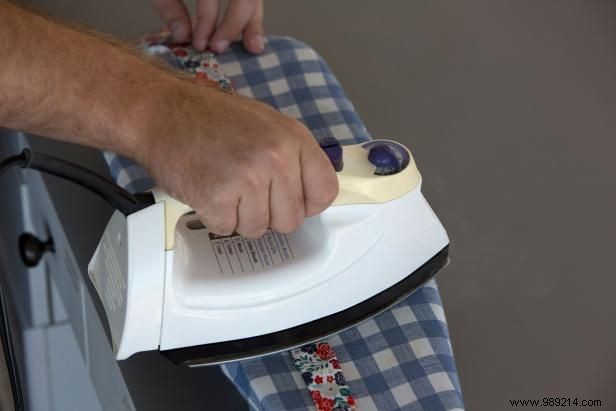
Fold the gap edges inward (Image 1), then iron flat (Image 2).
Sew the opening closed (Image 3). No need for perfect outside stitches—this hides under your shirt collar.
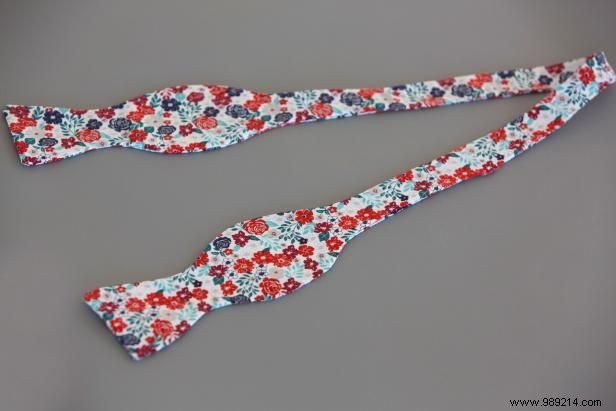
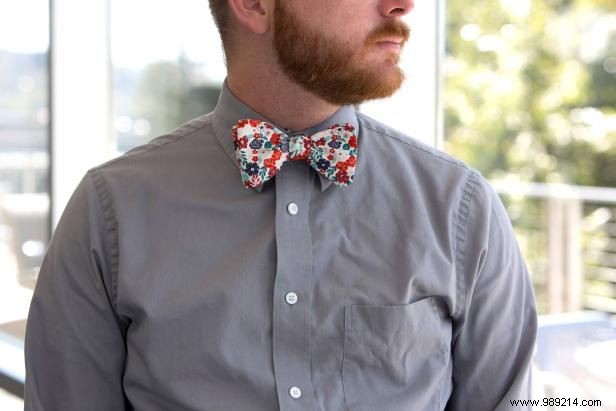
Give the finished bow tie a final iron and it's ready to wear (Images 4 and 5).