One of the biggest surprises for new homeowners is the high cost of custom window treatments. I assisted newlyweds Chelsea and Scott with their kitchen window, where they needed to keep natural light flowing while blocking views from nosy neighbors. Our elegant solution: a modern custom cornice. On a tight $200 budget, we designed and built this simple frame in just half a day.

From: Laurie March
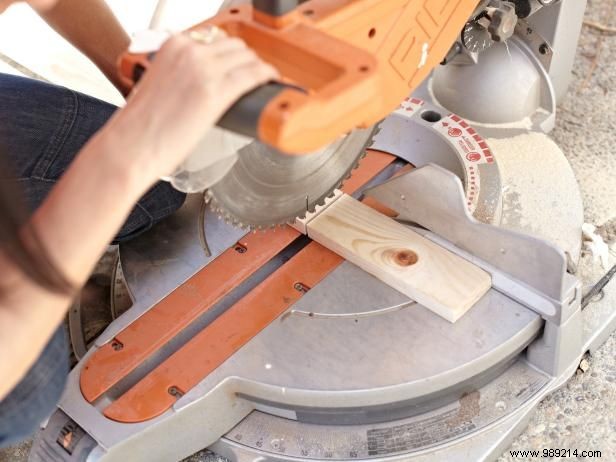
Measure your window opening. Make the facade at least 2 inches wider than the frame for full coverage.
Adjust based on your window—ours was 52 inches wide, so we cut two 54-inch horizontal pieces over the trim. For maximum light, two 24-inch vertical pieces covered just the sightline to the neighbor.
From: Laurie March
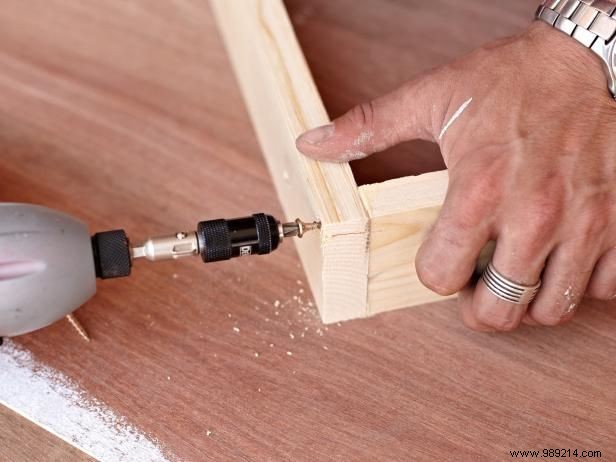
Place 54-inch pieces outside the 24-inch ones to form a rectangle. Apply wood glue at joints first for lasting strength.
Secure with a power drill and 1-1/4-inch wood screws—two per corner works perfectly.
Nominal 1x3 boards measure 3/4 x 2-1/2 inches after milling, not true 1x3.
From: Laurie March
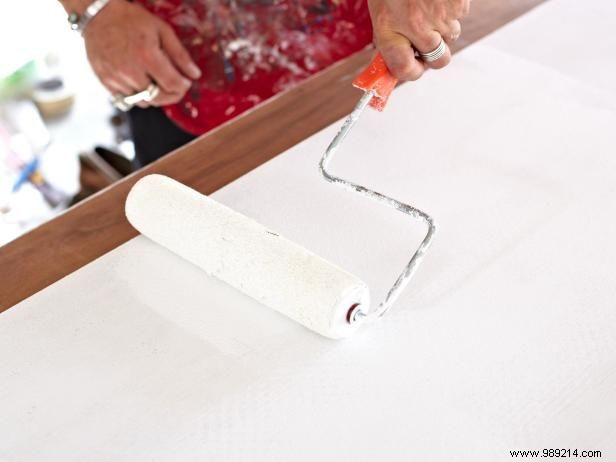
Prime the frame rectangle, plus front and edges of the plywood. Let dry fully. Have the store cut plywood to 54 x 25-1/2 inches for ease.
From: Laurie March
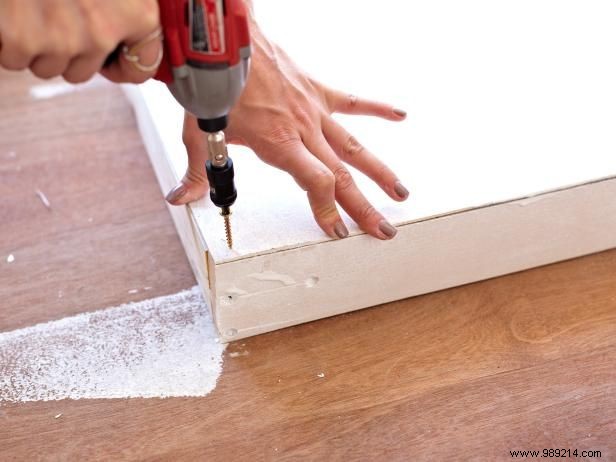
Glue the frame face, position plywood, drill pilot holes if needed, screw down, and fill holes with putty.

From: Laurie March
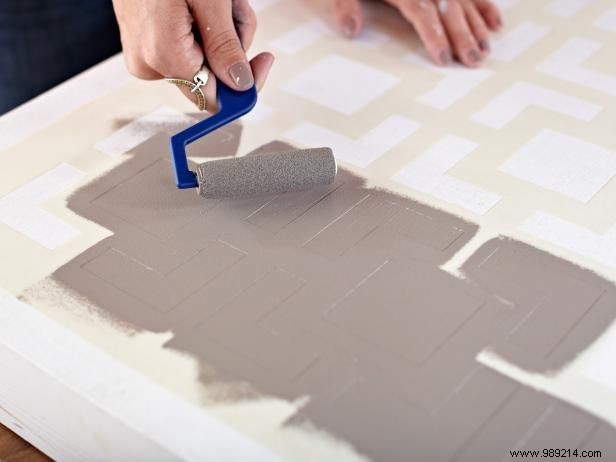
Plan symmetric placement. Ensure background is bone-dry—speed with a hairdryer on medium, 8 inches away.
Spray repositionable adhesive on stencil back, lay flat, and press firmly with a lint-free cloth to seal edges.

From: Laurie March
Use a nearly dry roller for thin first coats—wipe excess on paper towel. Build layers lightly. Reposition using alignment marks for seamless repeats. We used primer as base and glossy charcoal gray for contrast.

From: Laurie March
This lightweight design attaches simply with two three-hole L-brackets to the window frame.