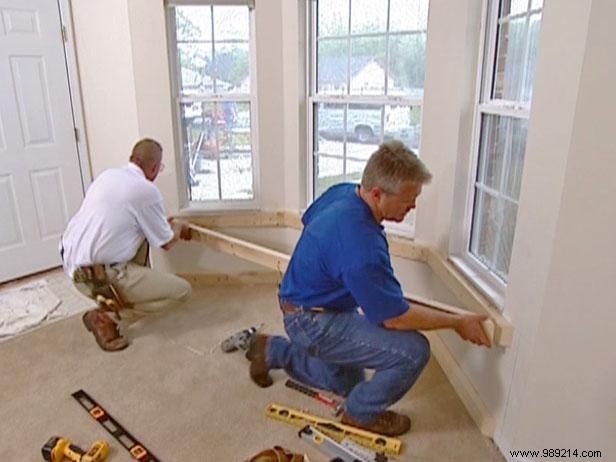
This project leverages three ideally positioned windows to create a functional window seat. In this home, damaged window sills from animal activity prompted a full replacement, inspiring the addition of a built-in window seat. With sills renewed and trim omitted, the seat covers the area where trim would typically go.
Begin by measuring and cutting 2" x 4" boards to serve as ledger boards, positioned just below the window sills at the desired window seat height. Account for a 3/4" melamine top and 3/4" trim piece on top, ensuring adequate clearance.
Cut the outside corners of the ledger boards at the precise angle to accept the corner-to-corner cross pieces. Position the ledgers about 2 1/4 inches from the wall edge to accommodate the cross pieces and melamine panel.
Secure the ledger boards to the wall with their widest 2" x 4" face flat, using 16d nails.
Once installed, measure and cut 2" x 4"s for the front cross pieces at the top and bottom of the window seat. Ensure the top and bottom pieces align flush and connect properly.
Nail the top cross piece to the angled ledger ends, verifying space for the melamine panel. Secure the bottom cross piece similarly.
Measure and cut the melamine panel for the window seat front, angling the edges as required for a perfect fit. Position it temporarily to test alignment—do not secure permanently yet.
Measure and cut melamine for the seat top, extending 1/2 to 3/4 inch over the front panel. Test-fit the top piece.
Prior to purchasing a piano hinge, determine the exact size and shape (e.g., square or rectangle) of your storage access door.
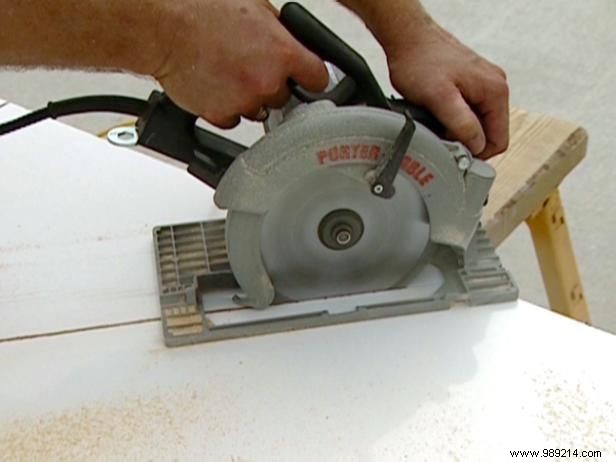
Remove the seat top, then carefully mark and cut the opening with a circular saw (Image 1), finishing edges with a handsaw. Tape cut lines beforehand to prevent chipping on the melamine surface—these edges will be visible.
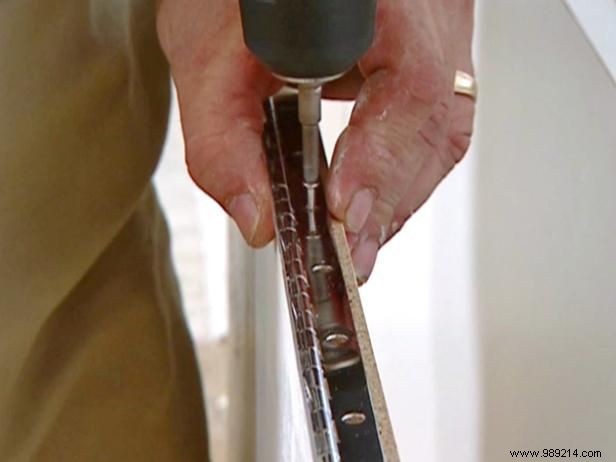
Flip the cut seat top and access panel over, reattach them, and secure the piano hinge to the seat's raised section and the access door (Image 2). Test the panel's operation and fit for smooth functionality.
Apply melamine edge trim to exposed edges using a household iron for a seamless, professional finish.

With all panels positioned, measure for 3/4" round trim along the top seat panel where it meets the wall. Caulk gaps between the seat top and wall for a clean seal.
Cut the 3/4" round trim, nail it to the wall, and apply caulk.
Finish by adding baseboard or trim along the front panel to match the room's existing style.