By Jeffrey Rowe, experienced crafter and jewelry enthusiast
Light cotton rope
28-gauge wire
Tapestry needle
White glue
Acrylic paint (optional)
Decorative wire, beads, or other embellishments
1. Cut several 6-inch pieces of rope.
2. Thread about 1 foot of 28-gauge wire through the tapestry needle and double it. Carefully pass the needle through the center of one rope piece. Ensure the needle is sharp for smooth threading.
3. Pull the wire through, leaving about 1 inch excess on each end. Bend the rope into a link shape and twist the wire ends securely. Trim excess wire and tuck all ends smoothly against the rope.
4. Repeat to create additional links, connecting them to form a chain. Continue until the necklace is long enough to slip over your head comfortably.
5. To stiffen the necklace, mix white glue with a little water. Add a small amount of acrylic paint for color, if desired.
6. Dip the necklace fully into the glue mixture, coating all surfaces evenly.
7. Lay the necklace on granite, wax paper, or a non-stick surface. Shape it as preferred and wipe away excess glue.
8. Allow it to dry completely. Once nearly dry, transfer to a clean surface to prevent sticking.
9. For a knotted necklace, select cotton rope with a larger diameter.
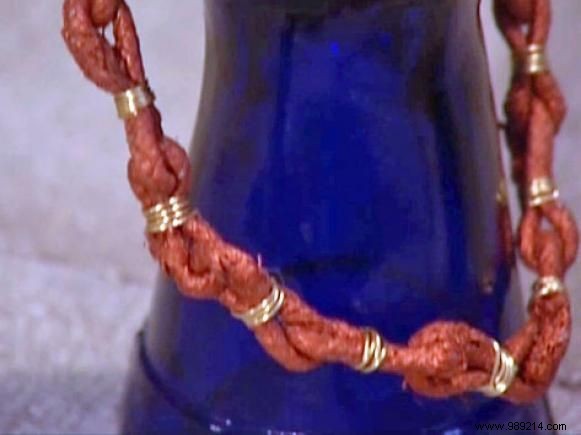
10. Tie a knot about 4 inches from one end, then add knots every couple of inches, spacing evenly.
11. When the length is right, join the ends with a square knot and trim excess. Leave flexible or coat with glue mixture as above.
12. Enhance with decorative wire, beads, or embellishments. Use these techniques for matching rope bracelets too.