There's nothing like interlocking pavers to stabilize and standardize a garden path or patio. In addition, they are also easy to install, provided you follow the successive steps. Here's how.
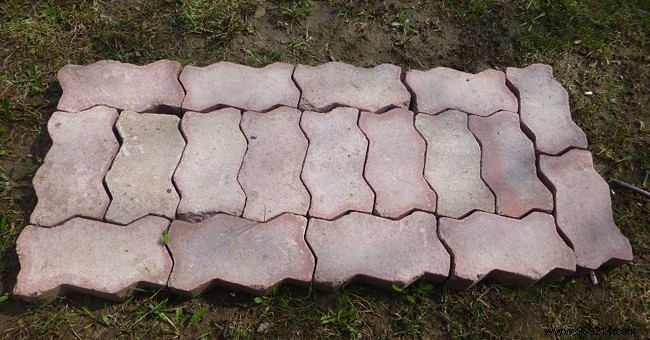
Much appreciated for their resistance, interlocking pavers require an ultra-precise laying technique. For the work, you need to equip yourself with the right equipment, namely a rubber mallet, a meter, a spirit level, a metal ruler, a snow groomer, a geotextile film, a rake, a spade, construction sand , gravel and finally crushed bricks.
The first stage of the work consists in carrying out the delimitation of the surface to be paved. Plant stakes to delimit the excavation and use a stretched rope to define the perimeter to be worked. Next comes the stage of laying the foundations. When proceeding, never forget to provide a small slope to promote the flow of rainwater to the outside. Rent a machine or bring a spade to dig inside, up to about forty centimeters deep.
Fill the hole with an underlay made up of crushed bricks and gravel. Equip yourself with a snow groomer to compact this underlay, which should be 10 cm thick. The seat must be protected and have excellent stability. To do this, the laying of a geotextile film is essential. The latter will also prevent the growth of weeds that will taint the aesthetics of your coating. Then make the laying bed by spreading the sand to a maximum thickness of 8 cm. Smooth then compact again using your snow groomer. The objective is to obtain a sufficiently flat, solid and stable ground to receive your interlocking pavers.
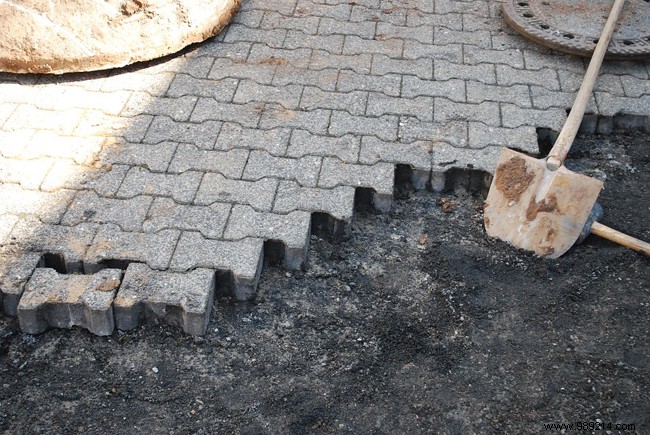
To lay the pavers, it is always advisable to start at the corners. Respect the laying patterns to preserve a certain harmony. After interlocking each paver, tamp them down using the rubber mallet. Use a spirit level to make sure the work is even. If the surface is uneven, remove the excess sand using the metal ruler or drive the cobblestones deeper with the mallet.
If cuts are to be made, plan this task at the end of the project. Opt for a disc grinder or paver cutter for this.
Finish your job by spreading sand again over the entire surface. This technique will make it possible to fill the interstices between the pavers. Compact again using a snow groomer this time with a teflon sole. Sprinkle with a rain of water using a watering can so that the sand penetrates properly. After 48 hours, repeat this same operation before finishing with a compaction with your snow groomer. The quality of the joint is crucial because when it is carried out in the rules of the art, you will have the possibility of cleaning your floor with a pressure washer without worrying that the sand of the joints will crumble.