Family Encyclopedia >> Home & Garden

Build a Space-Saving Minimalist Wooden Desk: Easy DIY Guide with Built-In Storage

Build a Space-Saving Minimalist Wooden Desk: Easy DIY Guide with Built-In Storage

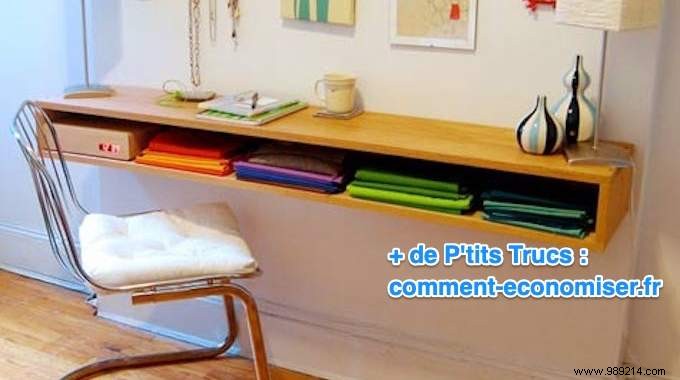
Need a desk for yourself or the kids but short on space? This clever hanging desk with storage is the perfect solution.

A friend of mine crafted hers using just two wooden boards and shared her simple method with me. I built one at home, and it was straightforward—no advanced skills required.

Ideal for weekend projects, it creates a functional workspace in tight spots. Watch the process below:

Build a Space-Saving Minimalist Wooden Desk: Easy DIY Guide with Built-In Storage Contents
  • What you need
  • How to build it
  • The finished result
  • Pro tips

What You'll Need

  • 2 oak planks, 180 cm long (or similar sturdy hardwood)
  • 3 metal L-brackets, 10 cm size
  • Electric drill with bits and screwdriver
  • 12 wood screws, 5-6 cm long
  • Stud/material detector
  • Wood oil (optional, for protection)

Step-by-Step Instructions

1. Purchase two oak planks from your local hardware store.

2. Have them cut into two 160 cm pieces for the top and bottom, plus two 15 cm side pieces.

3. Drill holes at even intervals across the width of the top and bottom boards.

4. Drill matching holes on the edges of the side boards for secure screwing, as shown:

Build a Space-Saving Minimalist Wooden Desk: Easy DIY Guide with Built-In Storage

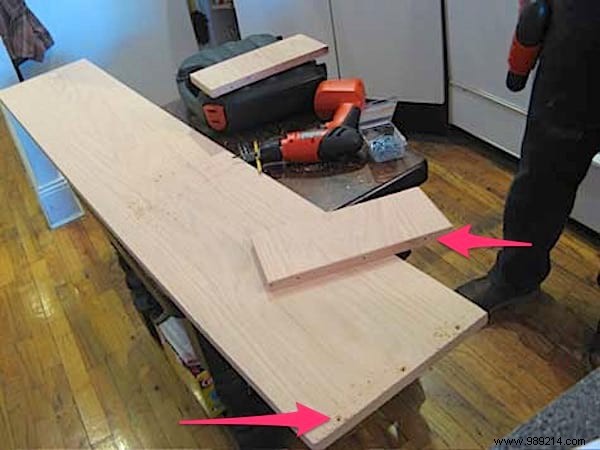
5. Attach each short side to the bottom board with screws.

6. Mount the three L-brackets on the wall, ensuring perfect alignment.

Build a Space-Saving Minimalist Wooden Desk: Easy DIY Guide with Built-In Storage

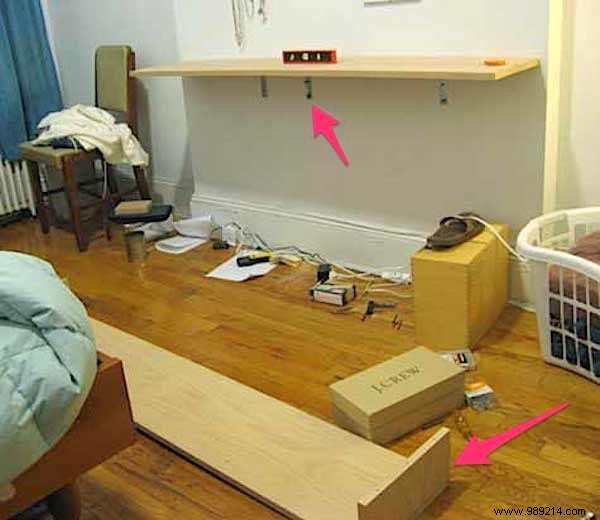
7. Secure the top board to the brackets using the electric screwdriver.

8. Fasten the bottom board and sides to the top board.

The Finished Desk

Build a Space-Saving Minimalist Wooden Desk: Easy DIY Guide with Built-In Storage

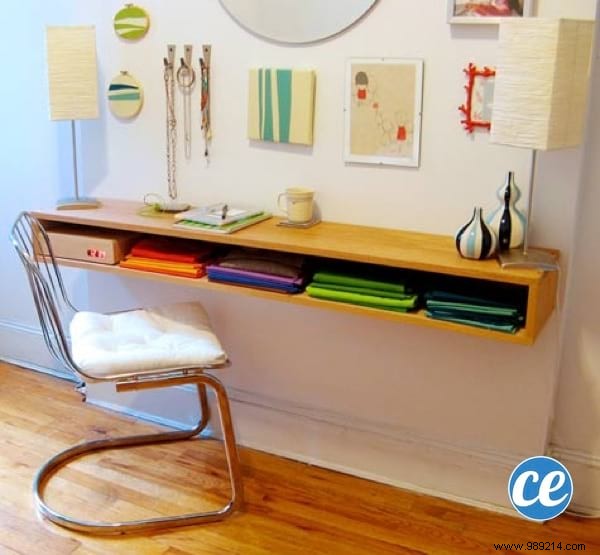
Voila—your sleek minimalist wooden desk is complete! Quick, affordable, and far cheaper than store-bought options.

Apply wood oil for protection; it enhances the tone while keeping a natural matte finish.

I've been using mine daily for focused work, with ample storage for files and supplies.

Expert Tips for Success

  • Adjust plank sizes to fit your space—keep sides at least 10 cm high for storage.
  • Always use a stud detector before drilling into walls to avoid cables or pipes.
  • Draw a level pencil line for bracket alignment using a spirit level.
  • Screw the top board from below to avoid surface marks.
  • Choose screws short enough not to pierce through the top.
  • Enlist a helper for steps involving holding pieces steady.