
Candle making is a timeless craft passed down through centuries, outlasting even the invention of electric lights. Today, it's one of the most rewarding DIY projects for creating personalized home decor and gifts.
Before diving in, familiarize yourself with candle types, wax options, and essential materials. As experienced crafters, we've refined this straightforward tutorial to help you craft your own homemade candles quickly and successfully.
Don't worry—it's simple and beginner-friendly. Follow along:
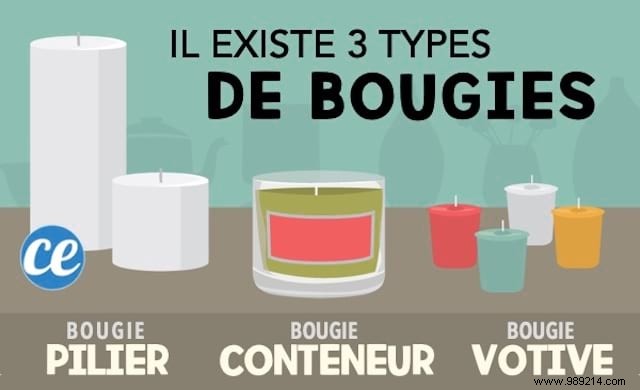
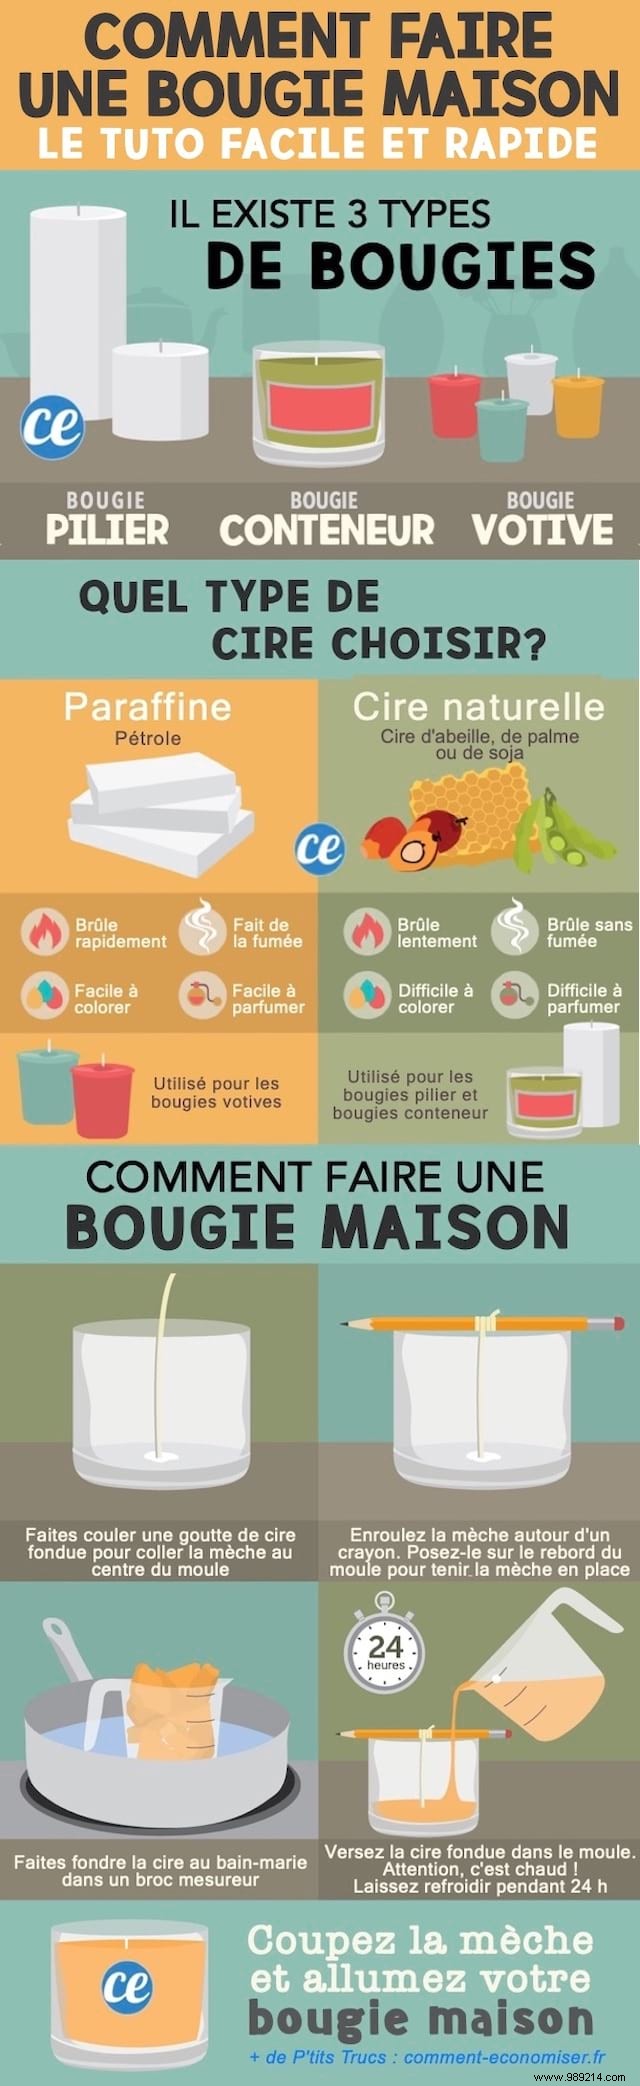
The first step is selecting your candle's shape. There are three main types:
1. Pillar candles made with firm wax. They're self-supporting, burning freestanding without a holder.
2. Container candles, ideal for beginners and the most common. They burn directly in their pouring container.
3. Votive candles, small and designed for use in holders. Popular for weddings and religious settings.
Head to the craft store thoughtfully—select the wax best suited to your project.
For homemade candles, options vary by popularity, melting point, cost, burn time, and allergies.
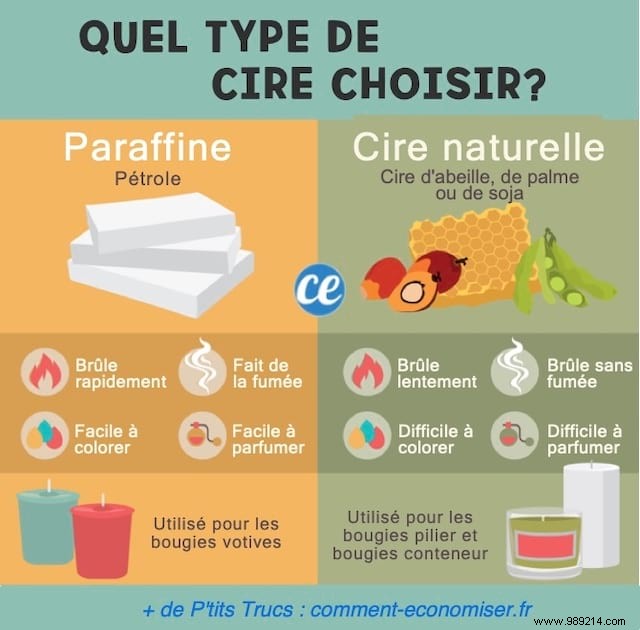
The most affordable wax, derived from crude oil. It's declining in use due to natural alternatives and its tendency to produce soot and smoke.
Best for small votives, it melts quickly and holds color and fragrance well—but avoid for large pillars.
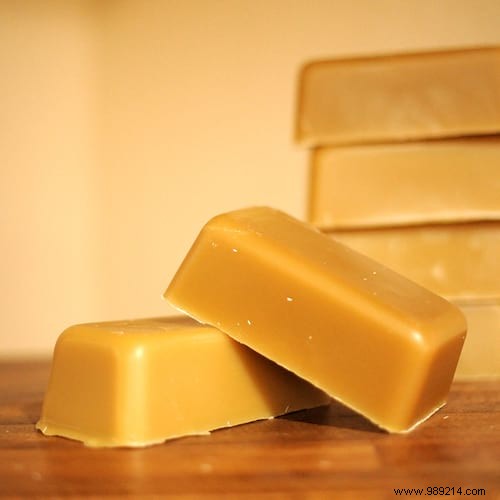
100% natural and chemical-free, beeswax is a byproduct of honey production with a subtle, sweet scent.
Available in blocks or easier-to-measure pellets (no grating needed). It burns cleanly with minimal drips, making it ideal for allergy sufferers, those with asthma, or sinus issues.
Drawback: Doesn't retain colors or scents strongly.
Other eco-friendly options include:
- Natural palm wax: Longest burn time, smokeless, pricier—perfect for pillars.
- Soy wax from soybeans: Long-burning and clean. Available for around €20 per 2 kg.
Recycle remnants from old candles into new ones—a smart way to minimize waste and upcycle.
- Stove
- Large saucepan
- Measuring jug or heat-safe glass container
- Newspaper
- Towel
- Pencil
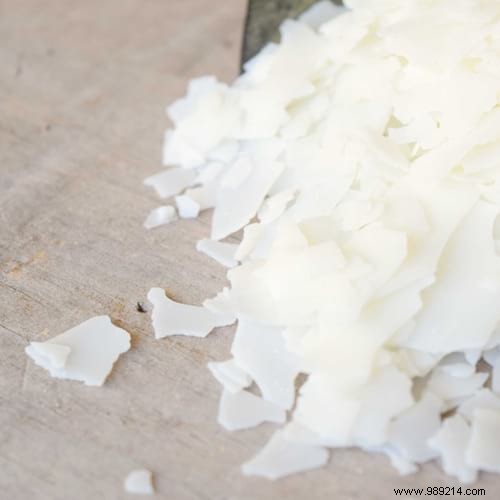
- Paraffin, beeswax, palm, or soy wax
- Candle wicks
- Heat-resistant molds or containers
- Essential oils (for scent)
- Oil-based dyes
For pillar candles, repurpose waxed containers like milk or juice cartons.
1. Select your wax: paraffin, beeswax, palm, or soy.
2. Break or grate into small pieces.
3. Measure precisely: Tare your empty mold on a scale, fill with water—the water weight in grams equals wax needed.
4. Protect surfaces with newspaper; keep a damp towel for spills.
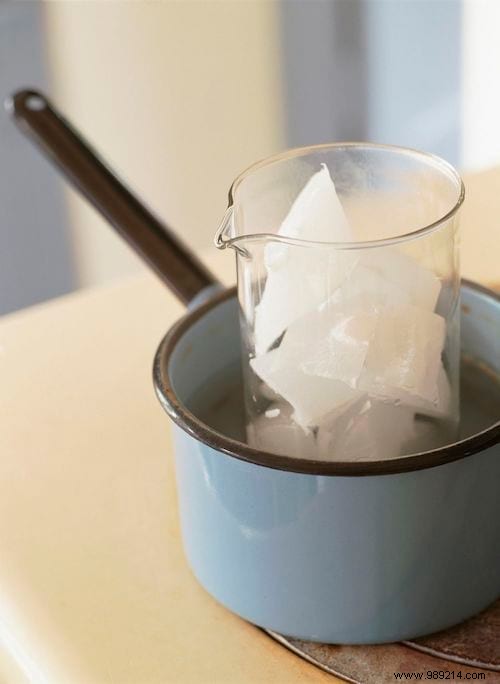
5. Add about 5 cm of water to the saucepan; ensure jug fits.
6. Place wax in jug, set in saucepan.
7. Heat water on high; wax melts gradually.
8. Add essential oils (optional).
9. Stir in dye drops for color.
1. Use heat-safe metal, glass, or porcelain containers. Tip: Reuse jars, mugs, or teacups.
2. Center the wick.
3. Secure bottom with a wax drop.
4. Wrap wick end around pencil.

5. Rest pencil across container top to hold wick taut.
6. Pour wax steadily while holding pencil.
7. Cool for hours or overnight.
8. For carton molds, peel away cardboard.
9. Trim wick to 4-5 cm.
To easily print this guide in PDF, click here.
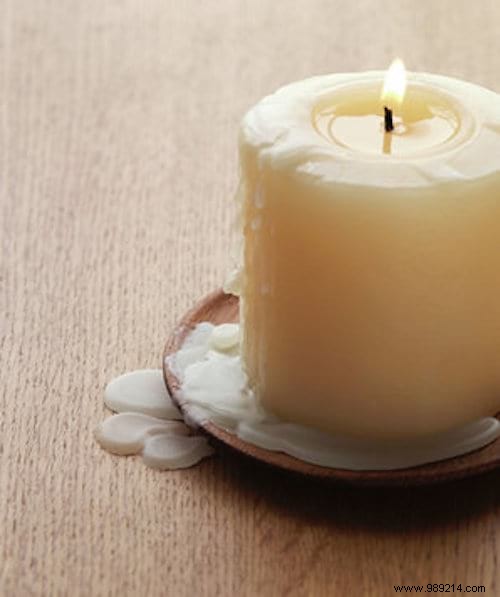
You've now mastered homemade candles! Customize scents to your liking for a cozy, fragrant ambiance.
DIY candles add warmth and charm to any space. Elevate yours with slate-effect labels and ribbon for perfect gifts.