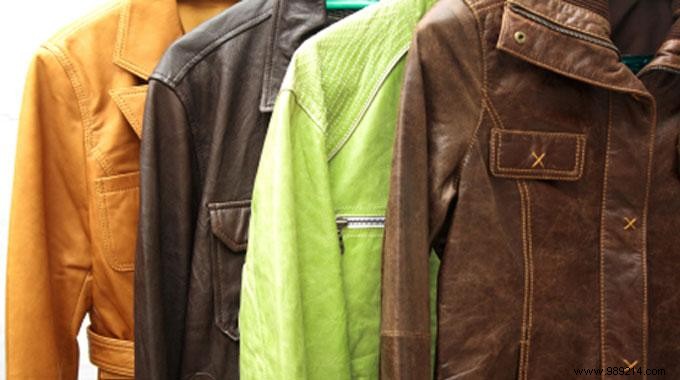
Torn your favorite leather jacket? As someone who's successfully mended several leather garments using this technique—shared by a trusted seamstress friend—you don't have to part with it.
Don't panic or let it gather dust. This simple DIY fix using self-adhesive (iron-on) repair strips restores your jacket or vest like new, without professional help.
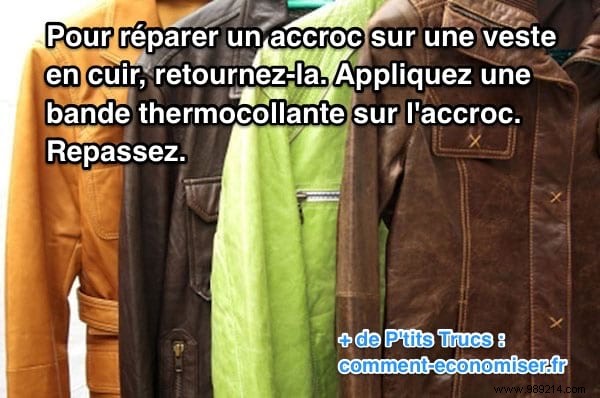
1. Turn the garment inside out.
2. Cut a self-adhesive strip to slightly larger than the tear size—not too big to avoid bulk, but enough to fully cover the damage.
3. Align and press the torn edges together.
4. Apply the strip firmly over the tear.
5. Place a medium-thickness fabric scrap over the repair area.
6. Cover the entire repaired section completely.
7. Iron with a hot iron over the fabric—never directly on the leather.
8. Iron multiple times to ensure strong adhesion.
With these affordable iron-on strips, your leather jacket or vest is ready to wear again. It's straightforward—no sewing expertise required, perfect for beginners.
This method works on jackets, pants, skirts, coats, and more. Find iron-on strips at haberdasheries, supermarkets, or online.
Leather repairs from shoemakers or tanners can be pricey. These strips cost under €5 and are reusable for tough fabrics like linen.
Skip expensive fixes or replacements—this trusted hack saves you hundreds while preserving your investment.