
Whether you're an athlete dealing with a sprain or a parent soothing a child's bump, this simple DIY ice pack can make all the difference.
Everyone knows the value of applying ice to injuries, but you don't need to buy a commercial one.
Discover how to create a soft, flexible ice pack perfect for wrapping around knees or other joints.
Backed by a physiotherapist's proven method, here's how to make your own homemade ice pack in just 5 minutes:
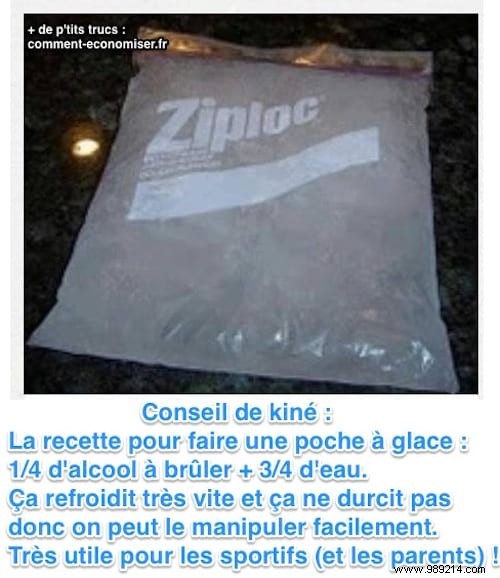
1. Grab a waterproof, zip-top plastic bag.
2. Fill it with 1/4 methylated spirit and 3/4 water. Avoid overfilling.
3. Seal the bag securely.
4. Place in the freezer for 5 minutes.
You've got a ready-to-use ice pack in just 5 minutes! :-)
Simple, cost-effective, and highly practical.
Wrap it around the injury for quick relief – it molds perfectly and is safe for kids.
Say goodbye to pharmacy runs or sports store purchases.
Customize the size for any need: small for bumps, larger for ankles, feet, thighs, or knees.
Best part? Store it in the freezer for reuse anytime.
The alcohol-water mix freezes faster than plain water while staying pliable.
Ideal for bruises, muscle strains, sprains, or even headaches.
Bonus tip: Double-bag it to prevent leaks, then apply as a cold compress.
If this doesn't suit you, alternative homemade methods exist for ice packs.