 Estimated cost $250 Time
  Download PDF

By MaryAnn Carter, experienced DIY craftsman


MaryAnn Carter
MaryAnn Carter
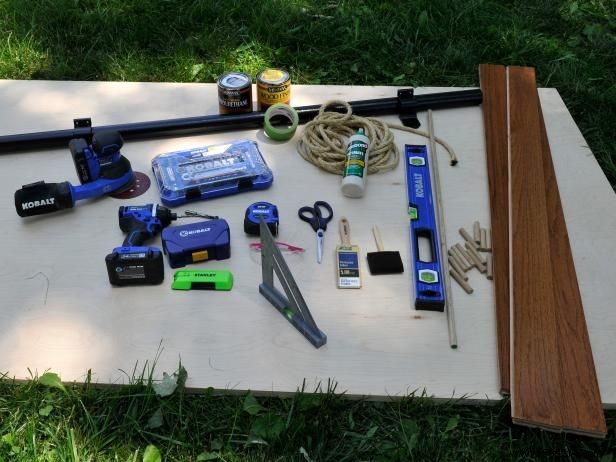
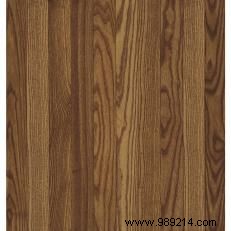
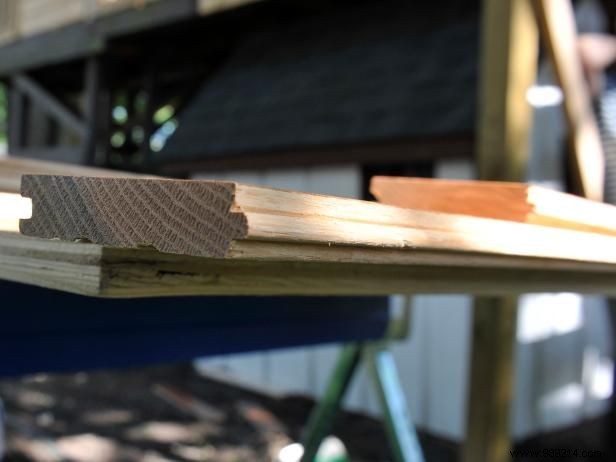
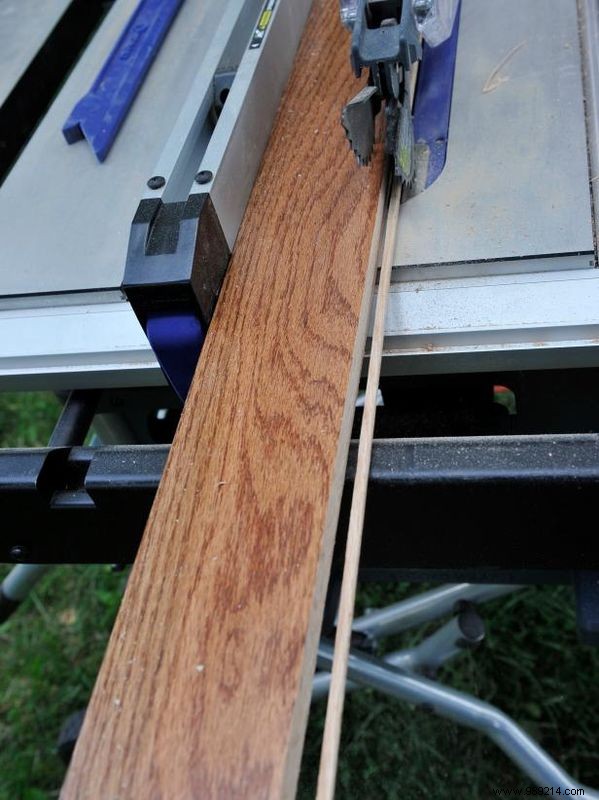
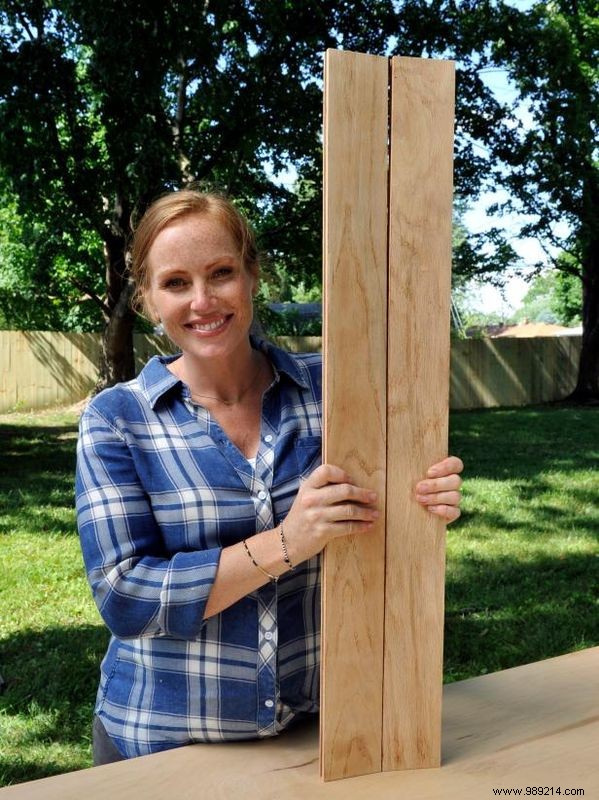
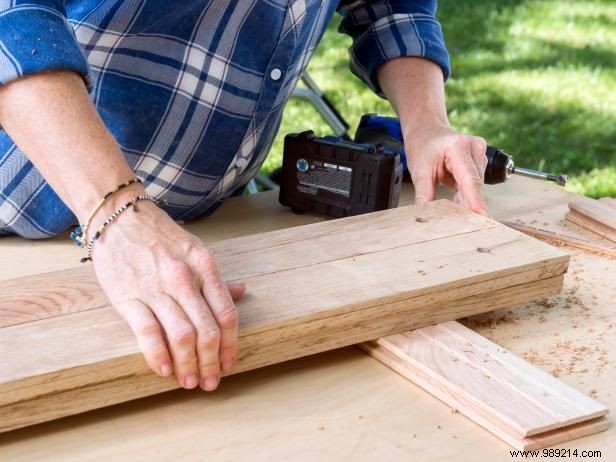
Select several floorboards of similar size. Use two boards per shelf. With a table saw, rip the tongue off one board—this will form the front of the shelf. Tear off the groove from the second board for the back, which sits against the wall. The remaining tab on the back board locks into the front board's slot.
MaryAnn Carter
MaryAnn Carter
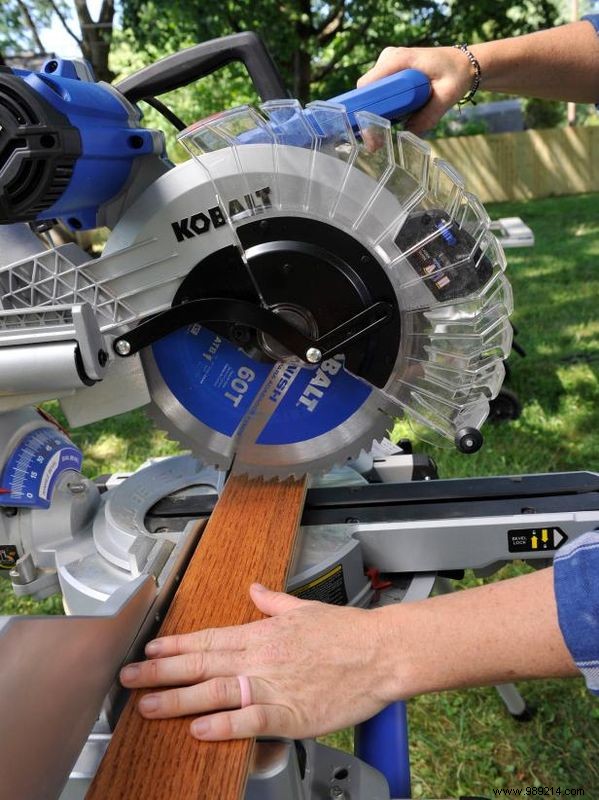
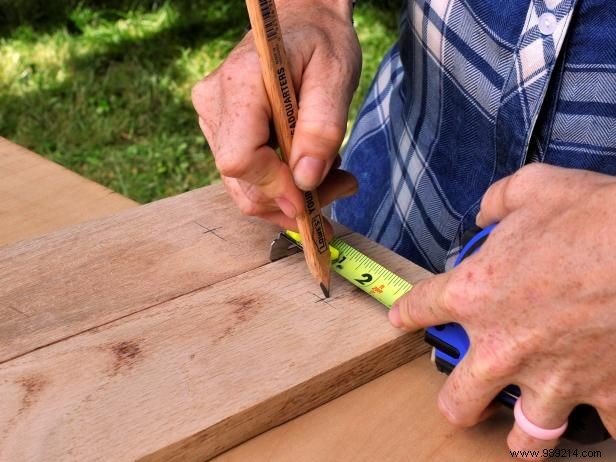
Cut the boards to your desired shelf lengths to fit your space. Our shelves measure 5 ft, 4 ft, and 3 ft wide (each using two floorboards).
MaryAnn Carter
MaryAnn Carter
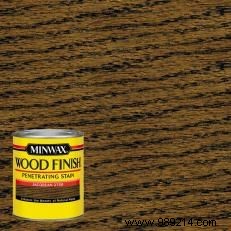
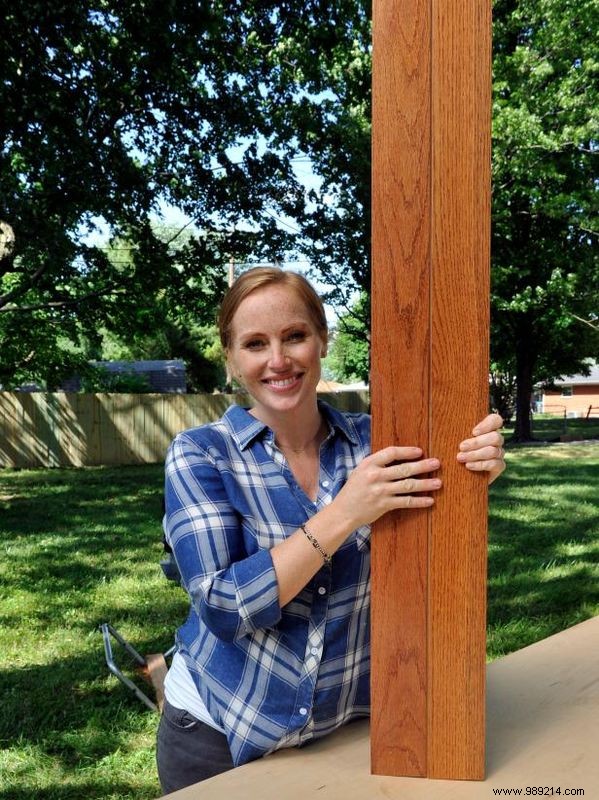
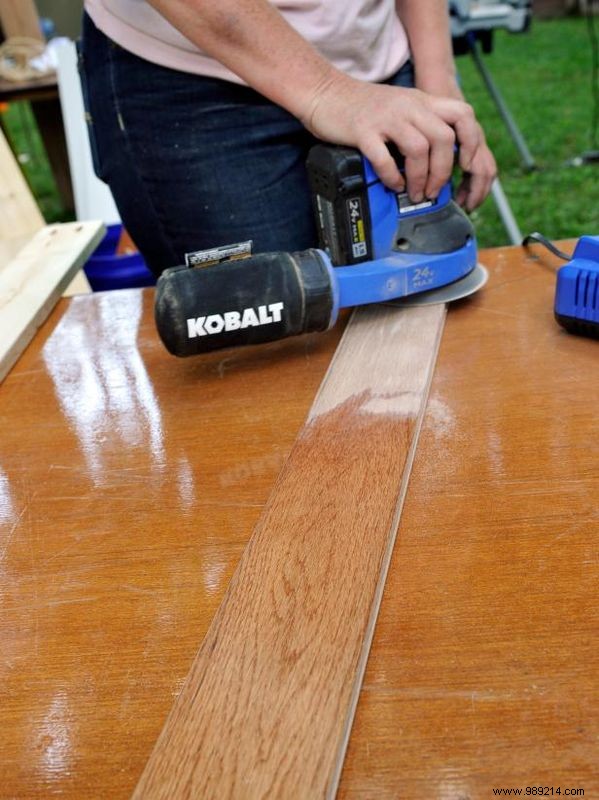
For prefinished boards, keep as-is or stain/paint them. We restained for a custom look. Sand all boards with an orbital sander before gluing to access sides and grooves fully.
MaryAnn Carter
MaryAnn Carter
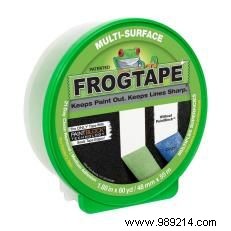
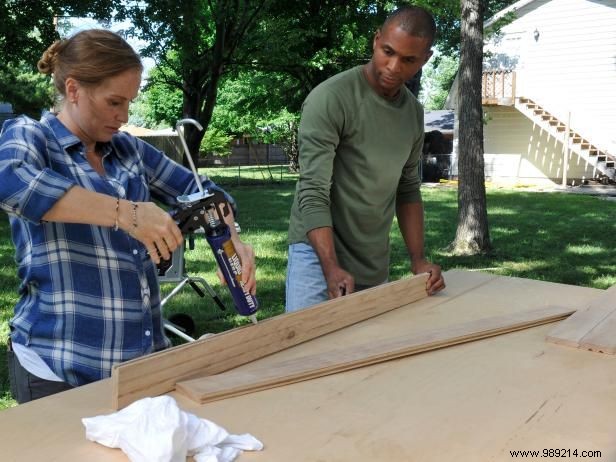
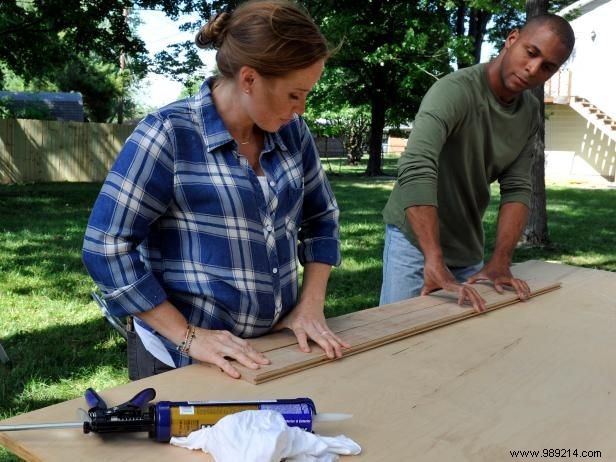
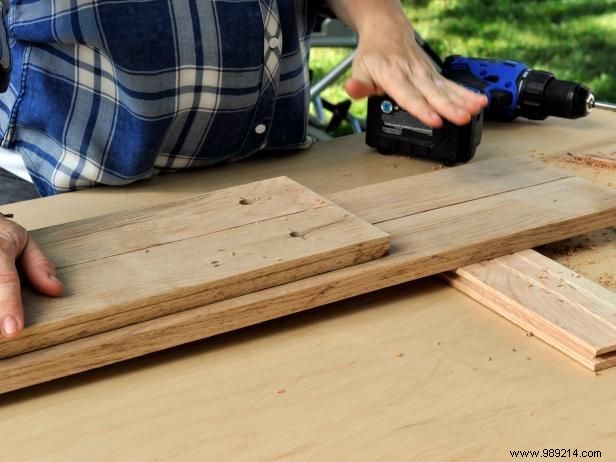
Pair boards of equal length and apply construction adhesive in the groove for a secure tongue-and-groove joint. Clamp while drying.
MaryAnn Carter
MaryAnn Carter
MaryAnn Carter
MaryAnn Carter
MaryAnn Carter
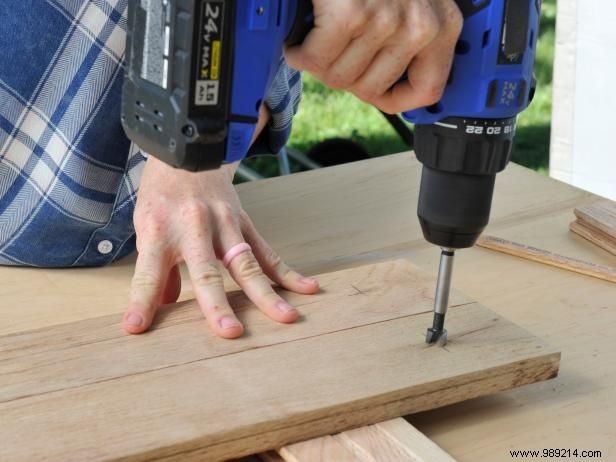
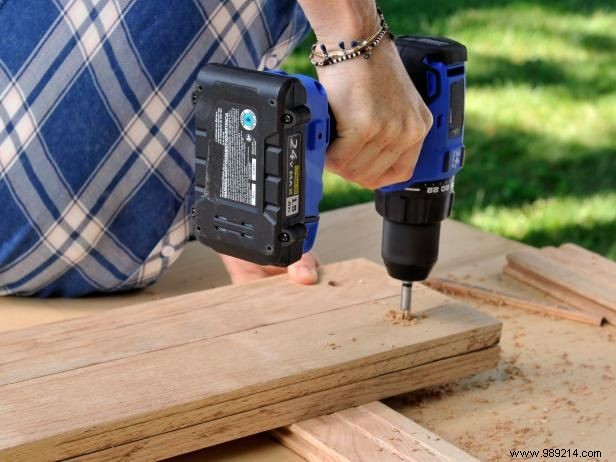
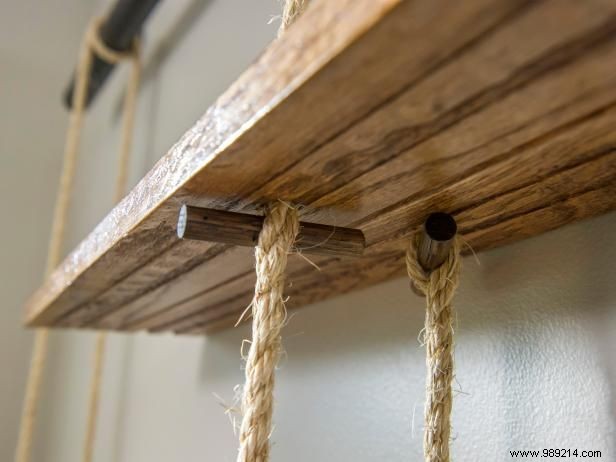
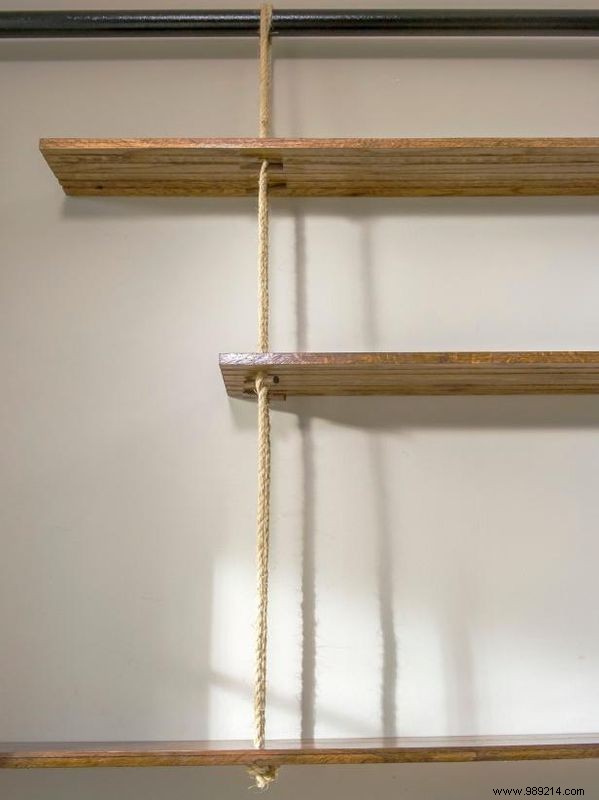
Using a 1/2” Forstner bit matching your rope diameter, drill two holes at each end of the shelves, 2" from the ends and centered front-to-back. Start with the 3' shelf, then align the 4' and 5' shelves for level hanging from the same ropes.
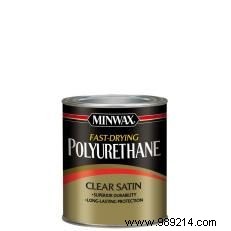
If using the existing finish, proceed to the next step. Otherwise, stain exposed edges, ripped areas, cuts, and holes. Apply polyurethane for protection and sheen.
MaryAnn Carter
MaryAnn Carter
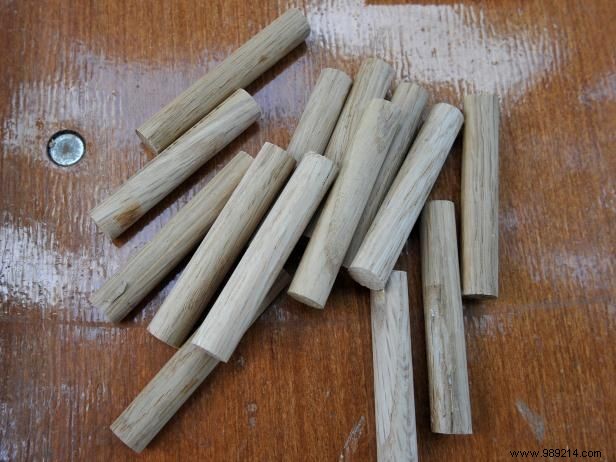
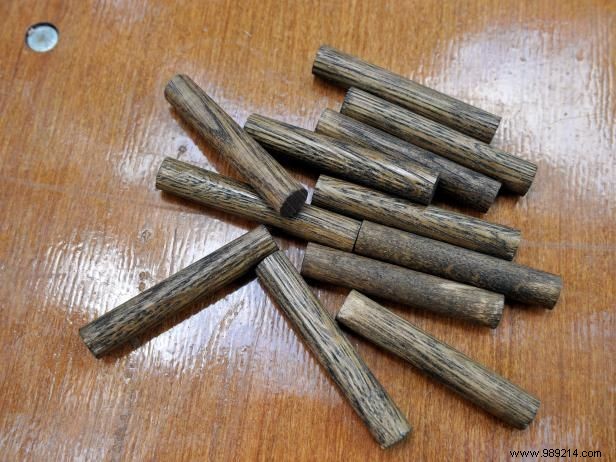
Cut 1/2" dowels into 3” pegs (8-14 needed based on setup). Stain to match shelves.
MaryAnn Carter
MaryAnn Carter
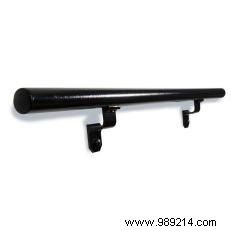
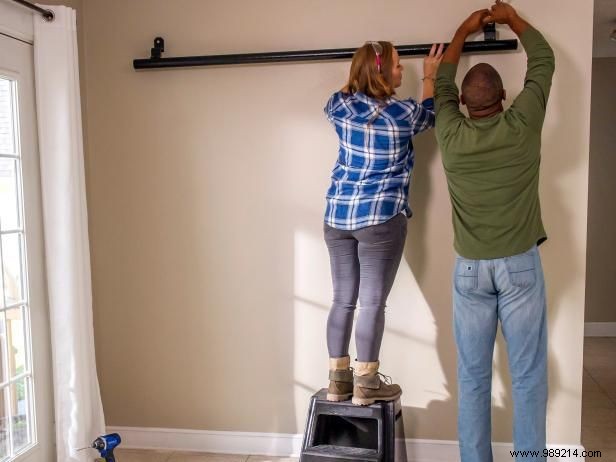
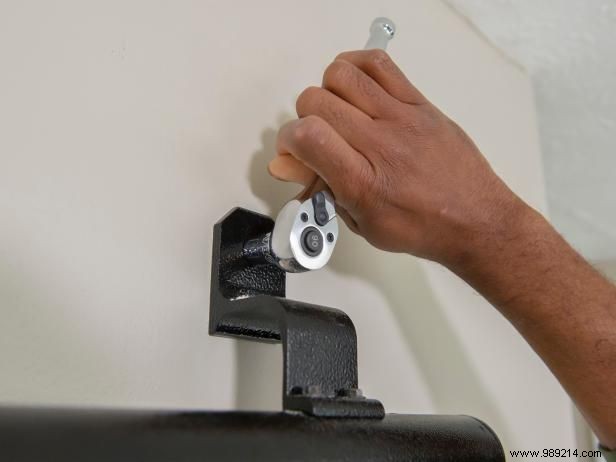
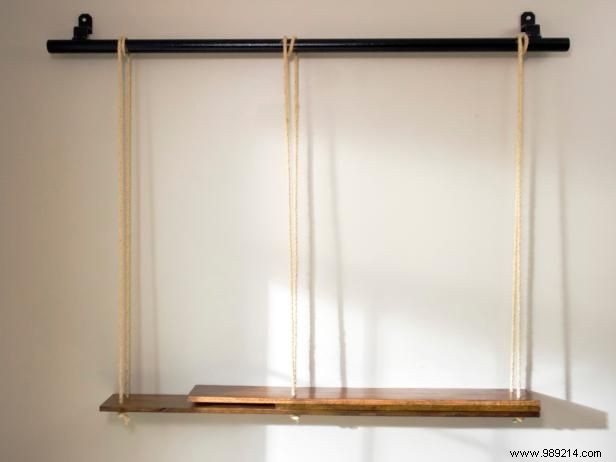
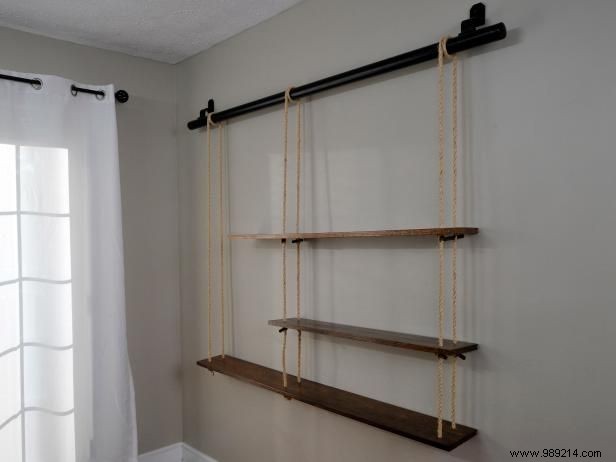
Use a stud finder to locate studs. Mount the handrail 8-12" from the ceiling on studs. Use drywall anchors if studs don't align to support the rail and shelves.
MaryAnn Carter
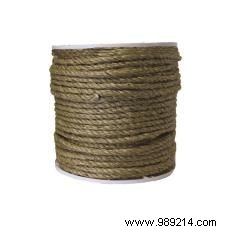
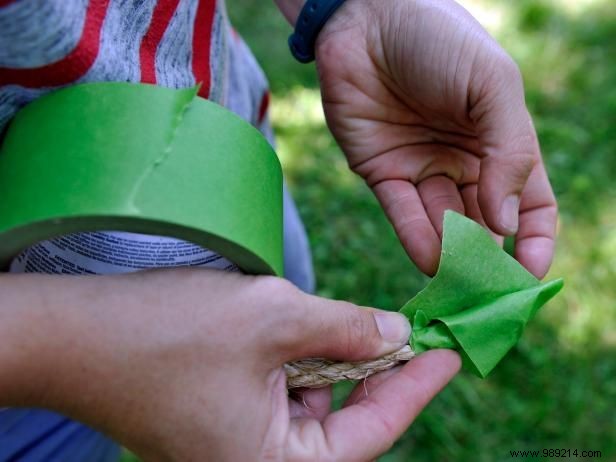
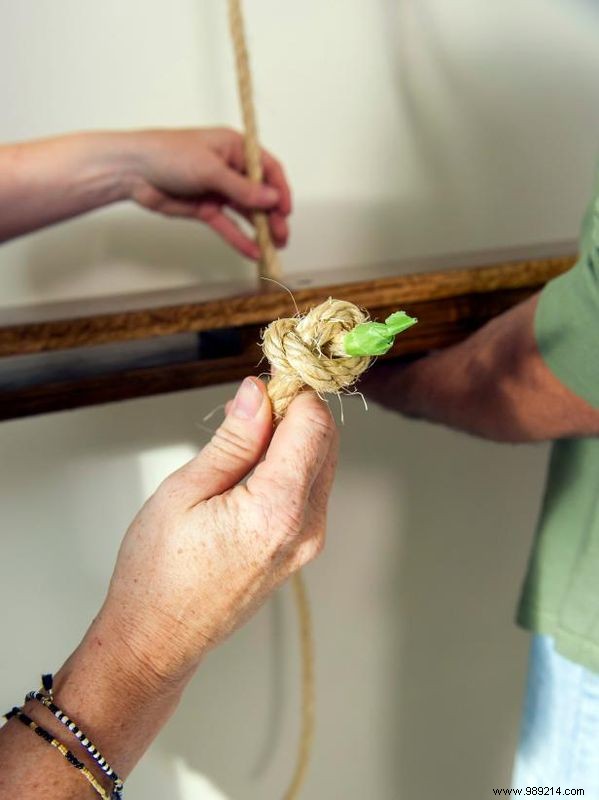
Cut three 10' lengths of rope (extras allow adjustable spacing). Wrap ends with painter's tape to prevent fraying until final knots.
MaryAnn Carter

MaryAnn Carter
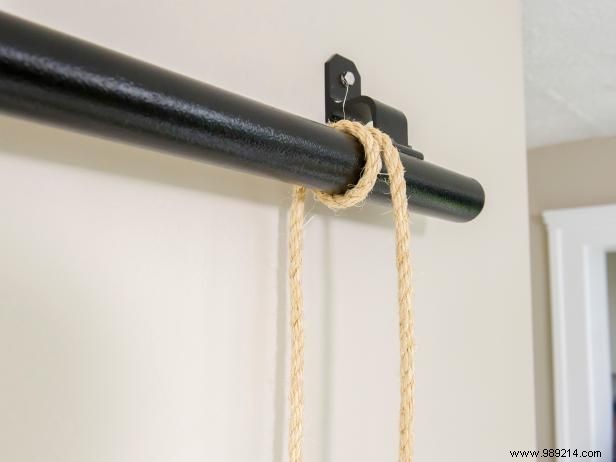
Loop each rope over the rail once for stability, ensuring equal hanging lengths on both sides.

MaryAnn Carter
MaryAnn Carter
MaryAnn Carter
MaryAnn Carter
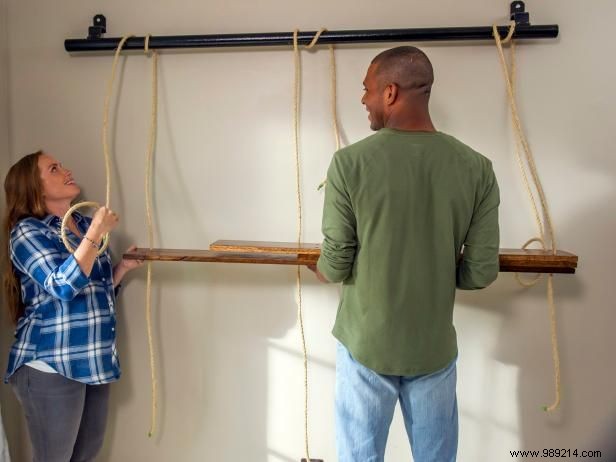
Thread rope ends through shelf holes from top to bottom. Tie knots under the bottom shelf at each hole.
MaryAnn Carter
MaryAnn Carter
MaryAnn Carter
MaryAnn Carter
MaryAnn Carter
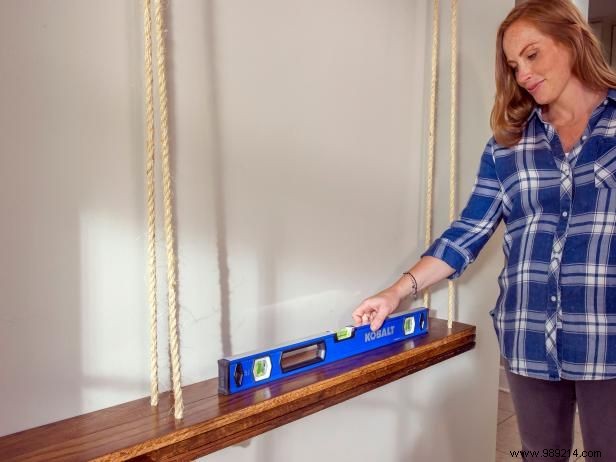
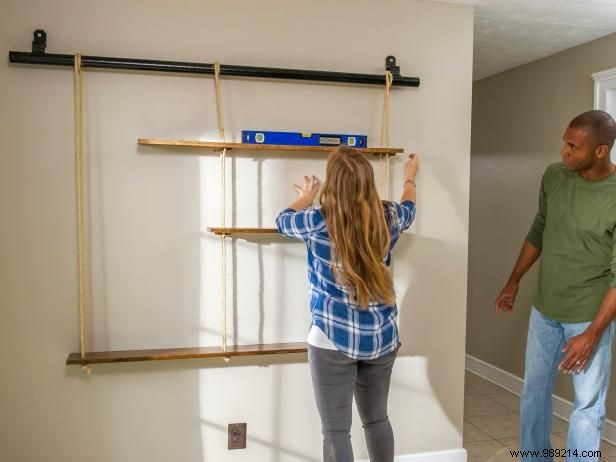
Use a level to ensure straightness. Space shelves as desired, then insert pegs through ropes for support. Repeat for all shelves, adjusting the bottom knot for height. Trim excess rope and enjoy your sturdy rope shelves.
MaryAnn Carter
Continue reading