Family Encyclopedia >> Home & Garden

Expert DIY Guide: Build a Stunning Framed Barn Quilt with Pro Tips

Skill Level Expert DIY Guide: Build a Stunning Framed Barn Quilt with Pro Tips Estimated cost $150 Time Expert DIY Guide: Build a Stunning Framed Barn Quilt with Pro Tips Download PDF Expert DIY Guide: Build a Stunning Framed Barn Quilt with Pro Tips Expert DIY Guide: Build a Stunning Framed Barn Quilt with Pro Tips

Tools and Materials

  • Awl for pilot holes
  • Exterior-grade screws
  • Tape measure and straight edge
  • Paint, brushes, and roller
  • Painter's tape
  • Circular saw
  • D-rings and picture hanging wire
  • (1) 4' x 8' x 3/4" plywood sheet
  • (2) 1x4x8' for frame
  • (2) 1x3x8' for mat
  • Wood putty
  • Pattern template
  • Wood stain
  • Pneumatic stapler and staples
Find all the tools and materials for this project at Lowes.com. Expert DIY Guide: Build a Stunning Framed Barn Quilt with Pro Tips

Shop this look

Expert DIY Guide: Build a Stunning Framed Barn Quilt with Pro Tips

HGTV HOME by Sherwin-Williams Infinity Satin Tintable Acrylic Exterior Paint (Current Net Content:116 fluid oz.)

buy it Expert DIY Guide: Build a Stunning Framed Barn Quilt with Pro Tips

Blue Hawk 3-Pack Angled Poly Angle Paint Brushes Variety Pack

buy it Expert DIY Guide: Build a Stunning Framed Barn Quilt with Pro Tips

FrogTape 1.88-in painter's tape

buy it Expert DIY Guide: Build a Stunning Framed Barn Quilt with Pro Tips

(Common:1in X 3in X 8ft; Actual:0.75in X 2.5in X 8ft) Pine Board

buy it Expert DIY Guide: Build a Stunning Framed Barn Quilt with Pro Tips

(Common:1 in. x 4 in. x 8 ft.; Actual:0.75 in. x 3.5 in. x 8 ft.) Pine Board

buy it Expert DIY Guide: Build a Stunning Framed Barn Quilt with Pro Tips

Hillman 4 D-Ring Large Picture Hanger

buy it Expert DIY Guide: Build a Stunning Framed Barn Quilt with Pro Tips

Swanson Tool Company High Vis Aluminum Square

buy it Expert DIY Guide: Build a Stunning Framed Barn Quilt with Pro Tips

Kobalt 2-Tool 24-Volt Lithium-Ion Brushless Cordless Combo Kit

buy it Expert DIY Guide: Build a Stunning Framed Barn Quilt with Pro Tips

Hitachi 1/2 Inch Pneumatic Finishing Staples

buy it Expert DIY Guide: Build a Stunning Framed Barn Quilt with Pro Tips

Hitachi 18-Gauge 1/4-in Pneumatic Crown Stapler

buy it Expert DIY Guide: Build a Stunning Framed Barn Quilt with Pro Tips

Bostitch 6 Gallon Portable Electric Pancake Air Compressor (1 Tool Included)

buy it Expert DIY Guide: Build a Stunning Framed Barn Quilt with Pro Tips

Minwax 300-fl oz Satin Oil-Based Polyurethane

buy it Expert DIY Guide: Build a Stunning Framed Barn Quilt with Pro Tips

Kobalt 24-Volt Cordless Circular Saw, 6-1/2 in. Max. With brake

buy it Expert DIY Guide: Build a Stunning Framed Barn Quilt with Pro Tips

Top Choice SkyPly 3/4 in HPVA oak plywood, application as 4 x 8

buy it

Cut plywood to size

Expert DIY Guide: Build a Stunning Framed Barn Quilt with Pro Tips

Gary Payne

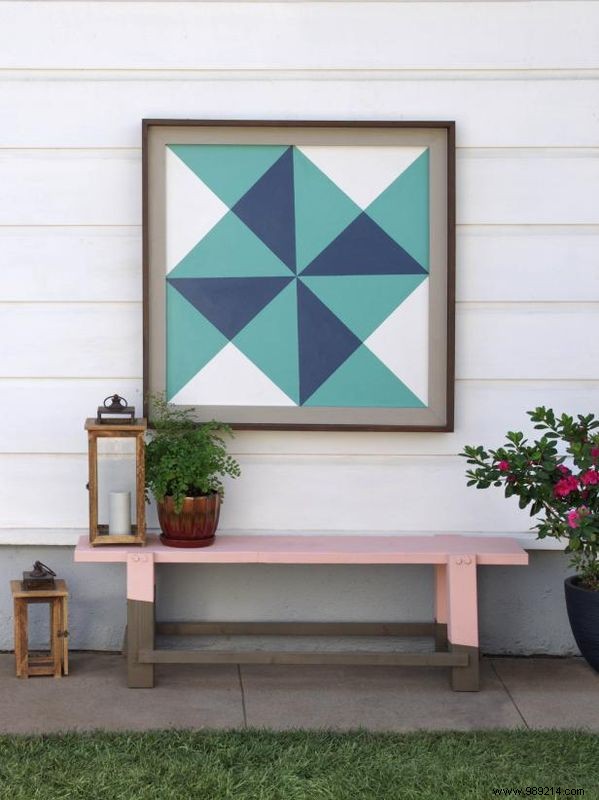
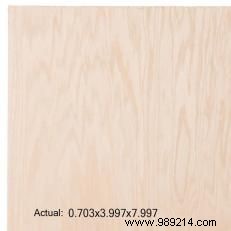
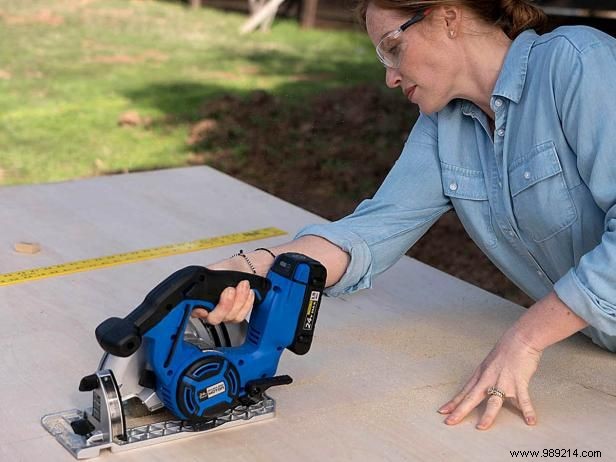
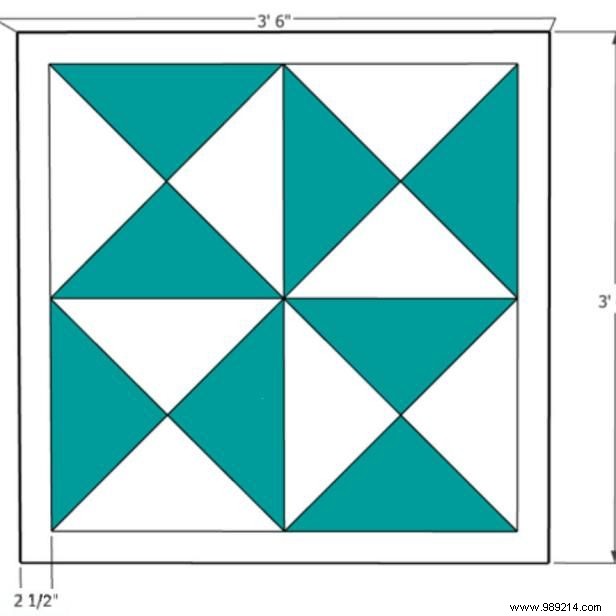
Barn quilts are traditionally square. Experienced woodworker Gary Payne starts with a 4' x 8' sheet of 3/4" plywood, cutting it to 42" x 42" to perfectly fit the space.

Prime and paint the base

Expert DIY Guide: Build a Stunning Framed Barn Quilt with Pro Tips

Gary Payne

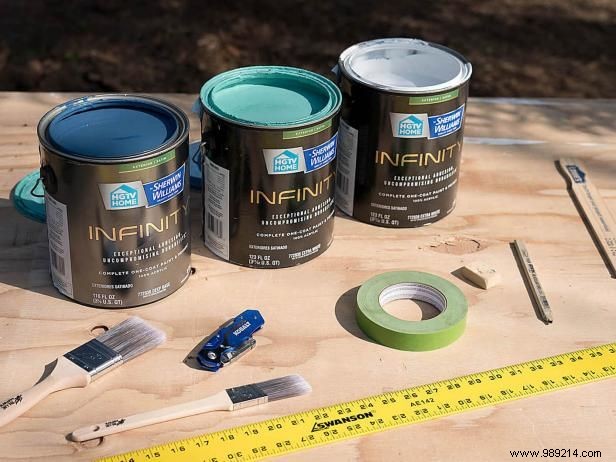
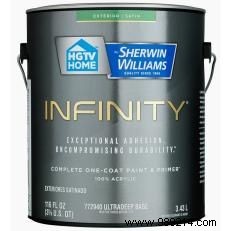
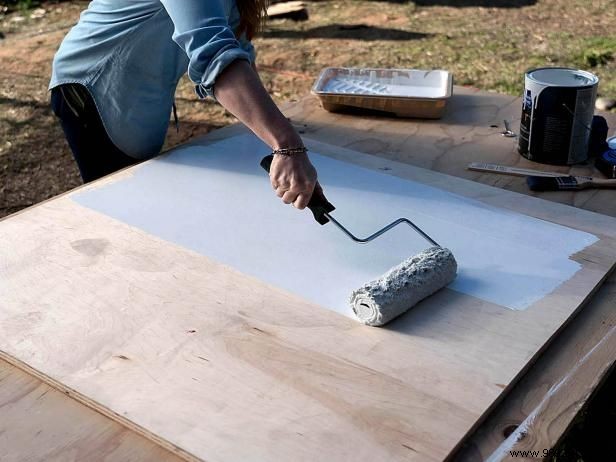
Apply a primer-paint combo for a durable base coat that ensures long-lasting results outdoors.

Plan your design

Expert DIY Guide: Build a Stunning Framed Barn Quilt with Pro Tips Expert DIY Guide: Build a Stunning Framed Barn Quilt with Pro Tips

Gary Payne

Expert DIY Guide: Build a Stunning Framed Barn Quilt with Pro Tips

Gary Payne

Expert DIY Guide: Build a Stunning Framed Barn Quilt with Pro Tips

Gary Payne

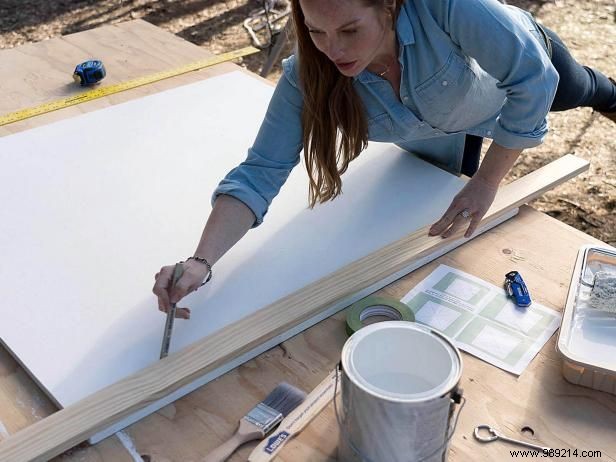
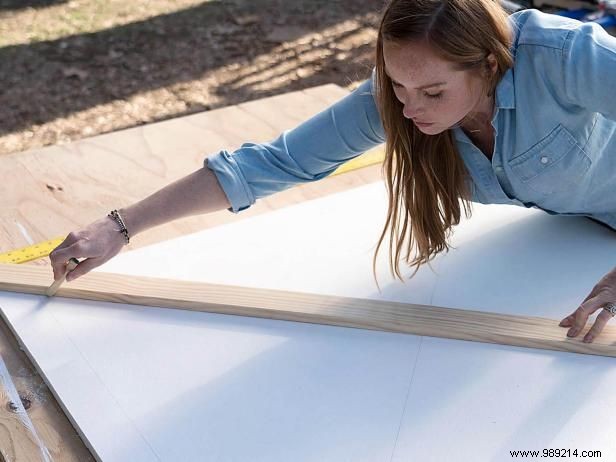
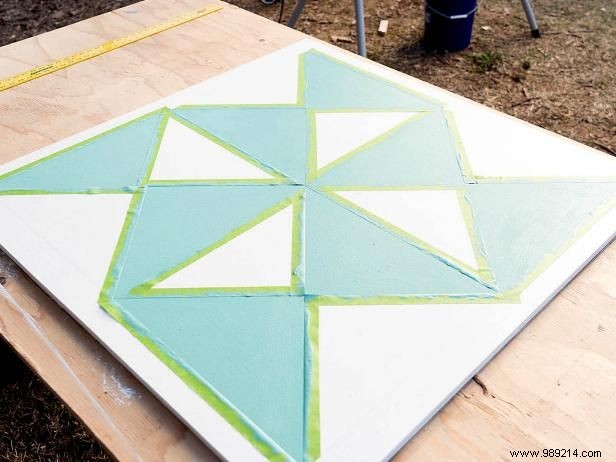
Download the template and use a straight edge to mark your pattern. This design features four quadrants, each divided into four triangles. Leave a 2-1/2” border on all sides for the 1x3 wood mat. Lightly pencil each triangle with its color to prevent errors.

Tape and paint first color

Expert DIY Guide: Build a Stunning Framed Barn Quilt with Pro Tips

Gary Payne

Expert DIY Guide: Build a Stunning Framed Barn Quilt with Pro Tips

Gary Payne

Expert DIY Guide: Build a Stunning Framed Barn Quilt with Pro Tips

Gary Payne

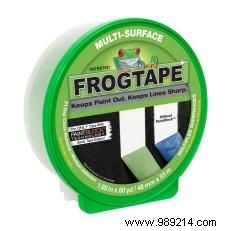
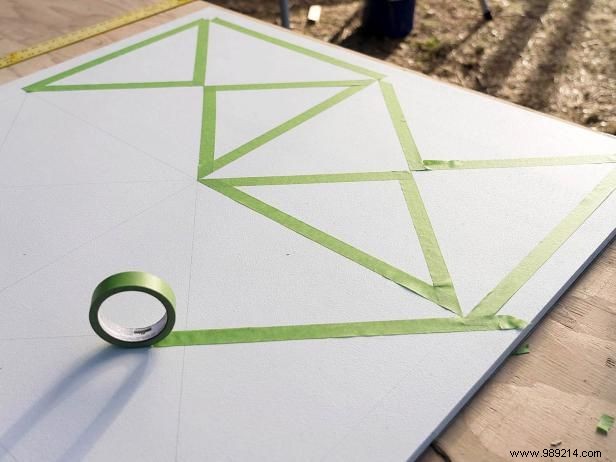
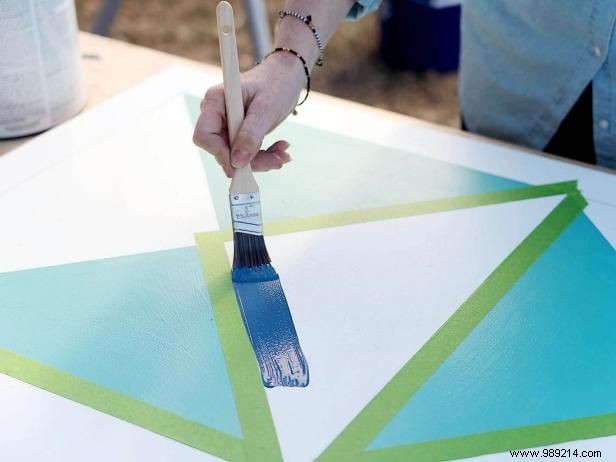
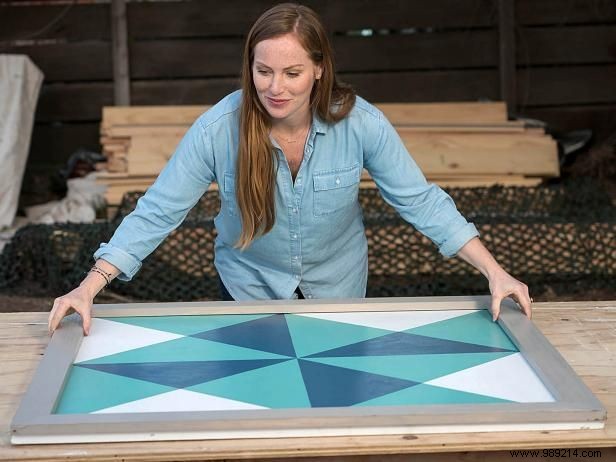
Apply painter's tape to the lightest color sections first. Painting from light to dark lets bleed-through be covered easily. Paint fully, then remove tape at a 45-degree angle before it's fully dry for crisp lines.

Tape and paint second color

Expert DIY Guide: Build a Stunning Framed Barn Quilt with Pro Tips

Gary Payne

Expert DIY Guide: Build a Stunning Framed Barn Quilt with Pro Tips

Gary Payne

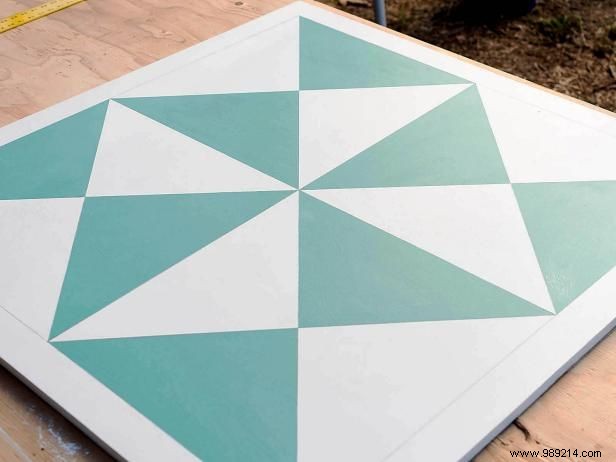
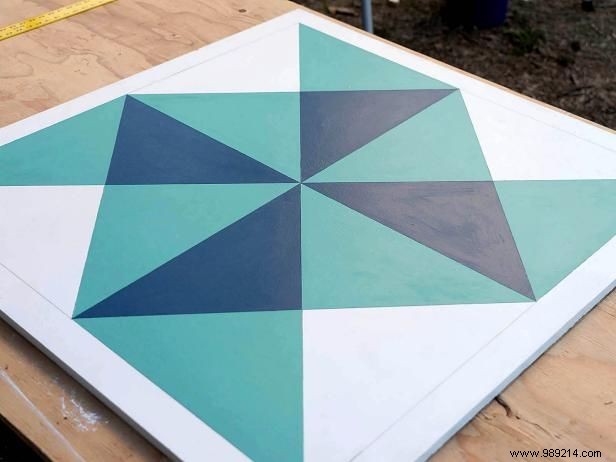
Once dry, tape for the next color and repeat until all sections are painted.

Add the mat

Expert DIY Guide: Build a Stunning Framed Barn Quilt with Pro Tips

Gary Payne

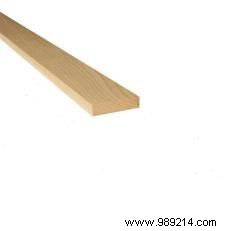
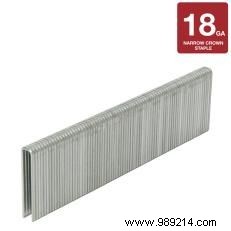
Cut 1x3 mat boards to canvas length with 45-degree mitered corners using a circular or miter saw. Test fit on the canvas, finish as desired, then staple together. Apply wood glue to the back, position on the art, and secure. Fill holes with wood putty if needed.

Build the frame

Expert DIY Guide: Build a Stunning Framed Barn Quilt with Pro Tips

Gary Payne

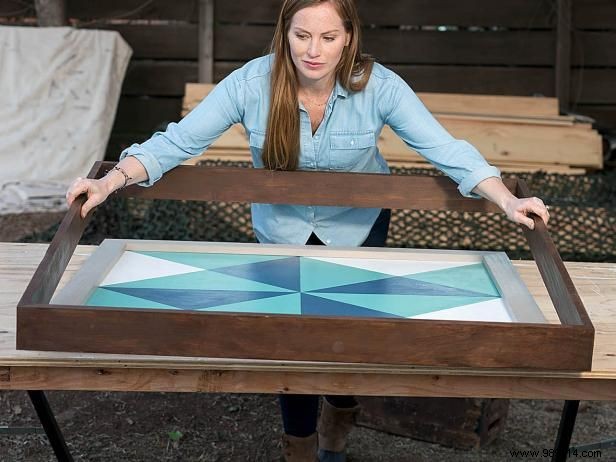
Miter 1x4 frame boards to 42-3/4" with 45-degree ends. Test fit around the mat and canvas for a snug hold. Finish as desired, join corners, then screw the frame to the canvas and mat edges.

Install hanging hardware

Expert DIY Guide: Build a Stunning Framed Barn Quilt with Pro Tips

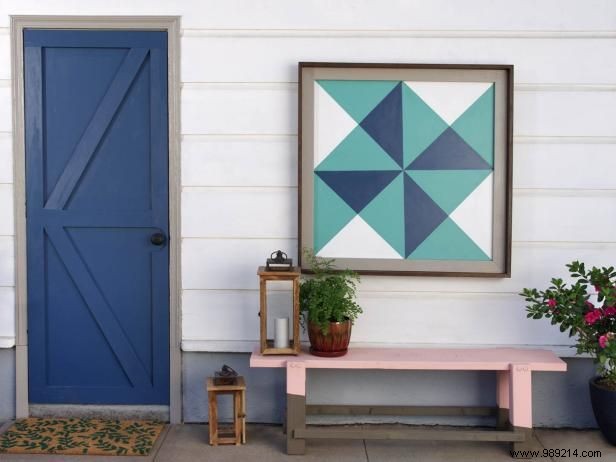
Attach two D-rings to the back of the frame. Thread picture wire through, securing tightly for safe hanging. Display your custom barn quilt with pride!

(Love that two-tone barn quilt? Here's how to make it.)