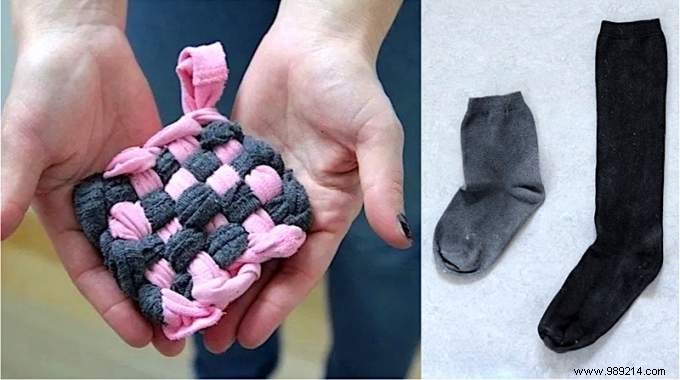
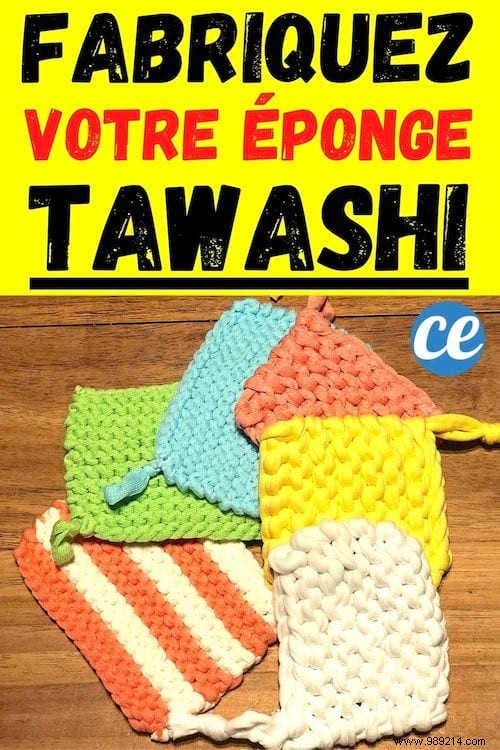
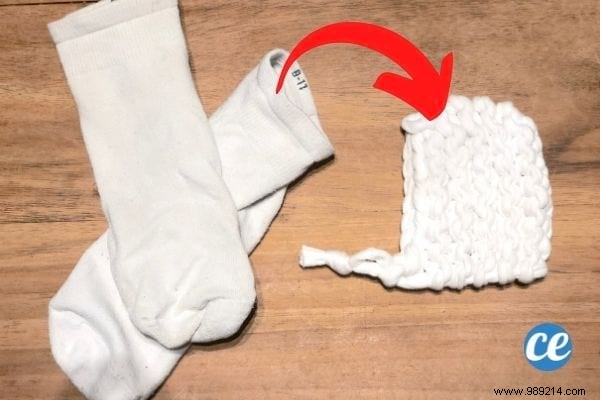
Discover how to craft a homemade tawashi sponge from recycled fabrics like old socks.
This versatile, zero-waste sponge is incredibly effective for cleaning.
It's simple to make, cost-free, and excels at scrubbing dishes, countertops, tables, and even cars with just a bit of multipurpose cleaner.
Soon, it becomes an essential tool in your home.
Ready to weave your own tawashi sponge? Follow this straightforward tutorial:
 Contents
 - A wooden board (about 20 cm side)
- A pencil
- A square
- 20 flat head nails
- A hammer
- A pair of scissors
- Old socks, old leggings, or an old pair of tights
1. Draw a 14 cm square on the board.
2. Plant a nail 3 cm from each corner on the outline of the square.
3. Plant the other nails 2 cm apart on the drawn line.
4. Choose your fabric.
5. Cut 10 strips 2 to 3 cm wide to form loops.
6. Place a row of 5 vertical strips, stretching them between each nail.
7. Weave the 1st horizontal strip by passing it over the 1st vertical strip.
8. Pass it under the 2nd vertical strip, over the 3rd, and continue alternating to the end.
9. Weave the 2nd horizontal strip starting under the 1st vertical strip.
10. Alternate over and under to the end of the row.
11. For the 3rd horizontal strip, start over the 1st vertical strip.
12. Repeat for the 4th and 5th strips.
13. To finish, take the last loop in the top-right corner.
14. Pinch it between thumb and forefinger.
15. Thread the next loop (to its right) through it.
16. Pull gently to tighten the weave.
17. Continue around until the last loop.
18. Leave the final loop as a hanging hook.
Your homemade tawashi sponge is ready! :-) Quick, easy, and highly effective.
Use it just like a traditional sponge. It's 100% recycled and budget-friendly.
Building the loom takes about 10 minutes, but you can reuse it. Or buy a pre-made one—weaving then takes just 5 minutes. Total time: 15 minutes!
Use thick cardboard instead: cut 2-3 squares of 20 cm sides, glue them together, and use push pins with large heads instead of nails.
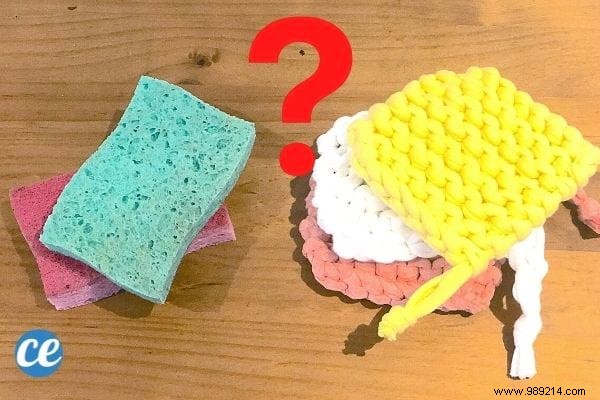
It's far cleaner and more eco-friendly than disposables.
German researchers found millions of germs per cm² in conventional sponges, hosting 73 bacterial families—including E. coli, Salmonella, and Staphylococcus.
Sponges stay wet, creating a bacterial paradise, especially after cleaning grime. They're non-recyclable, non-biodegradable, and polluting to produce.
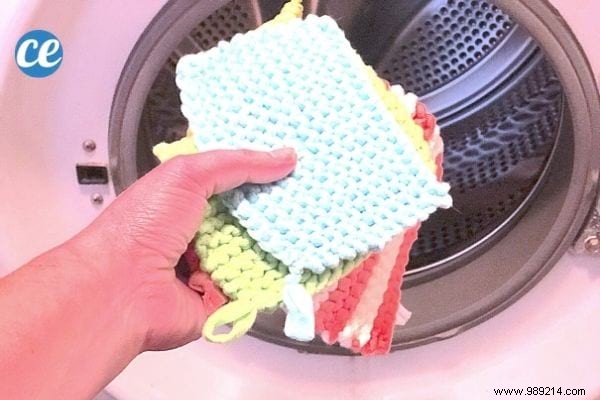
Super simple: Machine wash with towels at 60°C, or dishwasher with dishes. Soak in white vinegar for disinfection.
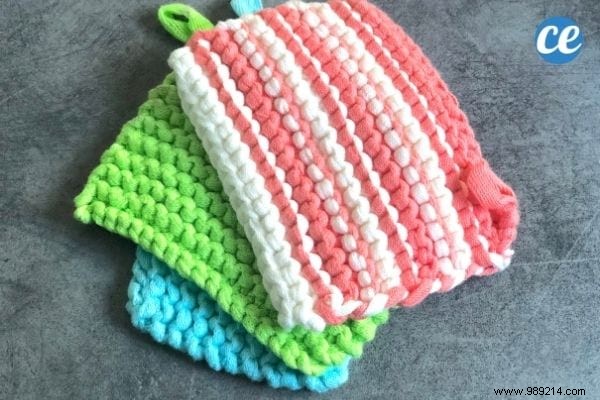
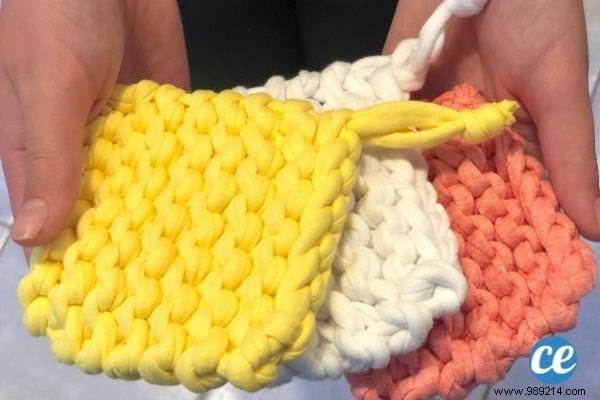
Recycle damaged, elastic fabrics like old leggings, tights, socks, or sweater sleeves. Cut into 2-3 cm wide tube strips. Mix colors for variety.
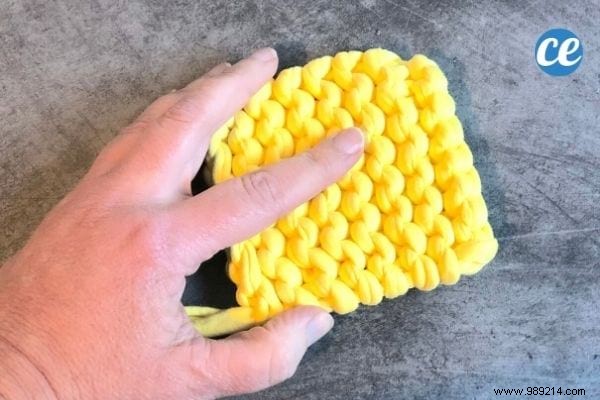
From experience, they don't scratch much—ideal for surfaces, not burnt pans. For scrub power, weave in strips from onion nets.
They dry slower than synthetics but excel in natural, zero-waste cleaning.
Alternatives: Crochet (often round) with sisal, hemp, or Creative Bubble yarn (but avoid plastic threads that shed microplastics). Knit with Trapilho yarn.
A Japanese-origin zero-waste sponge (meaning "mop" or "scrubber"), handmade from old fabrics for dishes, counters, and more. Washable, reusable, germ-resistant, eco-friendly, and economical. You can buy them too.