While digital photo frames are popular, nothing compares to the charm of a handmade one using recycled materials. This fun, artistic DIY project unites families across generations.
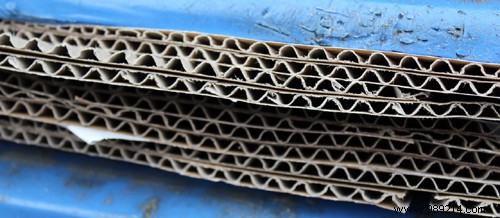
Dust off those cherished family photos from old albums and give them pride of place in homemade frames. No advanced skills required—just a double-grooved cardboard box, sharp craft knife with a fresh blade, kraft paper, and neoprene glue.
The base supports your photo. Measure your photo's dimensions, then mark them on the cardboard with a pencil and ruler, adding a 2 cm margin on all sides. Cut out the shape and three cardboard strips to attach to three edges of the base. Leave one side open to slide in the photo. Reinforce by gluing kraft paper to the front and back edges.
For the frame, cut four strips at least 5 cm wide, matching the base dimensions. Glue them in pairs: one side strip to the top, another to the bottom. Then join these two assemblies.
Once dry, cover the frame walls with kraft paper to strengthen and hide the grooves. For hanging, attach two rings with cord midway on the sides, or secure a clip to the top.
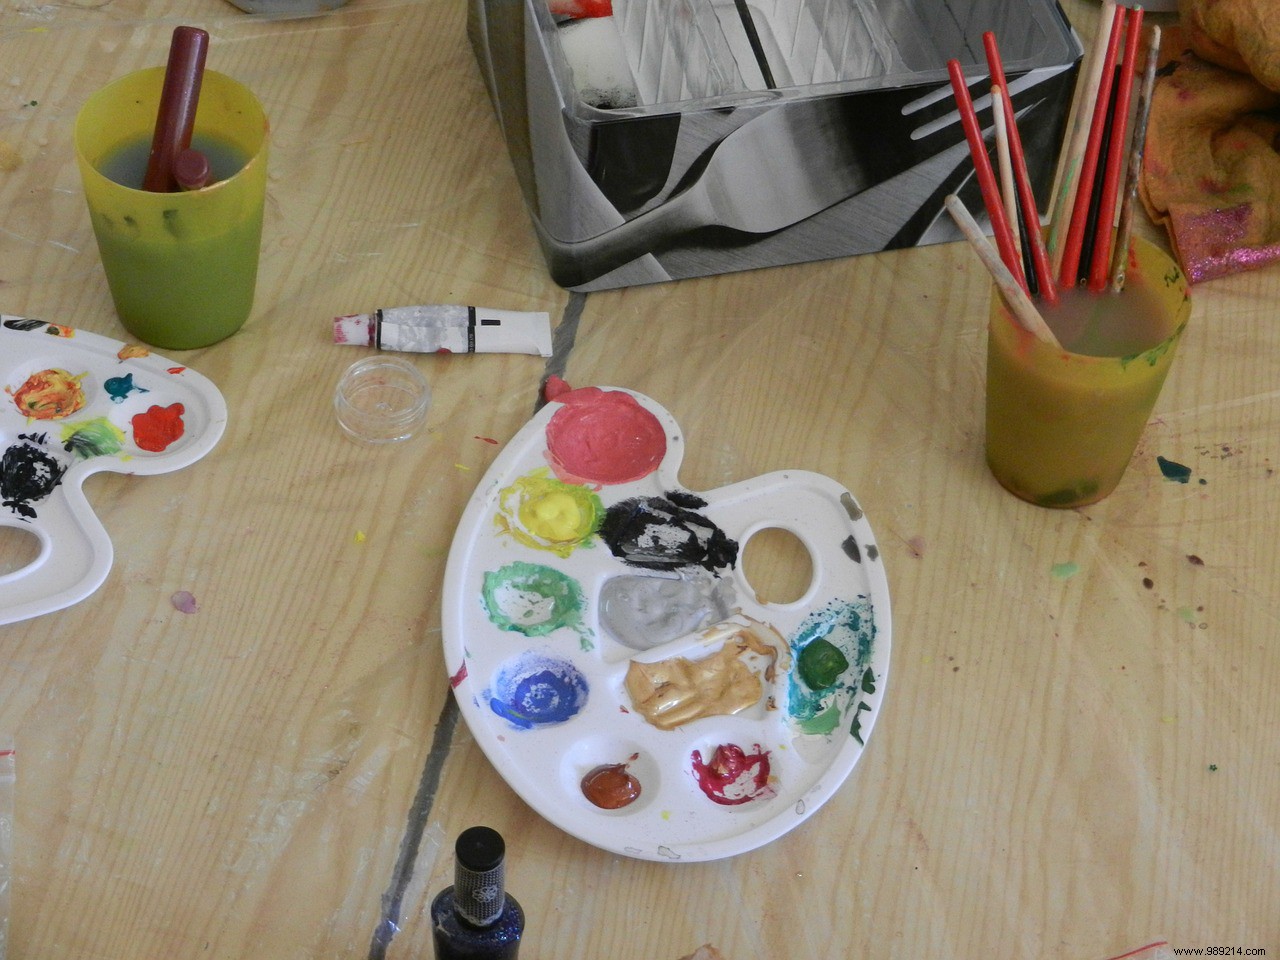
Personalize with your creativity. Match your decor using sponge painting for a retro vibe. Create mosaics from scrap wrapping paper or ribbons. For a ceramic look, apply matte paint topped with varnish. Finally, glue the photo base to the frame.