
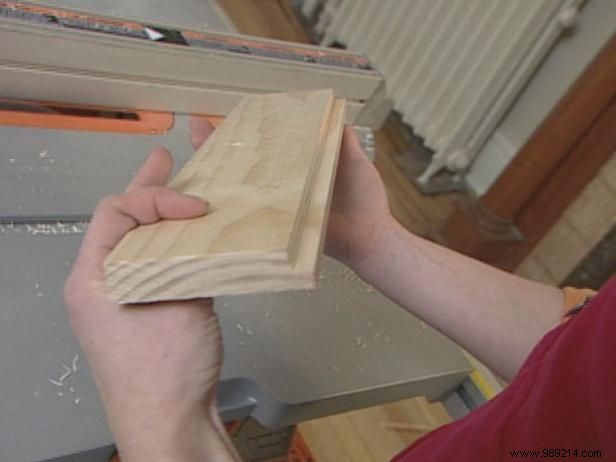
Start by carefully measuring the mirror on the wall to determine the exact length and width needed for the frame (Image 1). As a woodworking professional with years of hands-on experience, I recommend double-checking measurements to ensure a perfect fit.
Use a table saw to cut the trim and molding pieces to size. Always unplug the saw when adjusting the blade or fence for safety.
Next, cut a pocket or slot into the primary trim pieces to snugly accommodate the mirror edges (Image 2).
Pro Tip: Decide on your frame finish upfront. Staining is easiest before assembly, though painting can be done afterward.
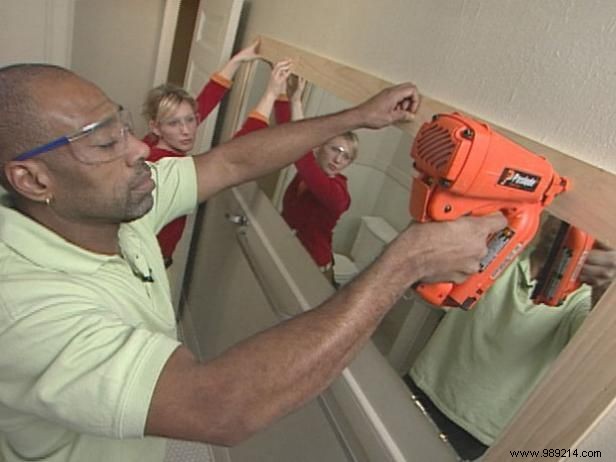
Nail the side pieces first, positioning them so the slots face downward over the mirror edges. This secures the trim firmly to the wall.
Then, nail the top and bottom pieces, taking care to avoid damaging the mirror surface.

Install trim along the bottom edge of the frame (Image 1).
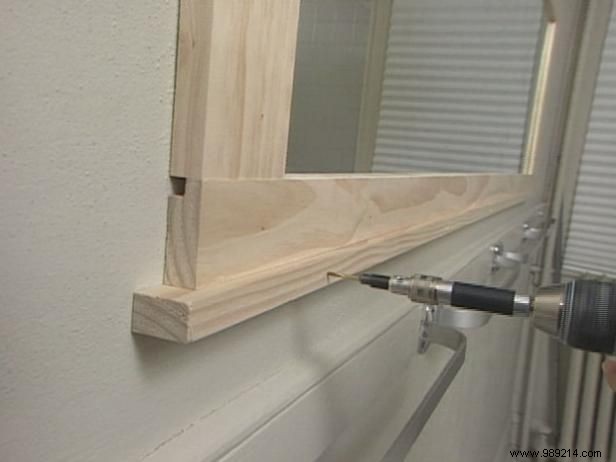
Cover any visible screw holes with a thin wood filler strip, about 3/16" deep, securing it with small nails for a seamless faux front look.
Finally, add the outer molding around the top and sides (Image 2).
Fill nail holes with wood putty for a polished appearance.
Apply a bead of silicone around the mirror edges for added stability, then wipe away excess with a clean, damp cloth.
Paint or stain as desired to match your bathroom decor.