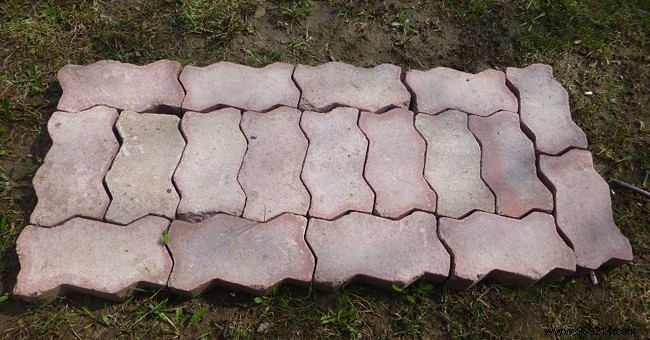
As a seasoned landscaper with years of hands-on experience, I've seen interlocking pavers transform garden paths and patios into durable, attractive spaces. Their stability and ease of installation make them a top choice—follow these proven steps for professional results.
Interlocking pavers are prized for their exceptional durability, but they demand precise groundwork. Gather these essential tools: rubber mallet, measuring tape, spirit level, metal ruler, plate compactor, geotextile fabric, rake, shovel, construction sand, gravel, and crushed bricks.
Begin by marking the area with stakes and a taut rope to outline the excavation perimeter. Always incorporate a slight slope (about 1-2%) to ensure rainwater drains away. Dig to a depth of around 40 cm using a shovel or rented mini-excavator.
Backfill the excavation with a 10 cm layer of crushed bricks and gravel. Compact it thoroughly with a plate compactor for a stable base. Lay geotextile fabric over this layer to block weeds and enhance longevity. Then, spread construction sand for the bedding course, up to 8 cm thick. Level it smooth and compact again to create a firm, even surface ready for your pavers.
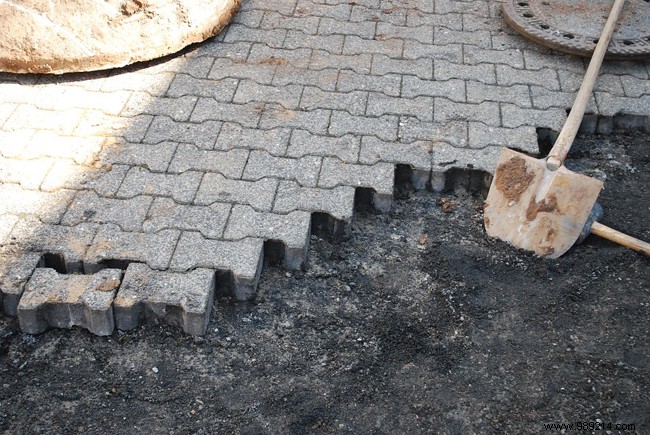
Start laying from the corners, following the manufacturer's pattern for visual harmony. Interlock each paver and tap it down with the rubber mallet. Check flatness regularly with a spirit level. Adjust by scraping excess sand with the metal ruler or tapping pavers deeper as needed.
Handle any cuts at the end using a disc grinder or dedicated paver cutter for clean edges.
To finish, sweep fine sand across the surface to fill joints. Compact with a plate compactor fitted with a Teflon pad. Mist with water from a watering can to settle the sand. After 48 hours, repeat the sweep, compact, and water process. Well-executed joints allow safe pressure washing without sand loss, ensuring years of low-maintenance beauty.