Family Encyclopedia >> Home & Garden

DIY Guide: Transform a Shipping Pallet into Rustic Outdoor Patio Art or Custom Sign

Step 1: Select the Perfect Pallet

DIY Guide: Transform a Shipping Pallet into Rustic Outdoor Patio Art or Custom SignDIY Guide: Transform a Shipping Pallet into Rustic Outdoor Patio Art or Custom Sign

Choosing the Right Pallet

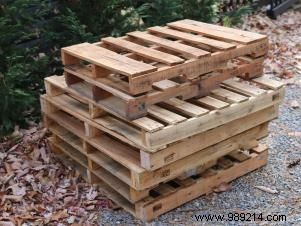
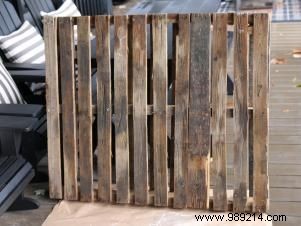
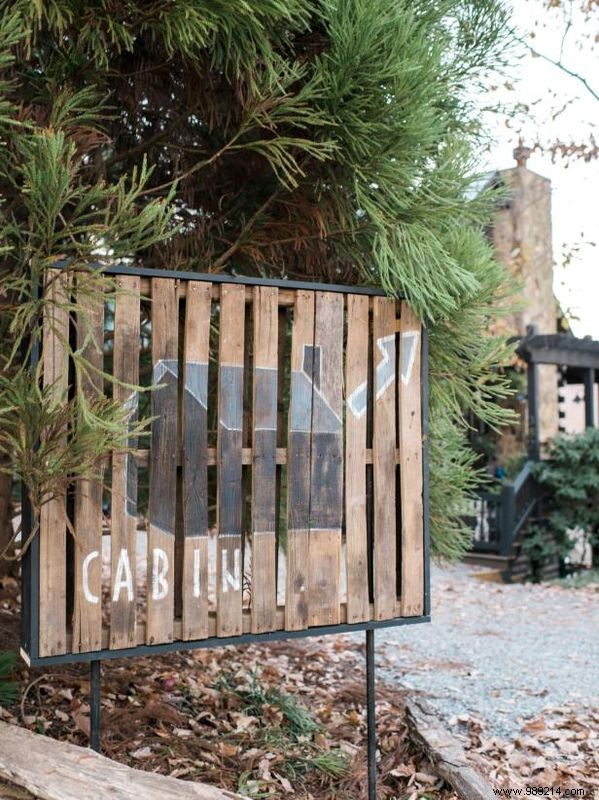
As an experienced DIYer specializing in upcycled wood projects, I recommend selecting a weathered pallet that's turned gray over time for that authentic rustic chic vibe. Skip newer pallets with a yellow tint, as the natural gray patina integrates seamlessly—no need for a full base coat.

Step 2: Design and Paint Your Message

DIY Guide: Transform a Shipping Pallet into Rustic Outdoor Patio Art or Custom SignDIY Guide: Transform a Shipping Pallet into Rustic Outdoor Patio Art or Custom Sign

Creating the Design

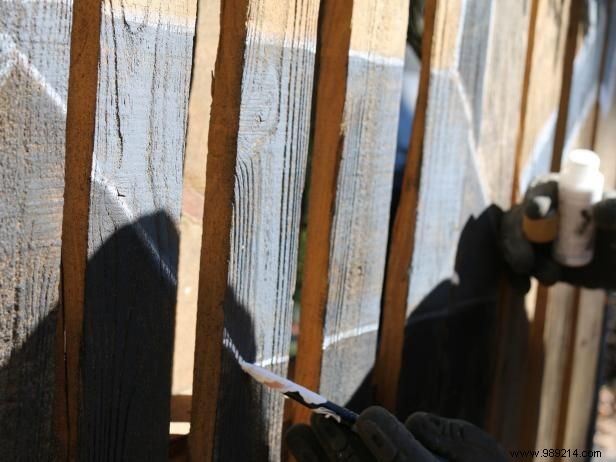
Tailor your approach to your skill level: trace a stencil with pencil for precision, or hand-paint your custom design directly with brushes. Once the base design dries, add stenciled or freehand letters and numbers for a personalized touch.

Step 3: Measure, Paint, and Cut the Trim

DIY Guide: Transform a Shipping Pallet into Rustic Outdoor Patio Art or Custom SignDIY Guide: Transform a Shipping Pallet into Rustic Outdoor Patio Art or Custom SignDIY Guide: Transform a Shipping Pallet into Rustic Outdoor Patio Art or Custom Sign

Preparing the Moldings

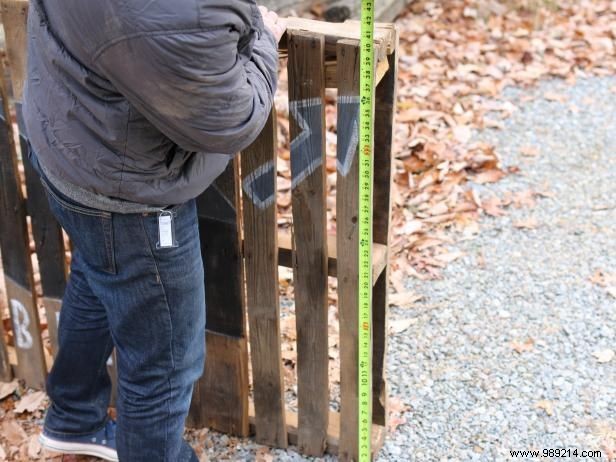
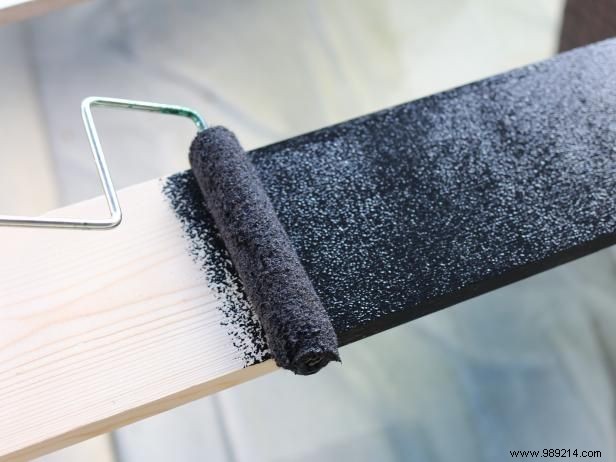
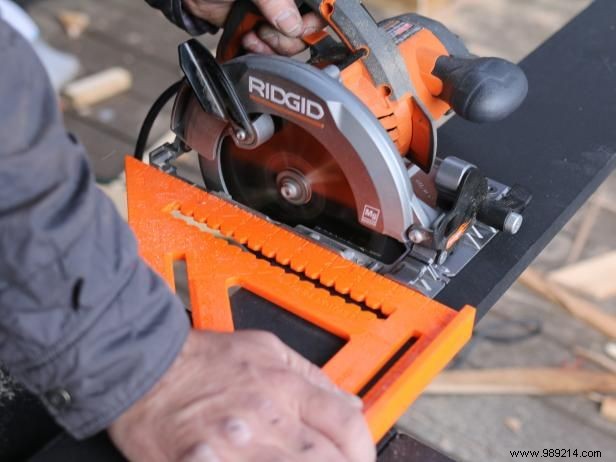
Standard shipping pallets measure about 4' x 4', but wear varies dimensions slightly—always measure all four sides accurately with a tape measure. Paint every side of the 1x5 pressure-treated trim using semi-gloss latex and a roller before cutting. Cut into four pieces based on measurements, making two sides slightly longer for clean, miter-free edges that ensure a professional finish.

Step 4: Attach the Trim

DIY Guide: Transform a Shipping Pallet into Rustic Outdoor Patio Art or Custom SignDIY Guide: Transform a Shipping Pallet into Rustic Outdoor Patio Art or Custom SignDIY Guide: Transform a Shipping Pallet into Rustic Outdoor Patio Art or Custom Sign

Securing the Trim

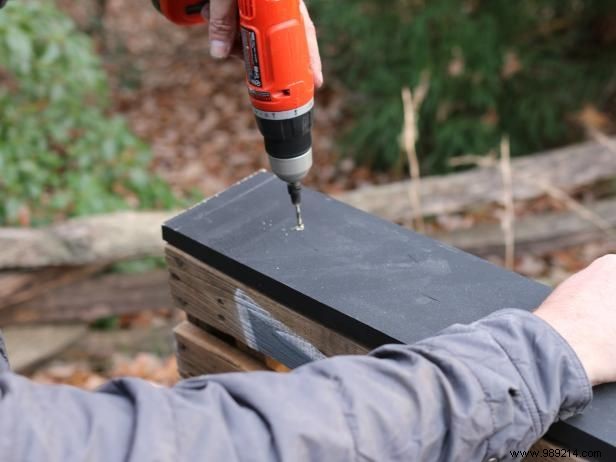
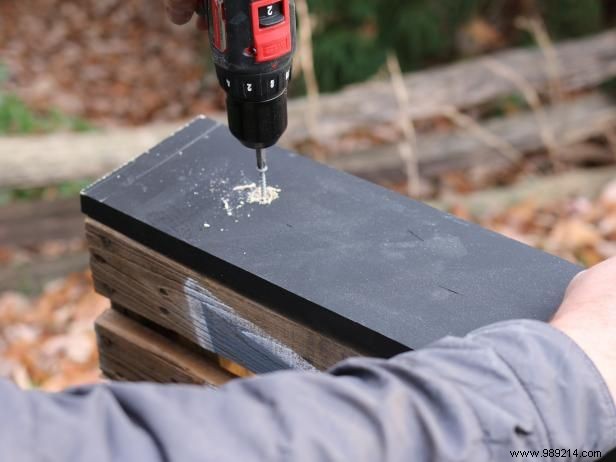
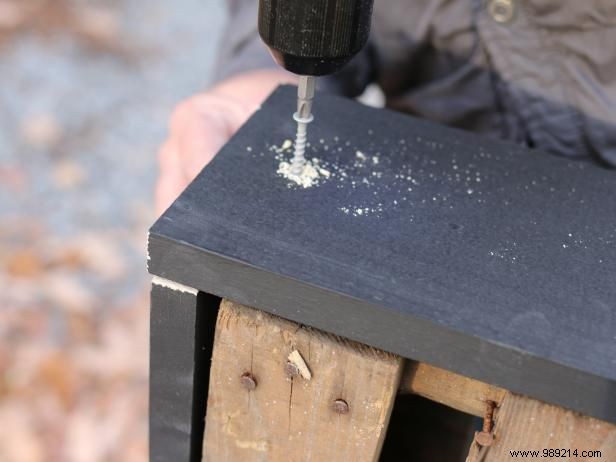
Use a drill and 2-inch exterior wood screws to fasten the two shorter trim pieces to the pallet sides first. Then, attach the longer pieces, allowing them to overlap slightly for perfectly even edges and a polished look.

Step 5: Install Pipes and Secure to Ground

DIY Guide: Transform a Shipping Pallet into Rustic Outdoor Patio Art or Custom SignDIY Guide: Transform a Shipping Pallet into Rustic Outdoor Patio Art or Custom Sign

Mounting and Stabilizing

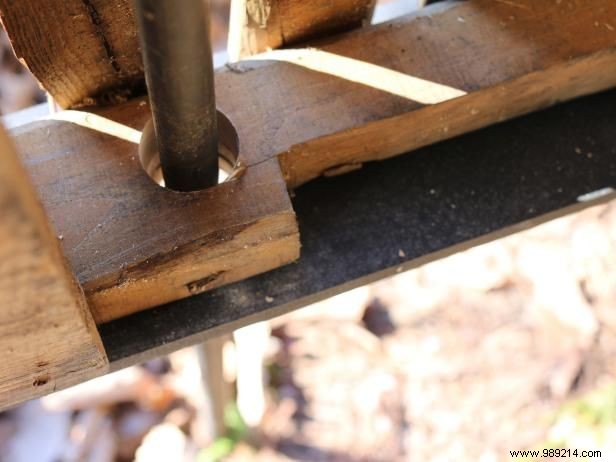
Drill two 2-inch holes through the joists—one on each side of two central studs—using a 2-inch bit. With a helper, thread the pipes through these holes. Secure each pipe into the ground by tapping firmly with a hammer or rubber mallet for stable outdoor installation.

DIY Guide: Transform a Shipping Pallet into Rustic Outdoor Patio Art or Custom Sign

Rustic Blank Photography, LLC