 By Emily Fazio, experienced DIY crafter and garden enthusiast
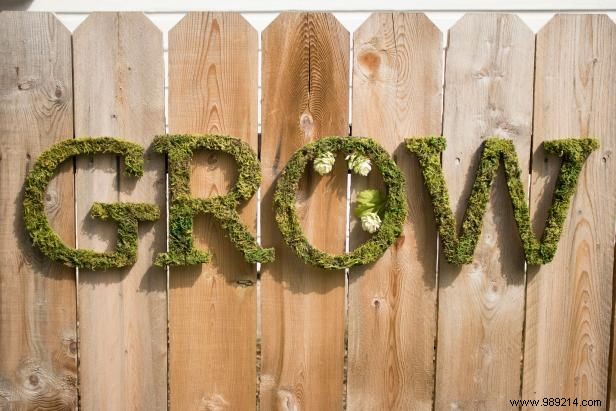
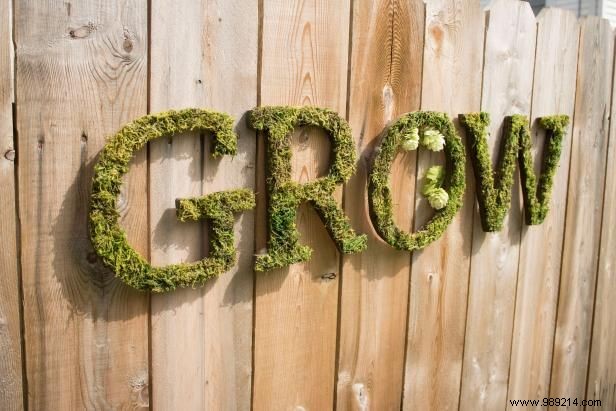
Transform your garden fence into a whimsical focal point with custom moss letters. As a seasoned crafter, I've perfected this technique using plywood for durability and moss for that lush, natural look—perfect for outdoor yard signs.
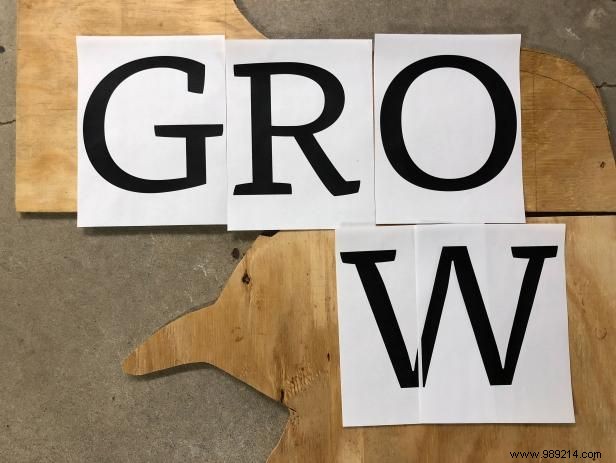
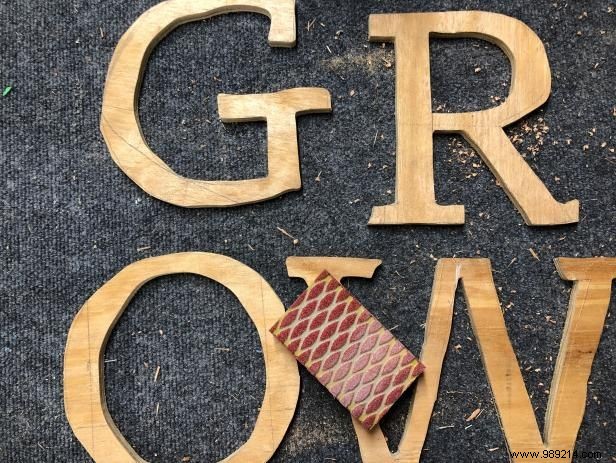
Start with a 2' x 2' x 1/4" plywood sheet—ideal for sturdiness and easy cutting. Use a word processor to print letters in a bold font at ~700 pt size. Wide letters like 'W' may span two pages. Download my free GROWTH printable for an exact match.
Trace each letter onto the plywood with a pencil, pressing firmly to score the surface. For harder wood, lightly score with a utility knife, then darken lines for clean jigsaw cuts.
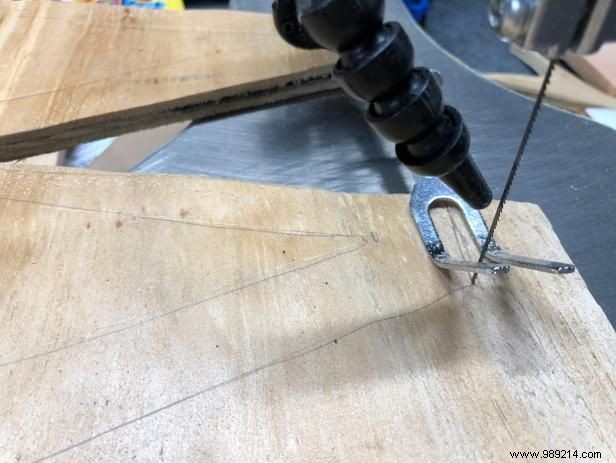
A jigsaw handles curves effortlessly—cut letters one by one, staying true to the lines.
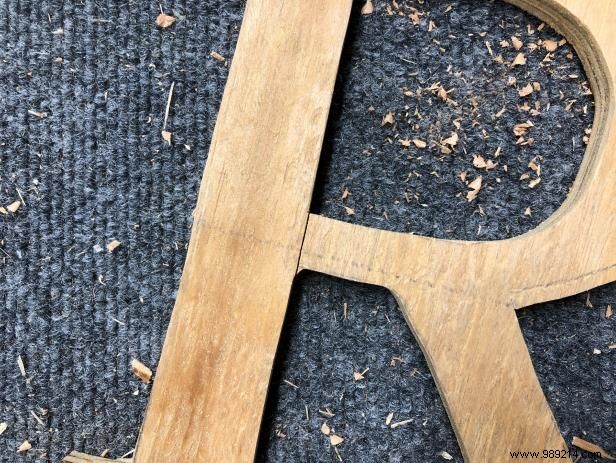
For cutouts like the 'O' or 'R' centers, cut along solid lines. Moss and glue will fill and secure these areas.
Smooth edges and splinters with a flexible sanding block for a professional finish.
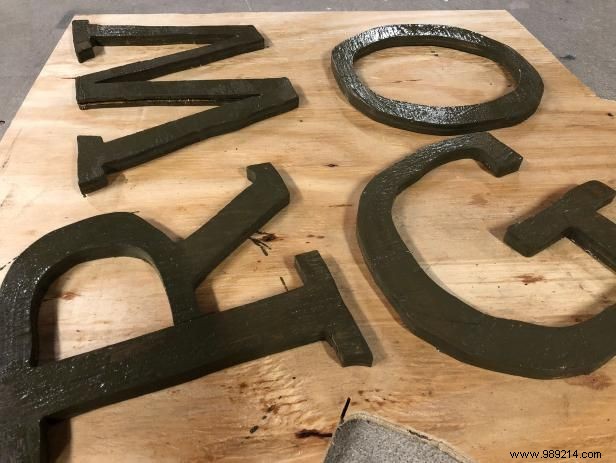
Paint all surfaces—front, back, edges—in dark green to camouflage any moss gaps.
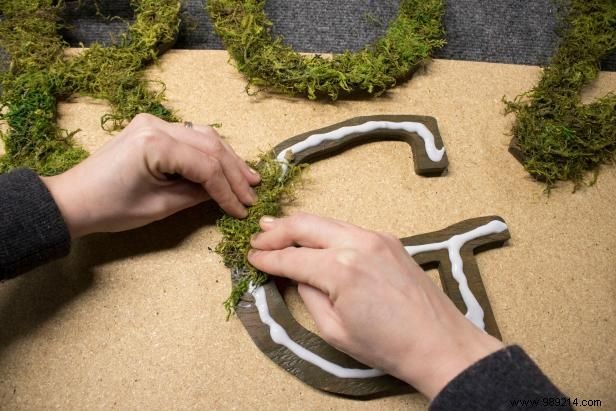
For outdoor use, apply weather-resistant clear adhesive generously. Layer moss pieces, ensuring glue soaks in for a secure, fluffy bond.
Saturate the moss thoroughly—the glue dries to lock everything in place against the elements.
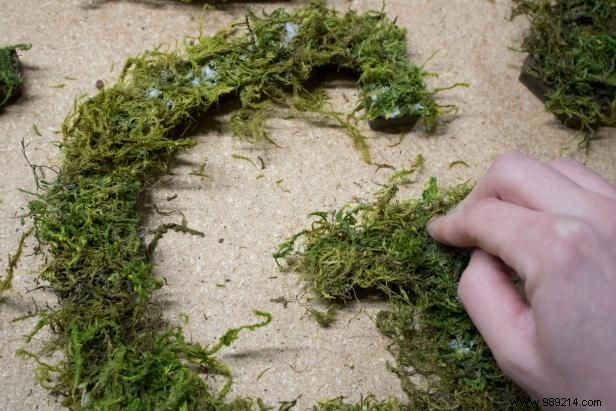
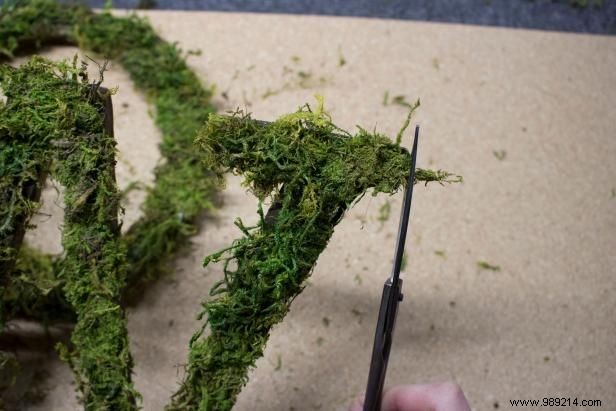
Dry overnight, then trim excess moss with scissors. Add faux florals for extra charm.
Mount securely with 1" nails driven through plywood and moss into your fence—nail heads vanish in the texture, holding firm in wind and weather. Your custom word art is ready to shine!