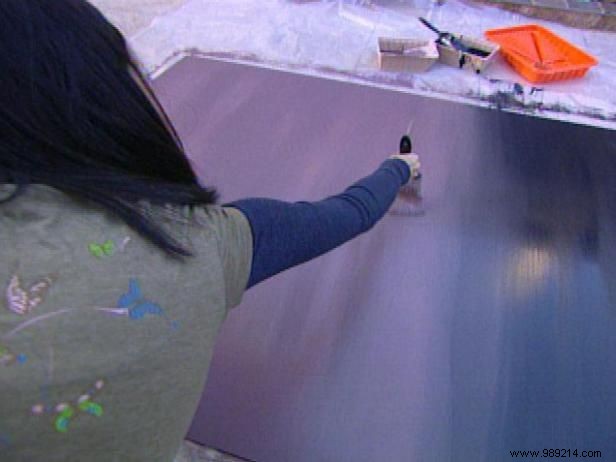
Paint the MDF sheet to create a striking "sunset" gradient effect—a lighter color at the top fading to black at the bottom. Thin some paint and blend the top and bottom sections smoothly in the center. On a sheet of plywood, sketch your design, like a majestic tree or any motif you prefer.
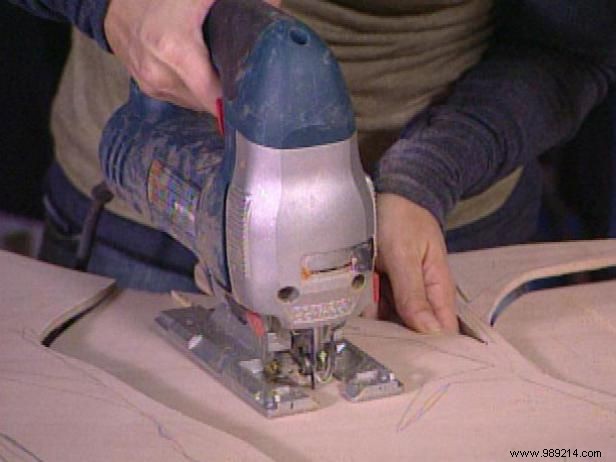
With a jigsaw, precisely cut out the sketched shape from the plywood, following your lines carefully. Glue the cutout securely onto the painted sheet.

Once the glue is fully dry, drill 24 small holes into various branches. Thread the scintillation bulbs through the holes from the back. Attach an extension cord, plug it in, and watch your custom illuminated wall art light up the room beautifully.