As an experienced woodworker, start by using a circular saw to cut pieces from 3/4" plywood. Assemble the box shape with wood glue and nails for a sturdy foundation.
Secure the shelves and back panel to the box using wood glue and nails, ensuring everything aligns perfectly.
Attach 3/4" wood trim to exposed front edges with a finish nailer. Prime and paint to match your space seamlessly.
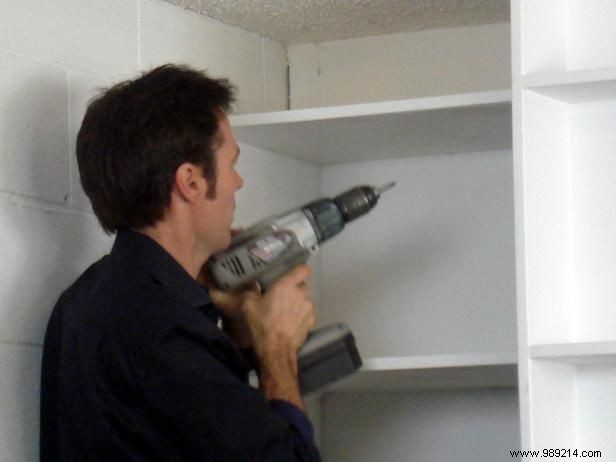
Locate wall studs, mark positions, level the unit, and drive screws through the box into the studs for secure mounting.
This compact, rounded shelf tucks into the end of your kitchen cabinets—perfect for keys, phones, and daily essentials near the door. Measure cabinet depth and height precisely, then sketch the design.
Use a circular saw to cut oak plywood to exact dimensions. The two side panels match the cabinet end's height and width.
Measure plywood thickness and narrow one side panel by that amount. This ensures a perfectly square assembly.
Glue and nail the side panels at a 90-degree angle. Position the narrower panel against the edge for uniform width.
Measure inside width from seam to edge. Cut plywood into a circle with that radius, then divide into four quarter-circles for versatile shelf options.
Glue and nail shelves to the sides, double-checking for level and straight alignment before securing.
Cut iron-on oak veneer to size and apply per instructions. Trim excess with a utility knife for clean edges.
Wear gloves and apply stain to blend seamlessly with your cabinets.
Screw into the adjacent cabinet side. Level carefully and use screws long enough to penetrate but not protrude through the unit.