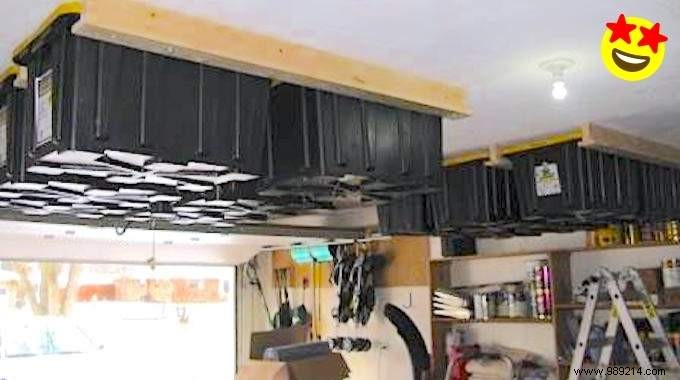
Like many homeowners, I've always struggled with limited storage space. In our countryside home of average size, clutter builds up no matter how often we tidy. The fix? Sturdy sliding storage boxes suspended from the garage ceiling. Here's my proven step-by-step guide.
 Contents
 The beauty of this setup? Everything stays organized and accessible. Just pull down a box when needed. Source durable plastic bins from any home improvement store—they're inexpensive and reliable.
For my garage, I selected 75 cm long bins with lids, perfect for arranging in rows of two. These heavy-duty models hold up to 175 kg each, thanks to their wide, reinforced rims. Pre-drilled holes in the lids and edges make securing with zip ties straightforward.
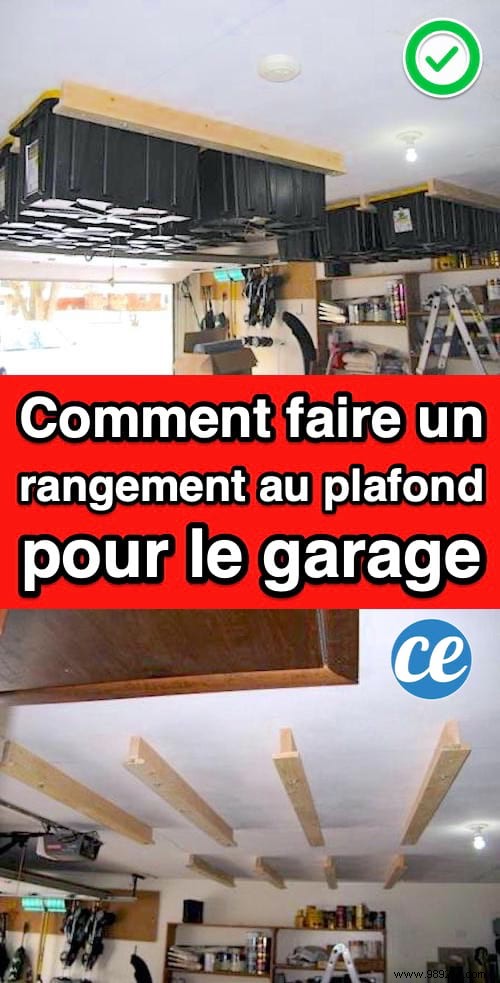
Materials are simple: a few wooden planks cut and mounted to the ceiling. Follow this tutorial from my hands-on build.
- 12 large storage boxes
- 4 wooden boards 2.5x10x3 (thickness 2.5 cm, width 10 cm, length 3 m)
- 4 wooden boards 5x10x3 (thickness 5 cm, width 10 cm, length 3 m)
- 16 lag screws (diameter 8 to 10 mm, length 200 mm)
- 16 washers (diameter 8 to 10 mm)
- 40 "terrace" screws (length 100 mm)
- Fixing glue
- Tracing cord
- Optional: clamps
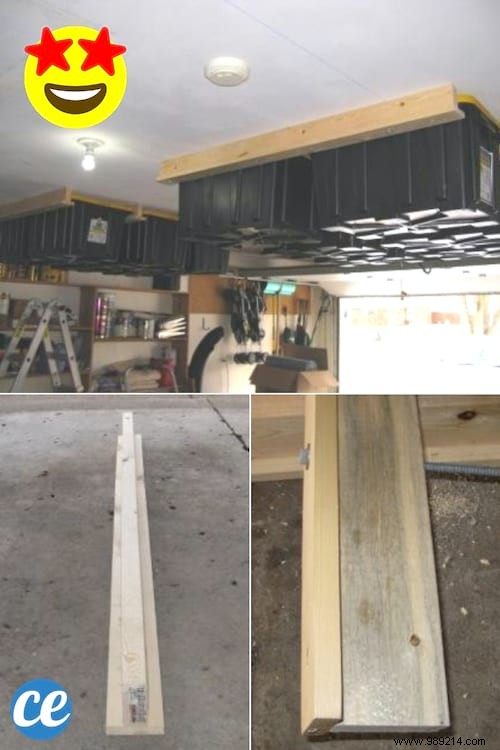
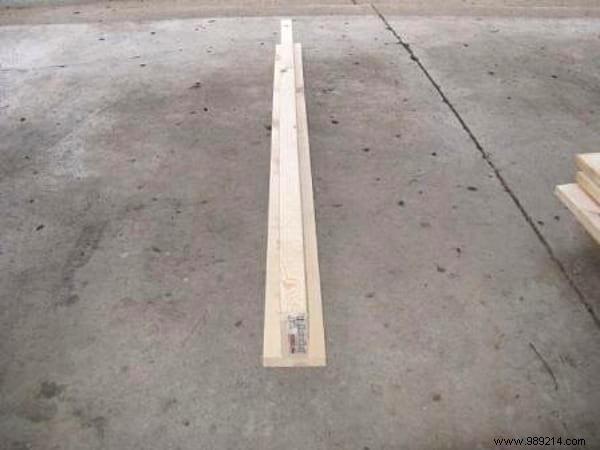
Cut the boards to match your box length, allowing 3 cm clearance on each side for two boxes. Ensure all boards are the same length for consistency.
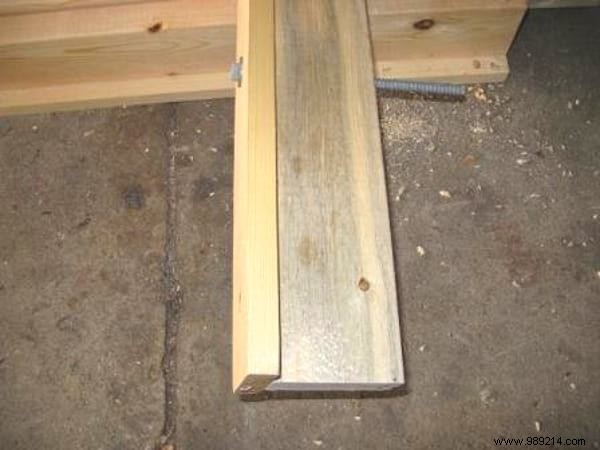
Assemble boards into T-shaped rails as shown. Place a 5x10 cm board on edge. Apply fixing glue along the top, then position a 2.5x10 cm board perpendicular to form the T. Secure with terrace screws every 3 cm, screwing from the top board into the bottom. Use clamps if needed. Repeat to make 8 rails.
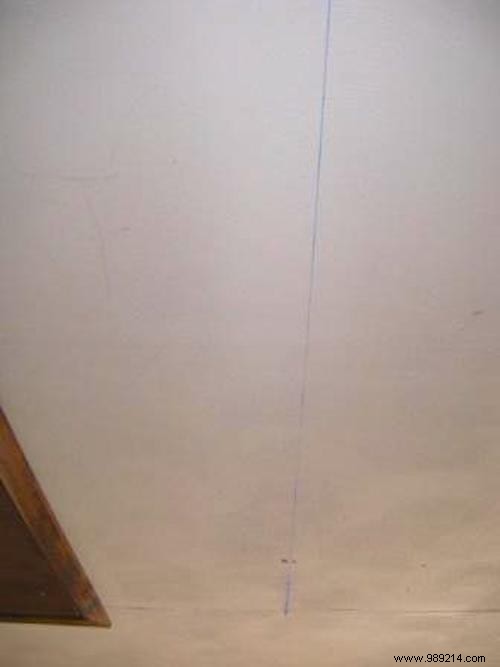
Locate and mark joist centers precisely—the rails anchor into them for strength. In my setup, joists are 60 cm apart. Hammer small nails at each end of a joist to pinpoint the center, then snap a chalk line with tracing cord. Work one joist at a time to avoid errors.
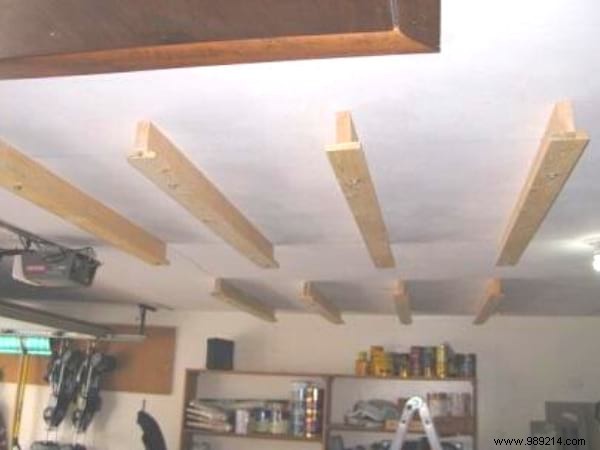
Position the rail to cross each joist at three points: center and near each end. Mark intersections on joists and rail. Pre-drill joists with a 6 mm bit; drill rail holes (6-8 mm) to match lag screw size. Thread washers onto screws through rail holes. Double-check alignment.
Align and drive lag screws firmly into joists. Working solo, I partially secured one end first, then the other using a second ladder. For extra torque, extend your ratchet with pipe. Assistance makes it easier.
Measure rail spacing for your 52 cm wide boxes—add 1 cm play (53 cm total). Mark from the first rail along the joist line. Repeat drilling and mounting process. Test-fit a box between rails before finalizing. Proceed rail by rail.
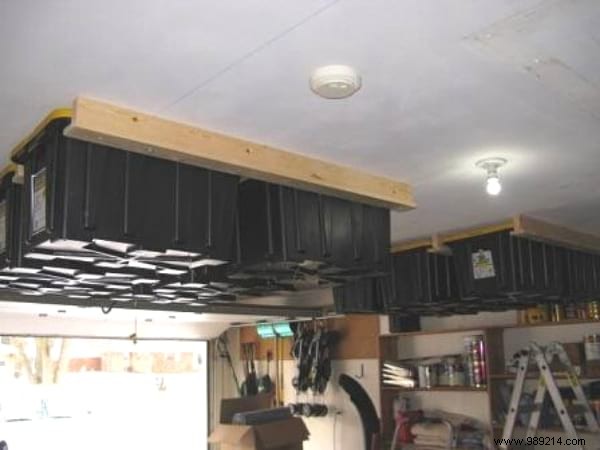
Your overhead storage is complete! This freed up massive floor space. The lag-screwed rails hold firm—I tested by hanging my full weight. Loaded boxes weigh about 20 kg each. Built solo in 5 hours (2-3 with help), it's cheaper and more satisfying than store-bought units. My wife and I labeled everything for quick access. Perfect organization achieved.