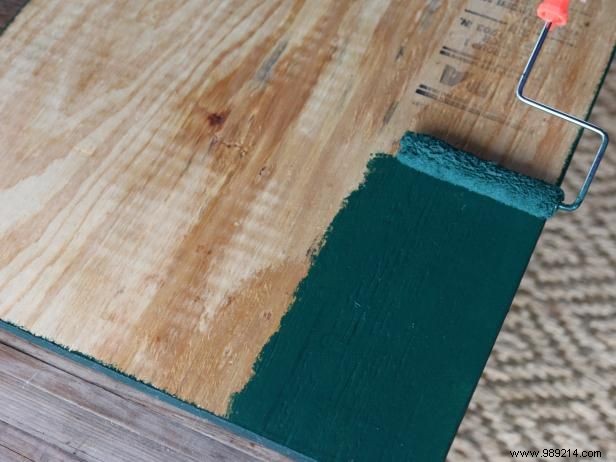
After determining the ideal height and width for your piece, have a sheet of 3/4-inch paint-grade plywood cut to size at your local home improvement store. Place it on a flat surface over a drop cloth and apply colored latex paint to the front and sides for a smooth, professional finish.
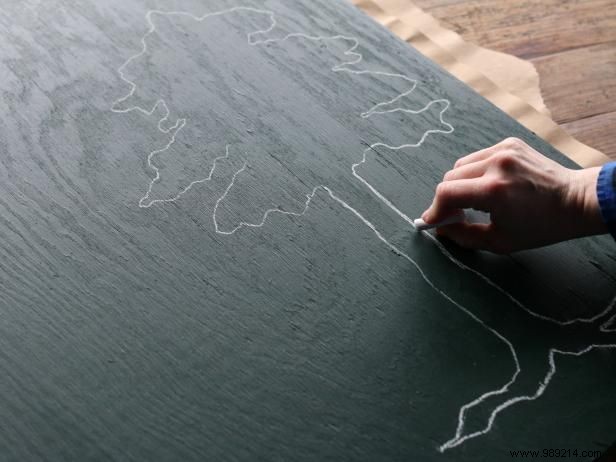
Use chalk to sketch your trail silhouette directly onto the painted plywood, creating a clear outline for your design.
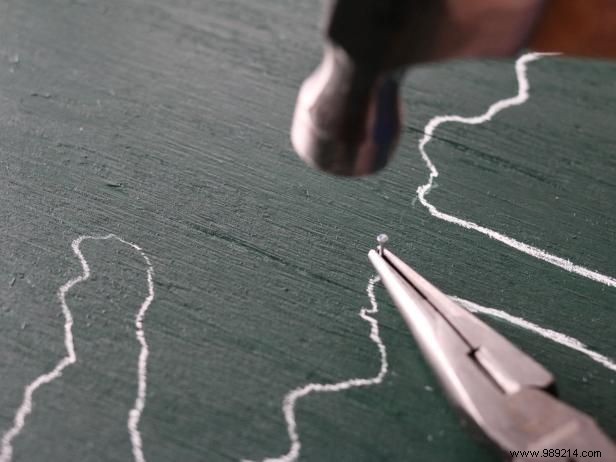
With needle-nose pliers, position each 1-inch stainless steel nail along the chalk line, then hammer them in place about 1/4 inch apart for even spacing.
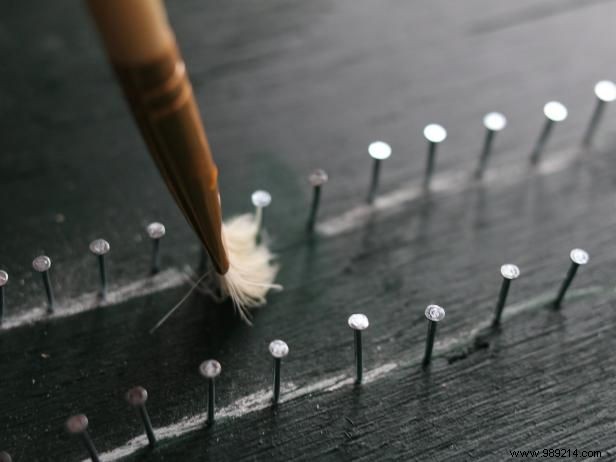
Once all nails are secured around the silhouette, use a detail brush to gently wipe away the chalk, revealing crisp lines.
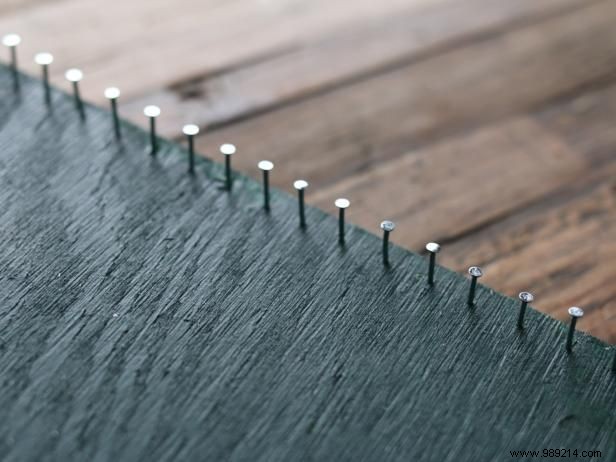
Using needle-nose pliers, place nails spaced 1/4 inch apart along the plywood's perimeter and hammer them in. These will anchor the string from the silhouette nails.
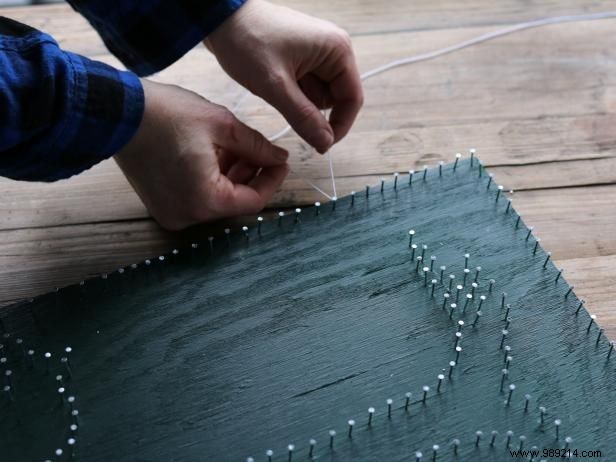
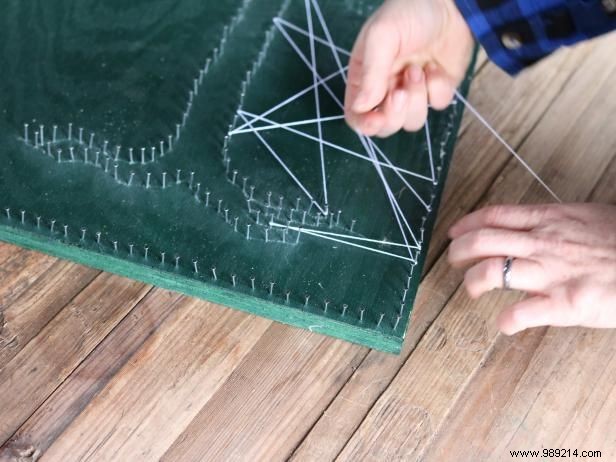
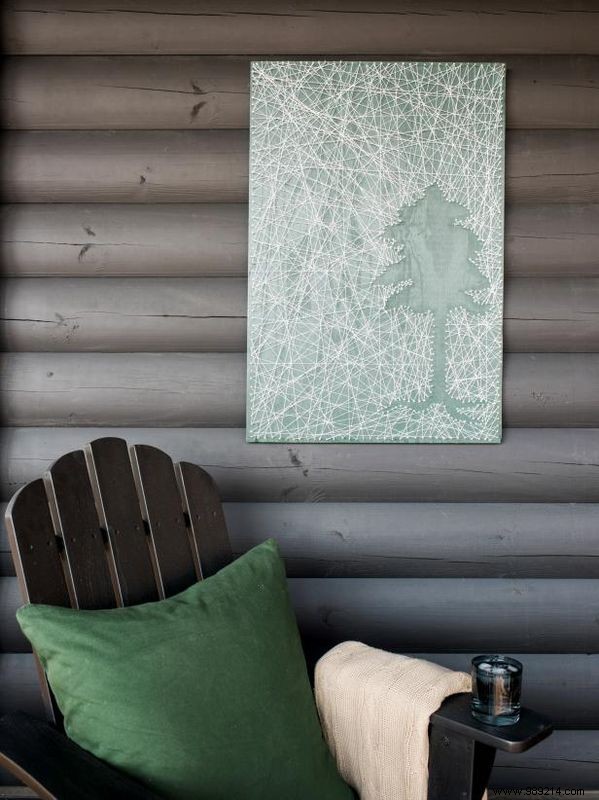
Unwind your spool of white string and knot it securely to a perimeter nail. Then, weave it randomly back and forth between the perimeter and silhouette nails. Work in sections from the bottom up for balance—the negative space effect will emerge as you fill it in. Continue until every nail is wrapped.
Rustic Blank Photography, LLC
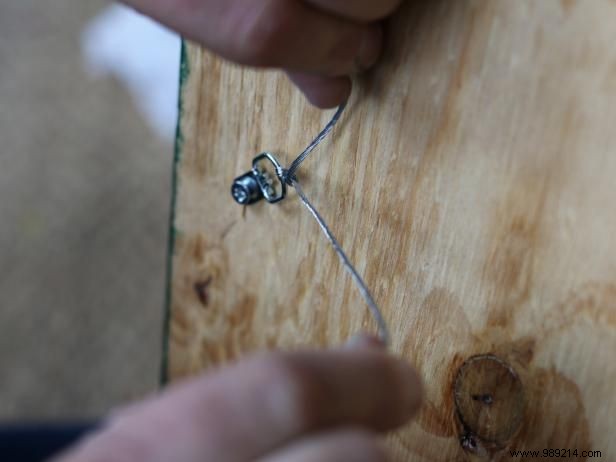
Drill picture hanging hardware into the back of the plywood, then mount your finished artwork on the wall to enjoy.