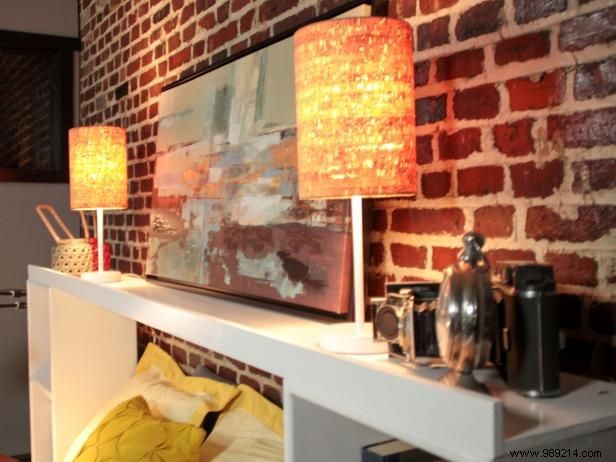
As a DIY expert with years of upcycling experience, I've designed this storage headboard to fit the footprint of two small nightstands. It features cantilevered shelves for lamps, books, and artwork, maximizing functionality without extra space. Construct it in about four hours, often for free using salvaged materials and basic skills.
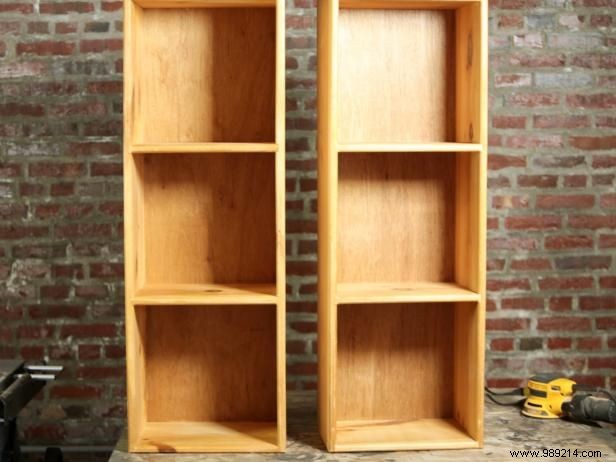
We scored a set of used storage boxes in single, double, and triple configurations. Stacking them achieved the ideal height on each side of the bed. For a full-size mattress, the 42-inch-tall triple boxes were a perfect match.
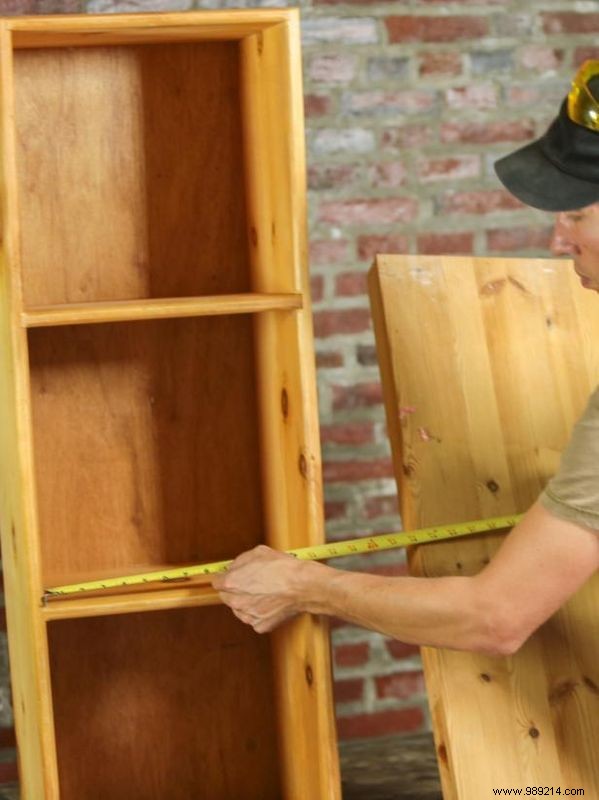
To enhance shelf usability, we added cantilever extensions to the middle shelf using reclaimed knotty pine – ideally sized for two compact shelves.
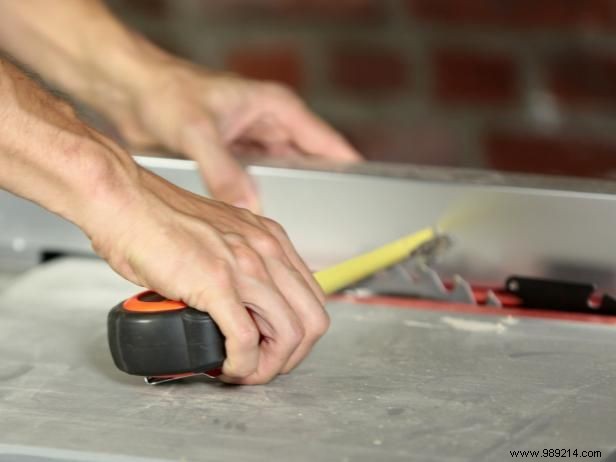
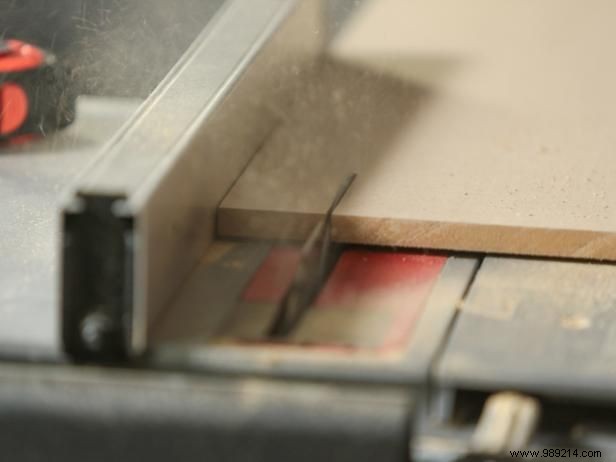
Position the rip fence on your table saw to trim the shelf edges precisely. Remove existing sides carefully, avoiding nails for a clean cut.
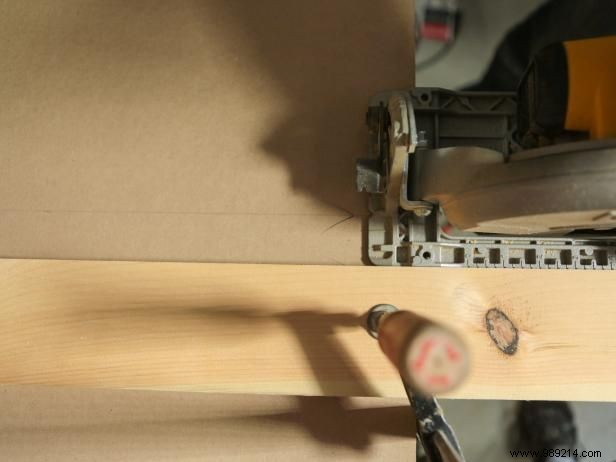
From MDF or plywood, cut the top shelf to span the bed and box towers. Make it 3/4" narrower than the box tops to accommodate trim, hiding raw edges. Length formula: mattress width + 2x box width + 2". This ensures 1" overhang on each side.
Rip two 2"-wide strips from the remaining MDF or plywood to full length.
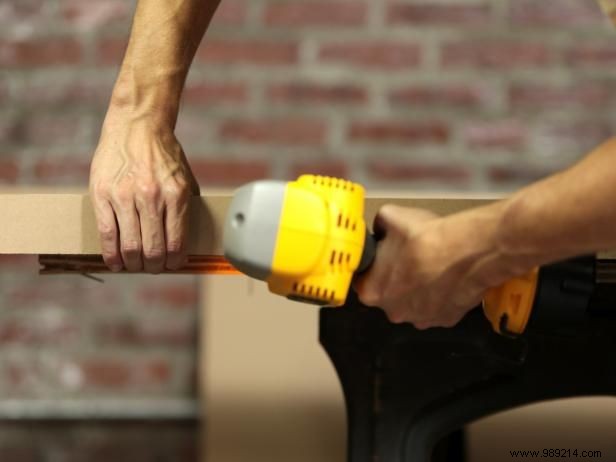
Attach one 2" strip to the shelf front with wood glue and 18-gauge finishing nails spaced 6" apart. It creates a valence to conceal plywood edges and adds strength between boxes. For the back support, shorten by 1/4" + 2x box width, center it, and attach similarly.
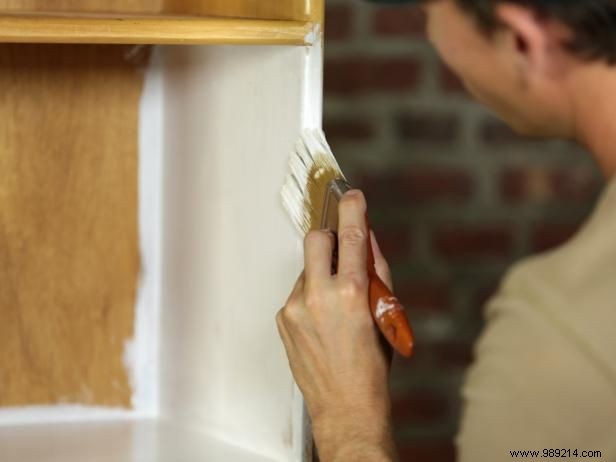
Prime and paint the boxes and shelves. We chose bright white for the boxes and top shelf for a crisp look, whitewashing the cantilever shelves in light blue-gray to highlight the wood grain.
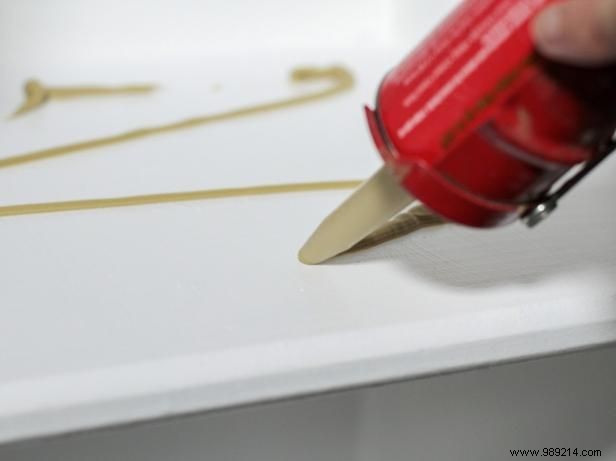
Once dry, apply construction adhesive to the center box shelf, then secure cantilever shelves with 1-1/4" 18-gauge finishing nails.
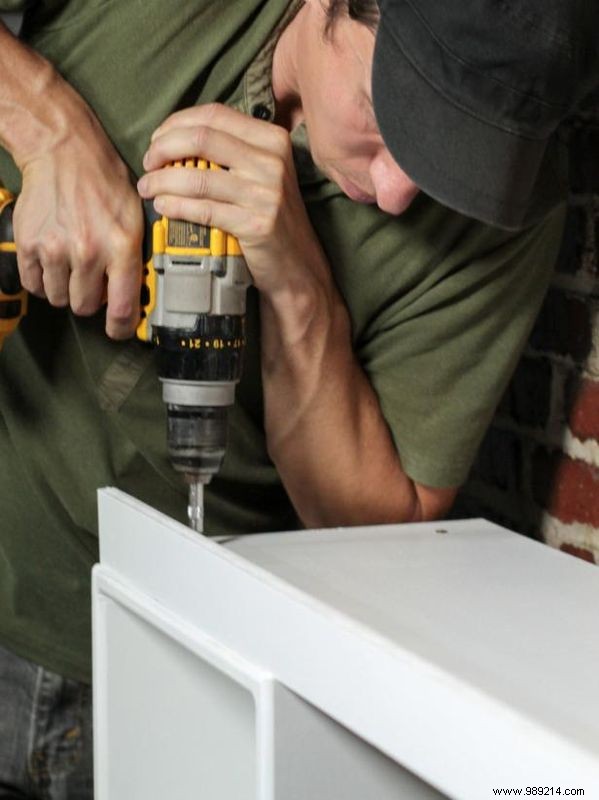
Fasten the top shelf to boxes using 1-1/4" thread drywall screws – at least four per box top. Anchor the back support to the wall with two evenly spaced fasteners suited to your wall type to prevent tipping.
This project exemplifies upcycling by optimizing existing space for efficient storage.