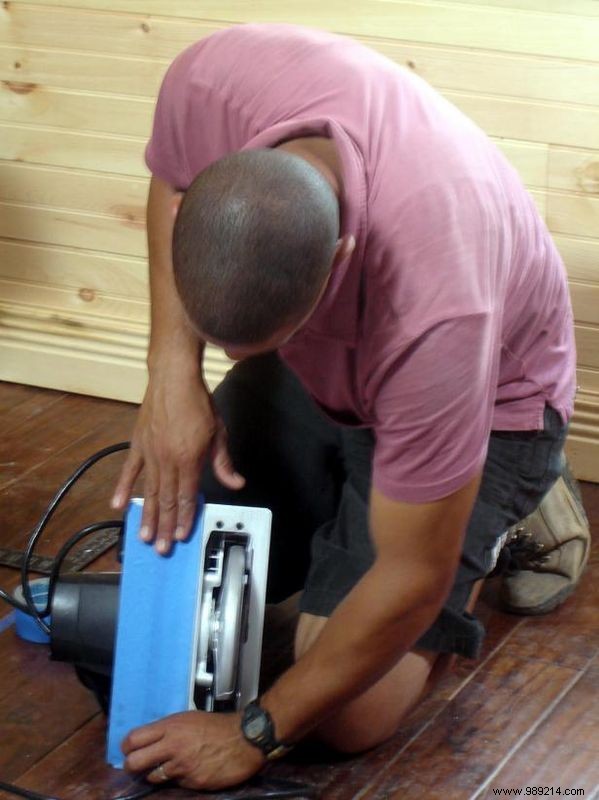
As a seasoned woodworker, always start by selecting a floor area clear of wiring, plumbing, or other utilities. Locate the floor joists and mark the space between two using painter's tape. Pro tip: Wrap painter's tape around your circular saw's shoe plate to safeguard the hardwood finish from scratches before cutting.
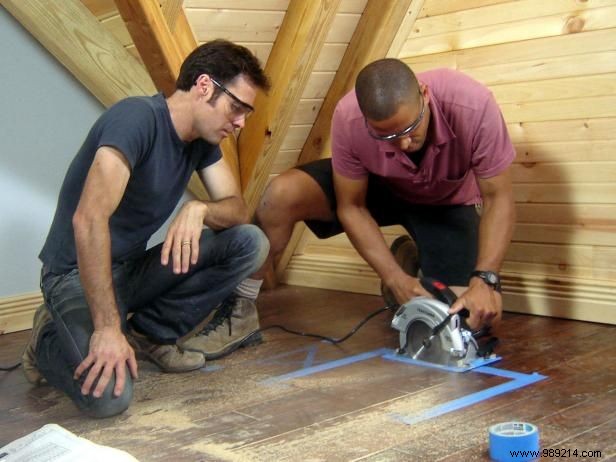
With years of flooring projects under my belt, follow your tape lines closely, cutting just inside them. Use a circular saw for plunge cuts in the center of each marked side, then switch to a hacksaw for clean corners to form a perfect square. Exercise caution to avoid damaging the surrounding hardwood, and set aside the cut pieces—they'll become your flush-fitting lids.
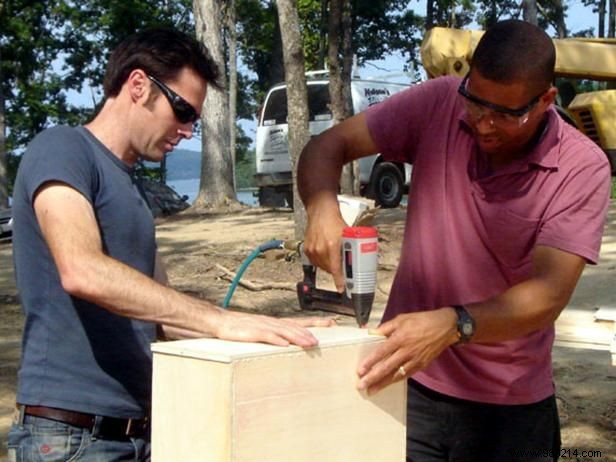
Measure the opening meticulously, leaving clearance at the top for lids to sit level with the floor. From hands-on experience, assemble durable plywood boxes using wood glue and nails at simple butt joints for reliable strength and seamless fit.
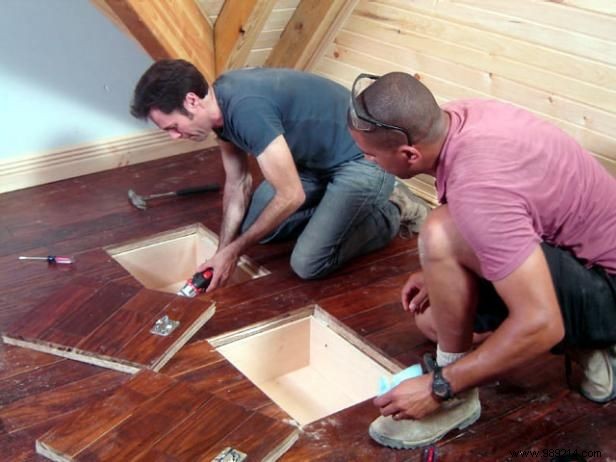
Per the hardware manufacturer's guidelines, affix recessed pulls to the saved cutout sections for your lids. Anchor the boxes to the floor joists with wood screws at the ideal height. Gently replace the lids—they can stay loose for easy full removal or add hinges for a hinged option, depending on your needs.