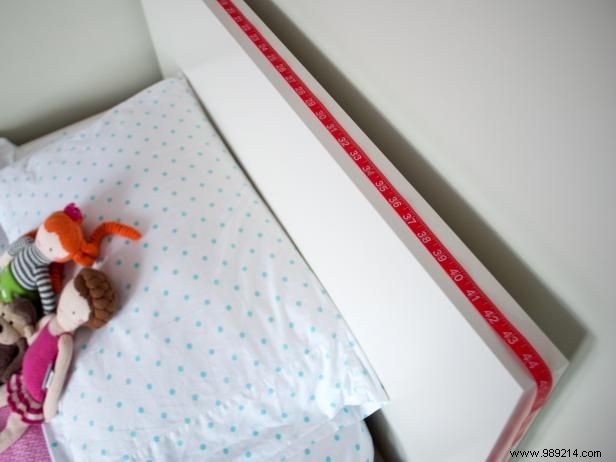
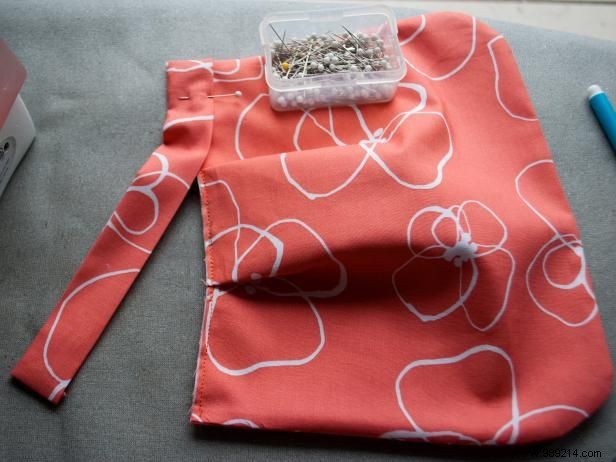
I've crafted dozens of these slipcovers, and it all starts with accurate measurements. This simple design uses one large fabric piece, two side seams, and a hem. Measure your headboard carefully. Our twin-size example was 44-1/2" wide x 18-1/2" high x 2" deep.
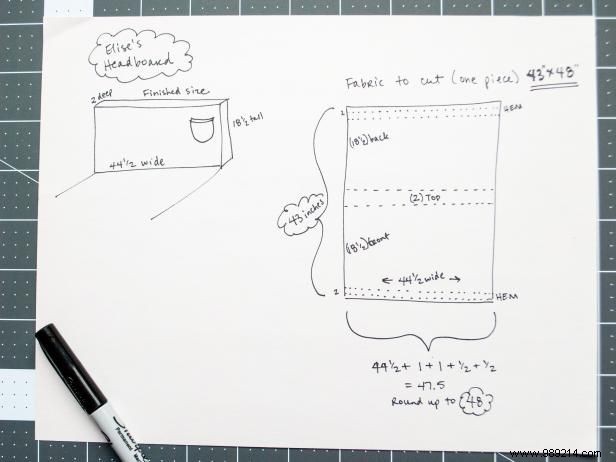
Using proven formulas ensures a perfect fit. For width: headboard front width + 2x seam allowance (1/2" here) + depth. Ours: 44-1/2" + (2 x 1/2") + 2" = 47-1/2", rounded to 48" wide. For length: front height + back height + depth + two hems. Ours: 18-1/2" + 18-1/2" + 2" + 2" + 2" = 43". Cut a 48" x 43" piece. Note: Our 45" wide fabric had a rotatable pattern, avoiding gathers. For larger headboards or directional prints, gather or use our custom method and add this pocket.
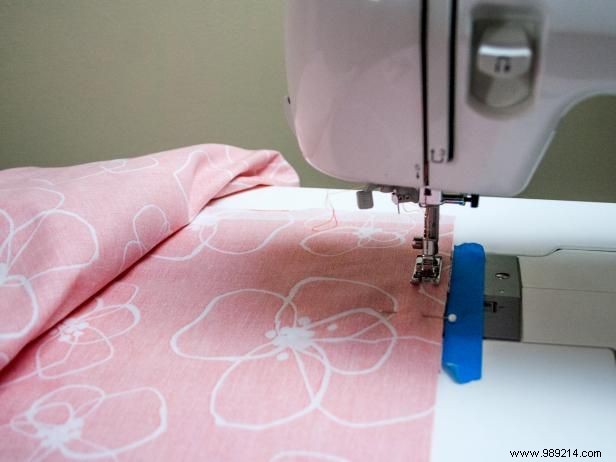
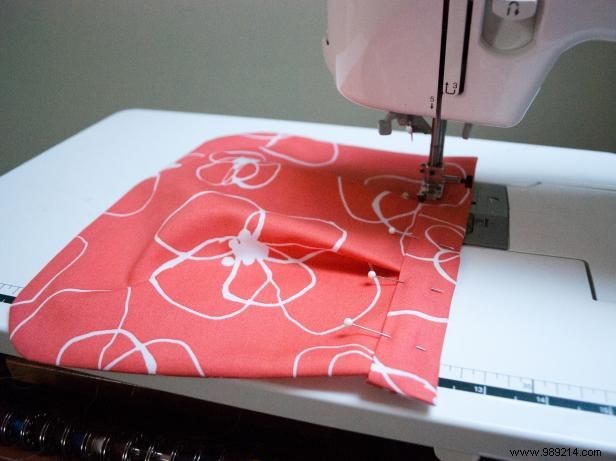
With wrong sides together, sew left and right side seams at 1/2". I prefer sewing the cover first, then adding the pocket, but position it before seams if needed for your headboard size.
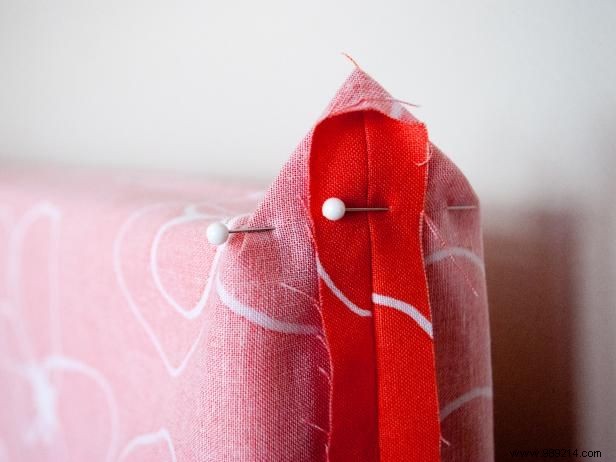
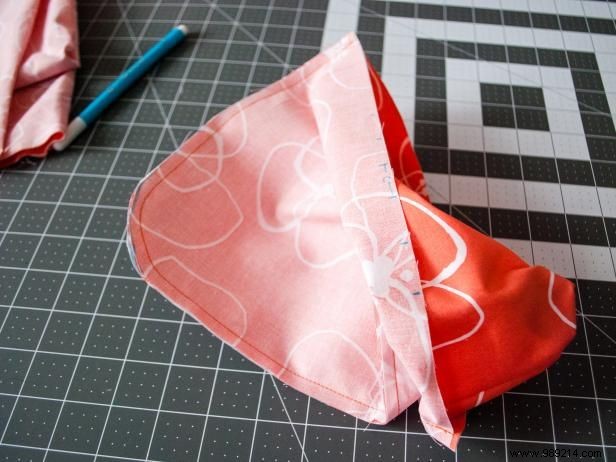
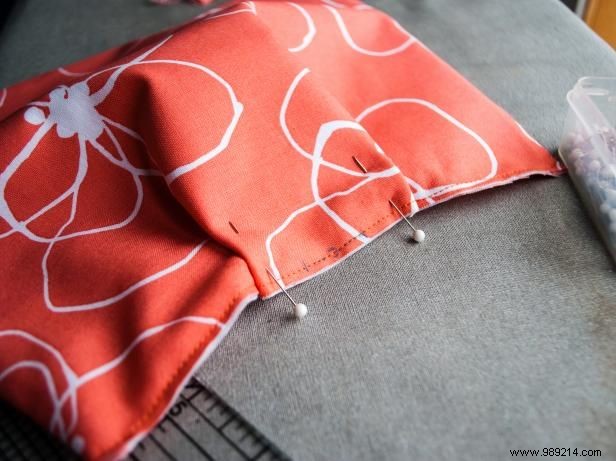
Press side seams open, slide cover over headboard wrong side out. Triangles form at top sides—pin their bases securely.
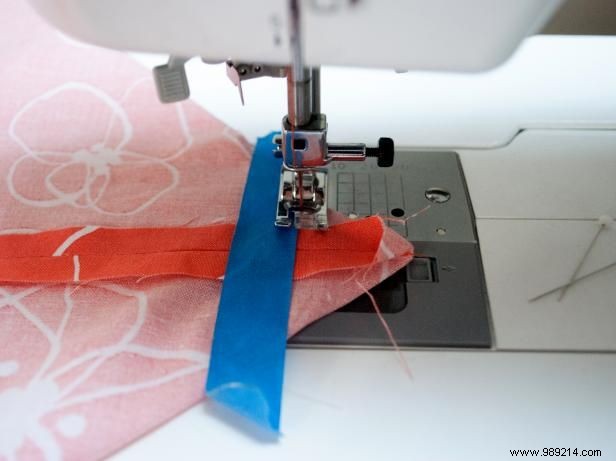
Remove cover, sew each triangle, then press for flat corners. Pro tip: Painter's tape guides a straight stitch. Repeat on the other side.
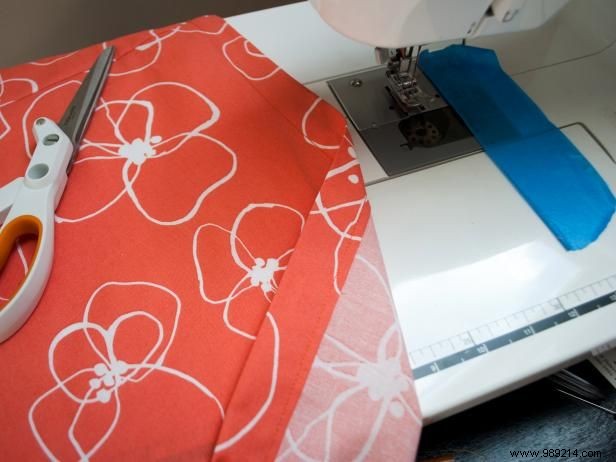
Fold raw bottom edges up 1", then another 1", press, and sew to match your headboard height precisely.
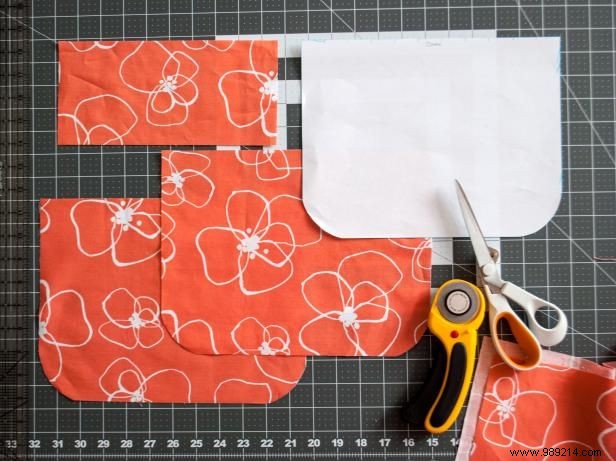
Plan your pleated pocket size and spot—ours finished at 9" opening x 11" wide. Cut front and back rectangles (8-1/2" x 11"), round bottom corners with a glass template. For facing: height = 4x desired (4 x 1" = 4"), width = pocket width (11") - 2" pleats - 2x 1/4" seams = cut 4-1/2" x 9-1/2". Optional: Interfacing for thin fabrics.
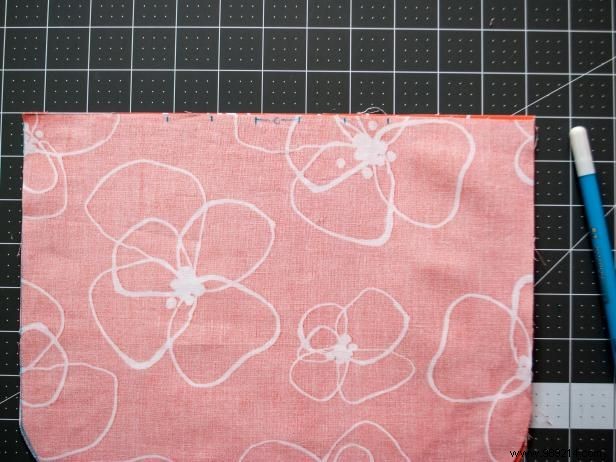
On one pocket piece's top straight edge, mark the center inch, then 1" more on each side for precise pleats.
Sew front to back at 1/4" seam, turn right side out, and press flat.
Match rightmost line to next, fold and pin. Repeat left side, leaving 3" center flat. Set aside.
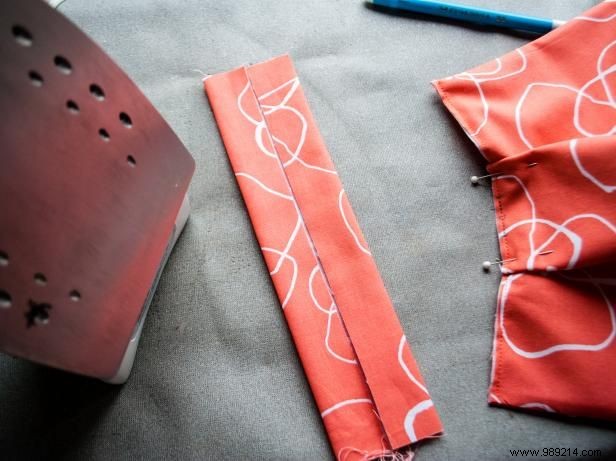
Press raw facing edges to meet at center.
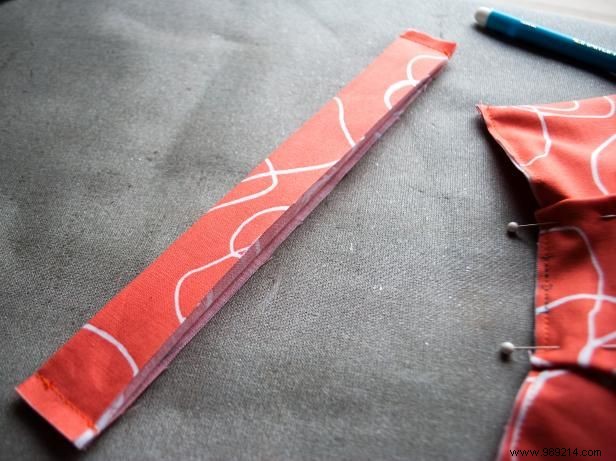
Fold facing with folded edges left, raw right; sew short sides at 1/4". Turn so three sides closed, one open.
Baste pleats, remove pins, slide pocket's raw top into facing's open side, and pin. It won't fully insert—that's ideal for curve.
Stitch facing to pocket near edge, removing pins as you go.
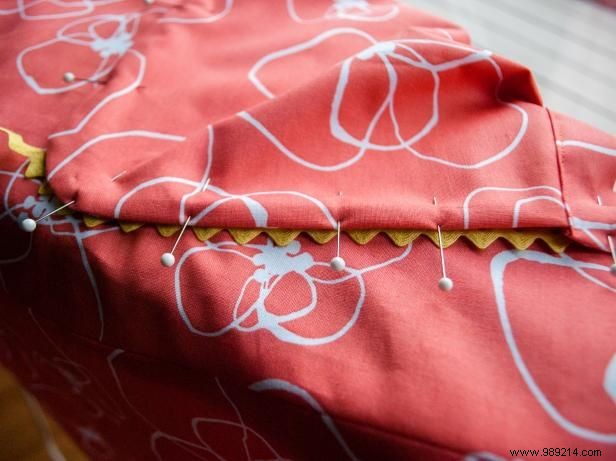
Position pocket on cover. Optional: Baste for hold. Sew close to edge, removing pins.
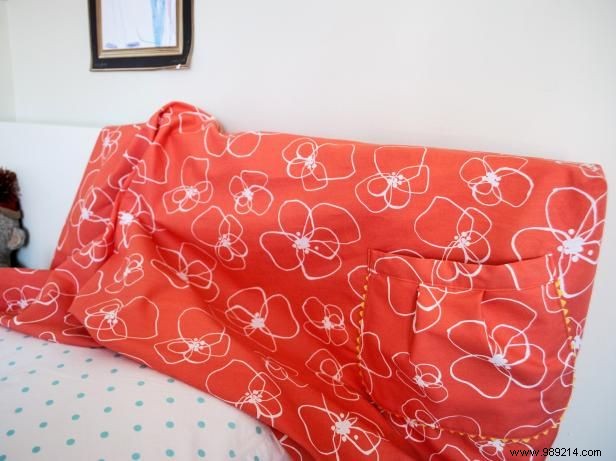
Slide finished slipcover onto headboard.
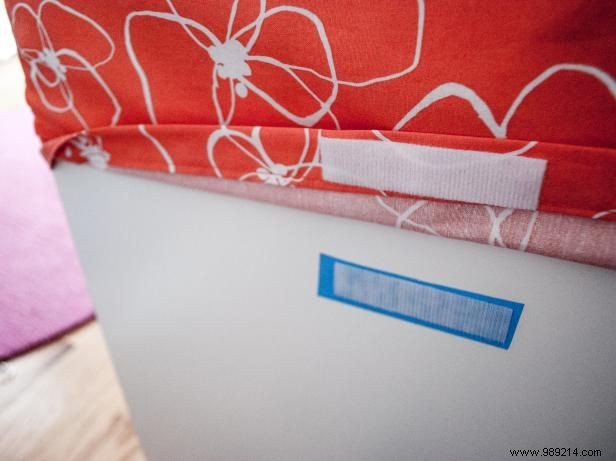
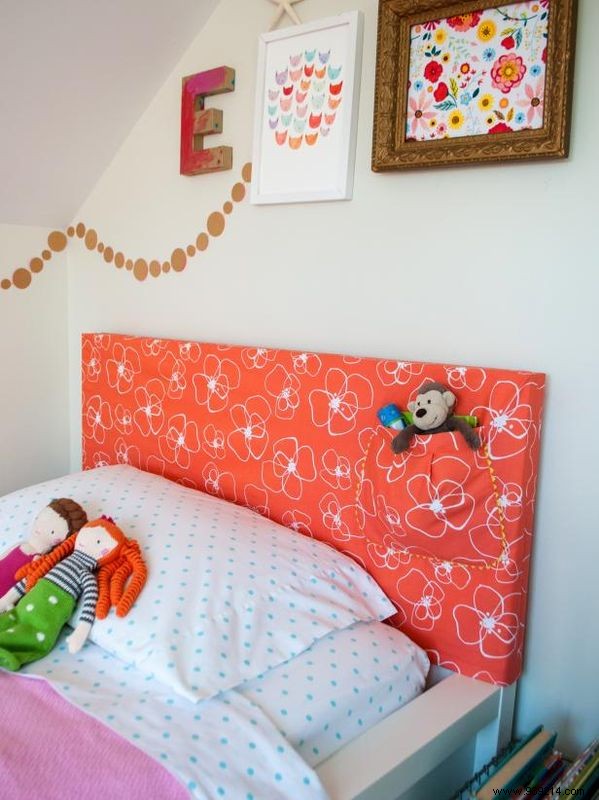
To secure against pocket weight, attach soft Velcro to cover back (wrong side). Protect headboard with painter's tape, add hook side, wait 24 hours, then fasten (Image 1). Removable and budget-friendly—ideal for customizing kids' rooms (Image 2).