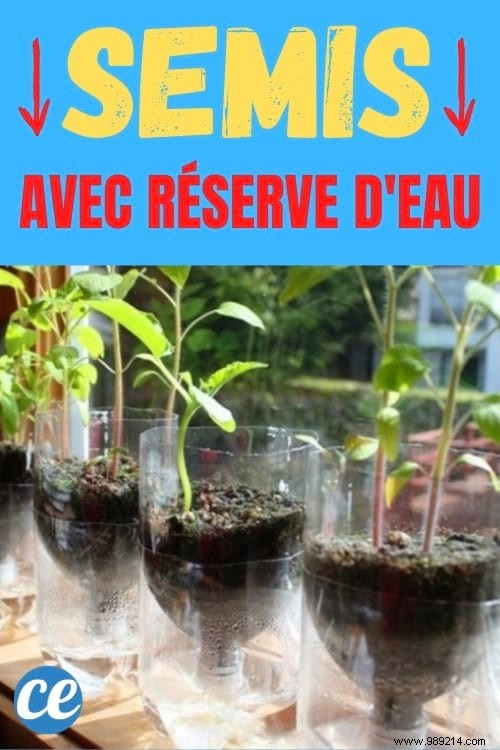
As an experienced gardener, I've perfected this simple DIY automatic watering system for seedlings using a recycled plastic bottle. It's a reliable trick to ensure your seedlings stay hydrated, even in hot weather.
This zero-waste method recycles plastic bottles while creating a mini-greenhouse that keeps soil consistently moist.
With just a bottle, string, water, and seeds, you'll have thriving seedlings without daily watering. Here's how to build this automatic watering system for seedlings with a plastic bottle. Watch the steps:
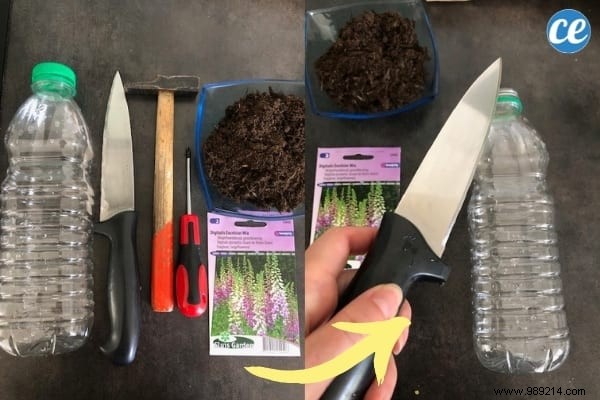
- Plastic bottle with cap
- Compost or potting soil
- Packet of seeds
- Knife
- Screwdriver
- Hammer
- 30 cm of twine or string
- Permanent marker
1. Use the knife to cut the bottle in half.
2. Unscrew the cap.
3. Position the screwdriver on the cap and tap with the hammer to create a hole.
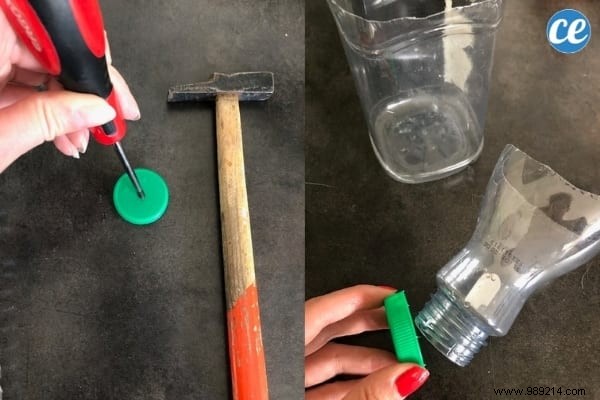
4. Fold the string in half to create a double strand.
5. Thread the string through the hole in the cap and tie a knot inside.
6. Screw the cap back onto the bottle neck.
7. Fill the bottom half of the bottle with water.
8. Invert the top half so it fits into the bottom, cap down, with the string submerged in water.
9. Fill the top with potting soil.
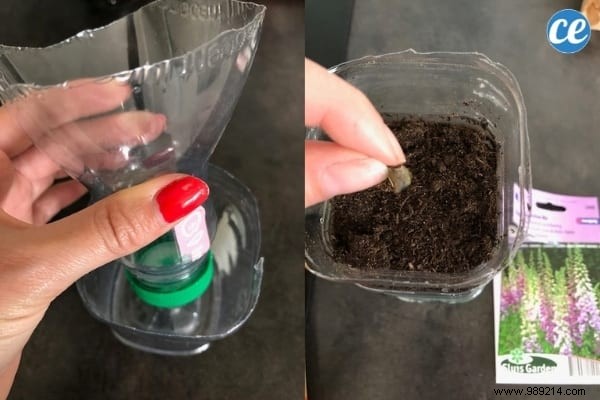
10. Sow your seeds.
11. Label the seed type with the permanent marker.
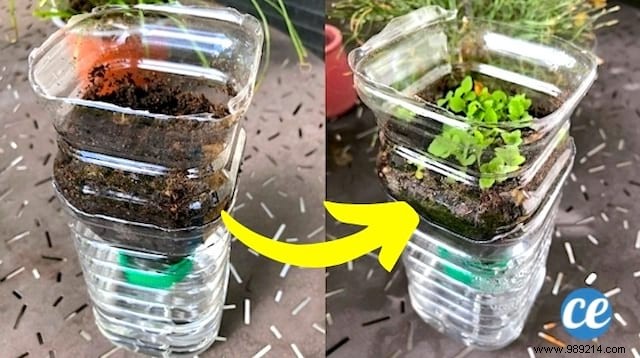
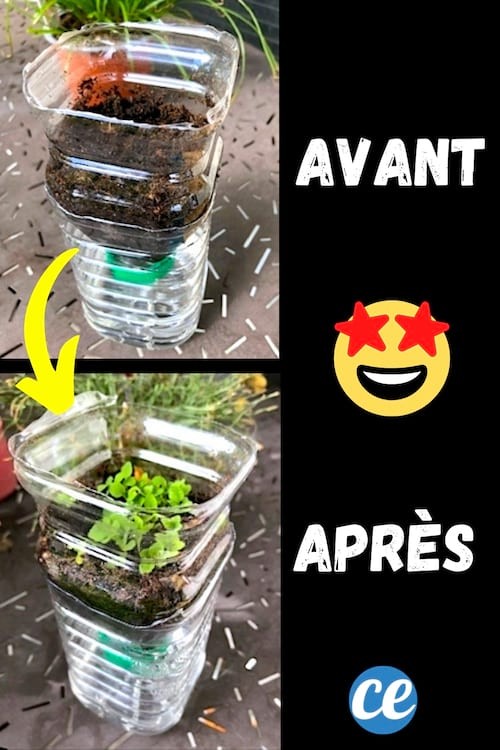
Your self-watering seedling pot is ready! This quick, cost-free DIY promotes fast germination.
The bottle acts as a greenhouse, trapping heat for better sprouting. The string wicks water to keep soil moist—no dry-outs.
Transplant when plants reach 6-10 cm and weather suits. Ideal for vegetables like tomatoes, peppers, zucchini, squash, or flowers such as carnations, daisies, nasturtiums, marigolds, and sweet peas.
The bottle serves as both a seedling pot and mini-greenhouse, maintaining warmth for germination.
The water reservoir, kept at stable temperature, wicks up through the string to hydrate the soil continuously—even in heat.