As a seasoned candle maker who's progressed from basic container candles to freestanding pillars, I've found the ultimate hack for crafting professional taper candles without pricey metal molds: sturdy PVC plumbing pipes. This therapeutic craft delivers zen-like satisfaction and creates perfect ambient lighting for romantic dinners.
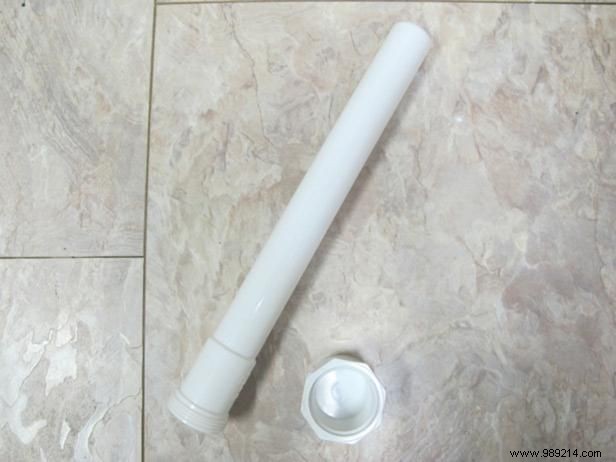
Rigid PVC plumbing pieces make ideal DIY taper candle molds. Opt for a 12-inch extension pipe with 1-1/4-inch diameter and a matching 1-1/4-inch end cap that screws on. Look for pipe that's stiff enough to stand upright (no rolling tendency) yet thin enough to score if wax sticks.
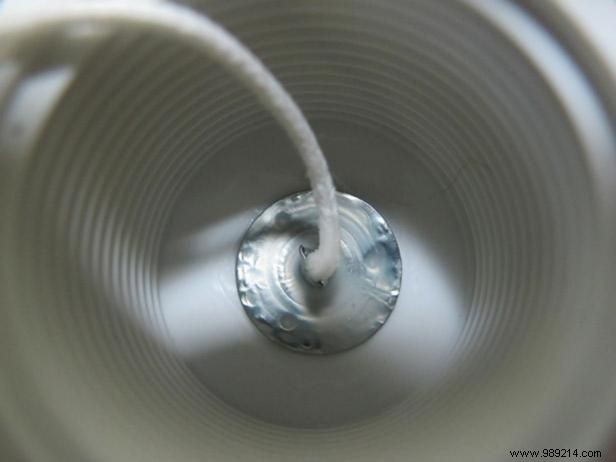
Melt wax following package instructions. Cut wick at least 6 inches longer than the desired taper. Use needle-nose pliers to crimp the metal wick tab onto the string. Dip the tab in melted wax and press it to the inside bottom of the end cap for a secure bond.
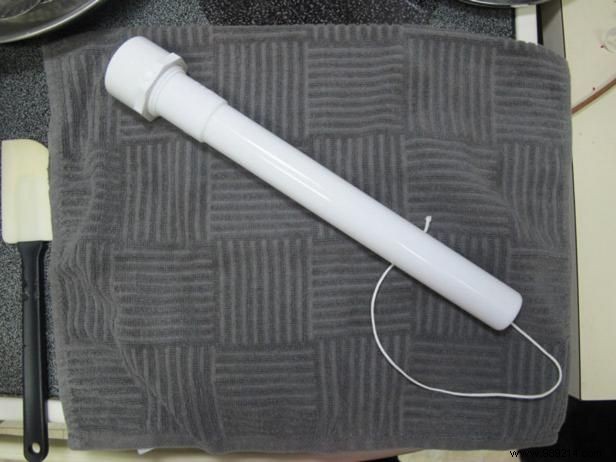
Screw the pipe into the end cap, letting the wick extend through the top. Avoid overtightening.
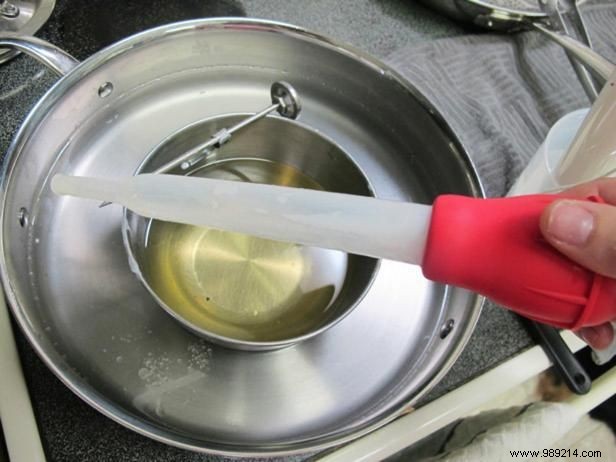
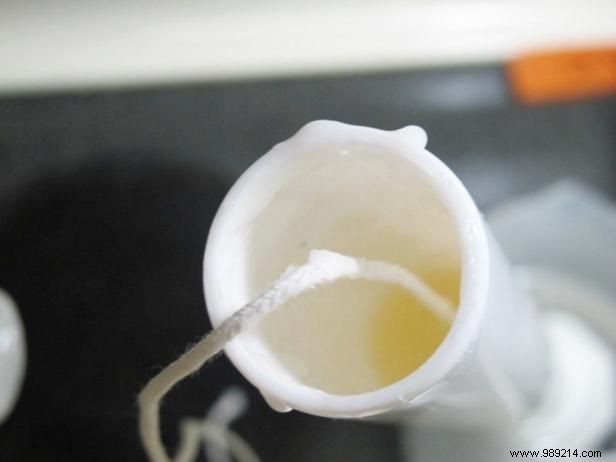
Use a cheap baster or ladle dedicated to crafting (no kitchen reuse!). Pour melted wax into the pipe, filling to the top while centering the wick.
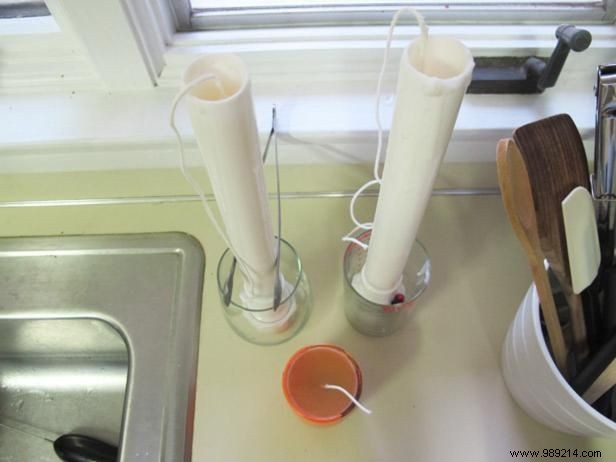
Stand molds upright—prop on glasses to prevent tipping—and let cool overnight.
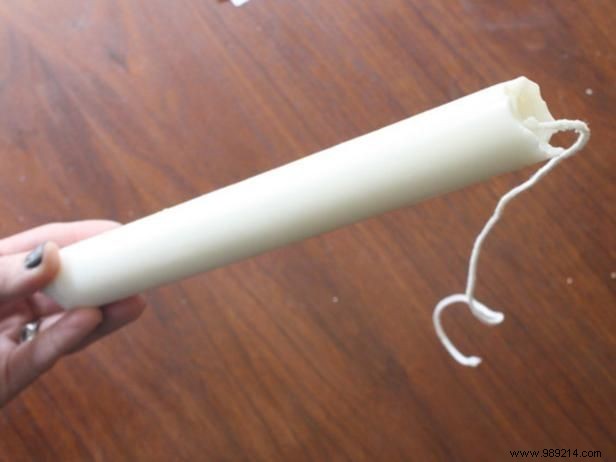
Once cured, unscrew the end cap and slide out the candle. If stuck, score the pipe lengthwise with a sharp utility knife and peel it away.

Voila—a flawless taper candle! Smooth cracks by gently heating with a match; they'll reseal as they cool.
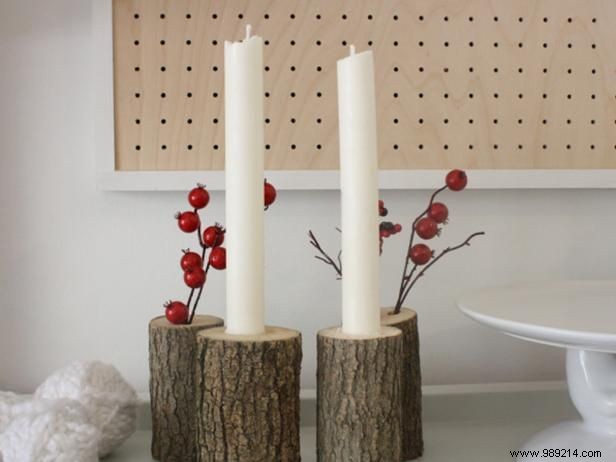
Your taper fits 1- to 1-1/4-inch diameter holders. For custom rustic holders, drill a slightly undersized hole through wood with a paddle bit—perfect if a bit of wax grips on insertion.
Trim wick to 1/4 inch. Display with seasonal accents for a stunning, handcrafted centerpiece.